


Editors Keys Blog
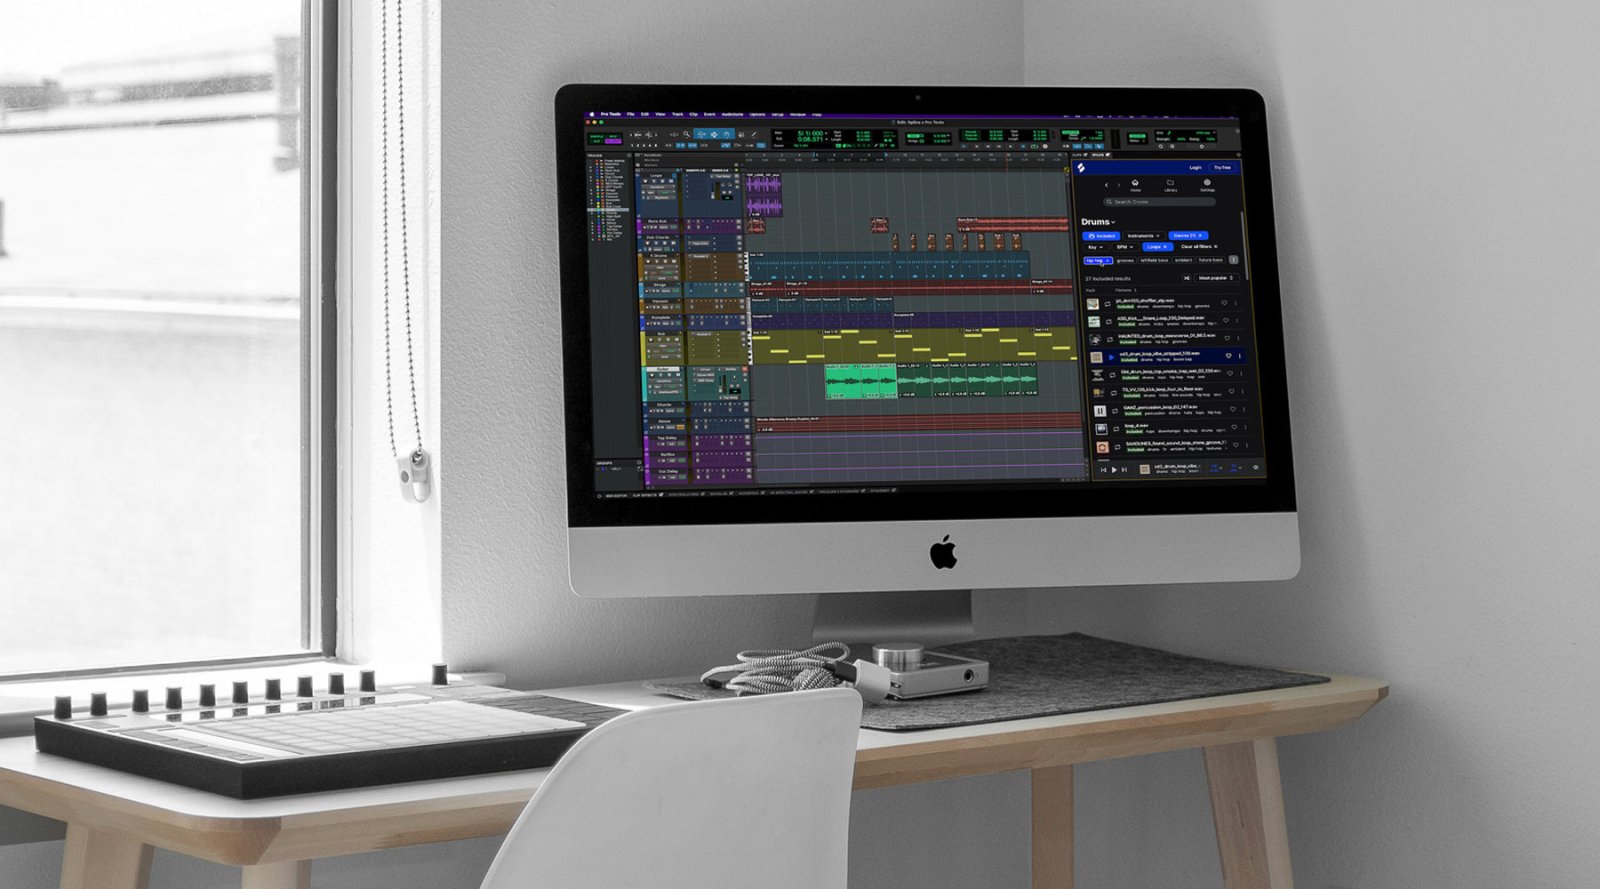
DAW
Why Aren't My Keyboard Shortcuts Working in Avid Pro Tools?
If you've recently started using Avid Pro Tools and found that your keyboard shortcuts suddenly stop working, you're certainly not alone. It's one of the most common questions asked by new Pro Tool...
final Cut Pro
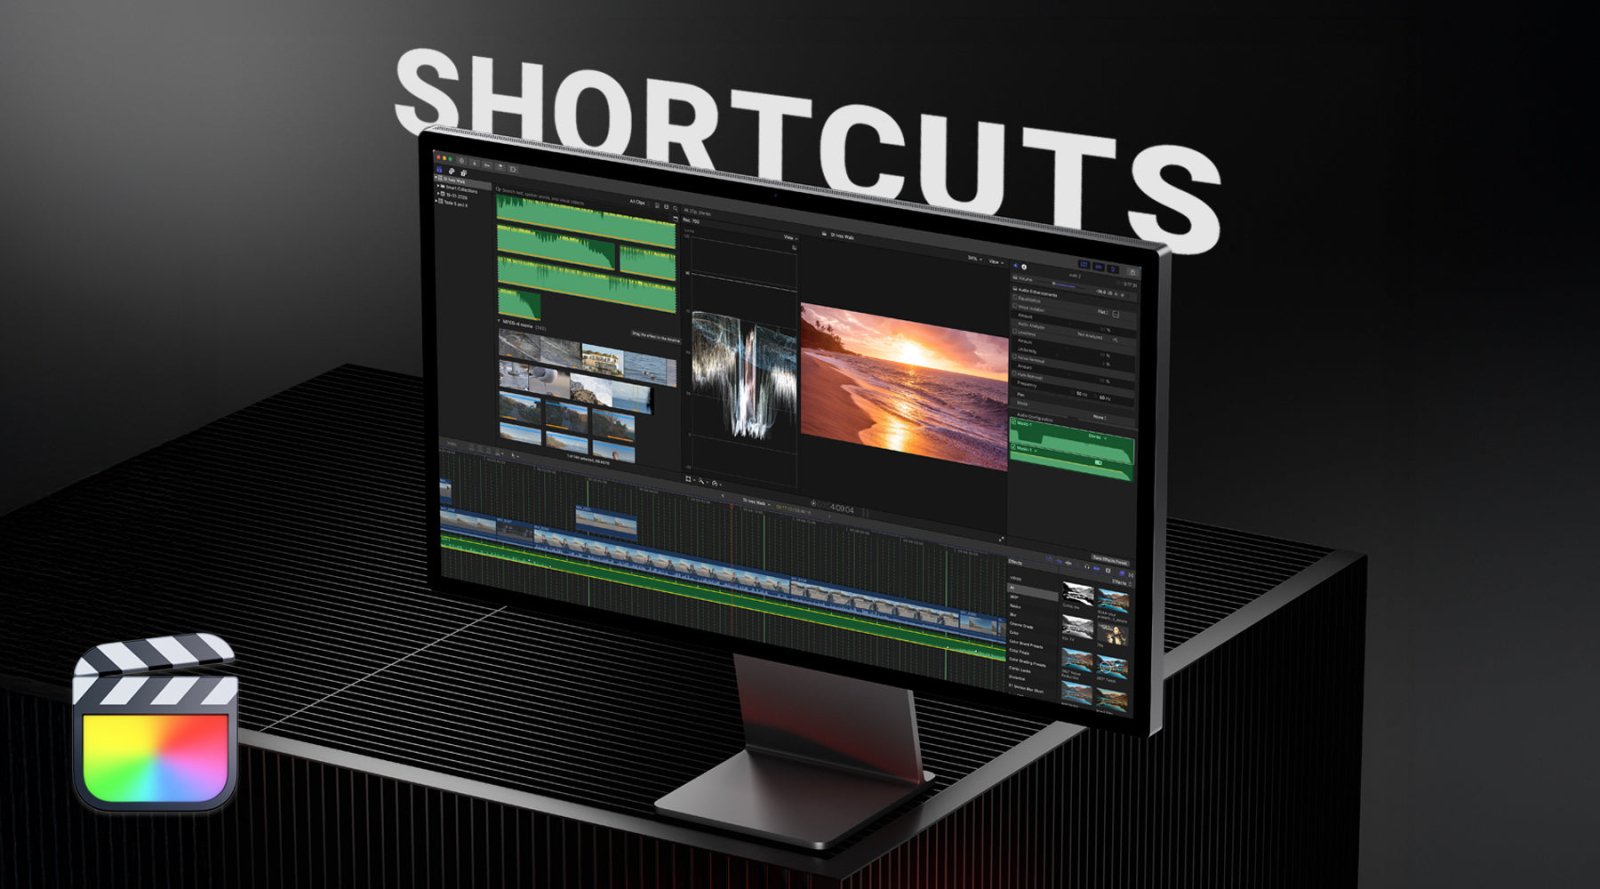
Top 10 Shortcuts in Final Cut Pro Every Editor Should Know
Whether you're editing YouTube videos, documentaries, corporate content, music videos or feature films, speed is everything. Professional editors don't spend their day digging through menus or hunt...
keyboard shortcuts
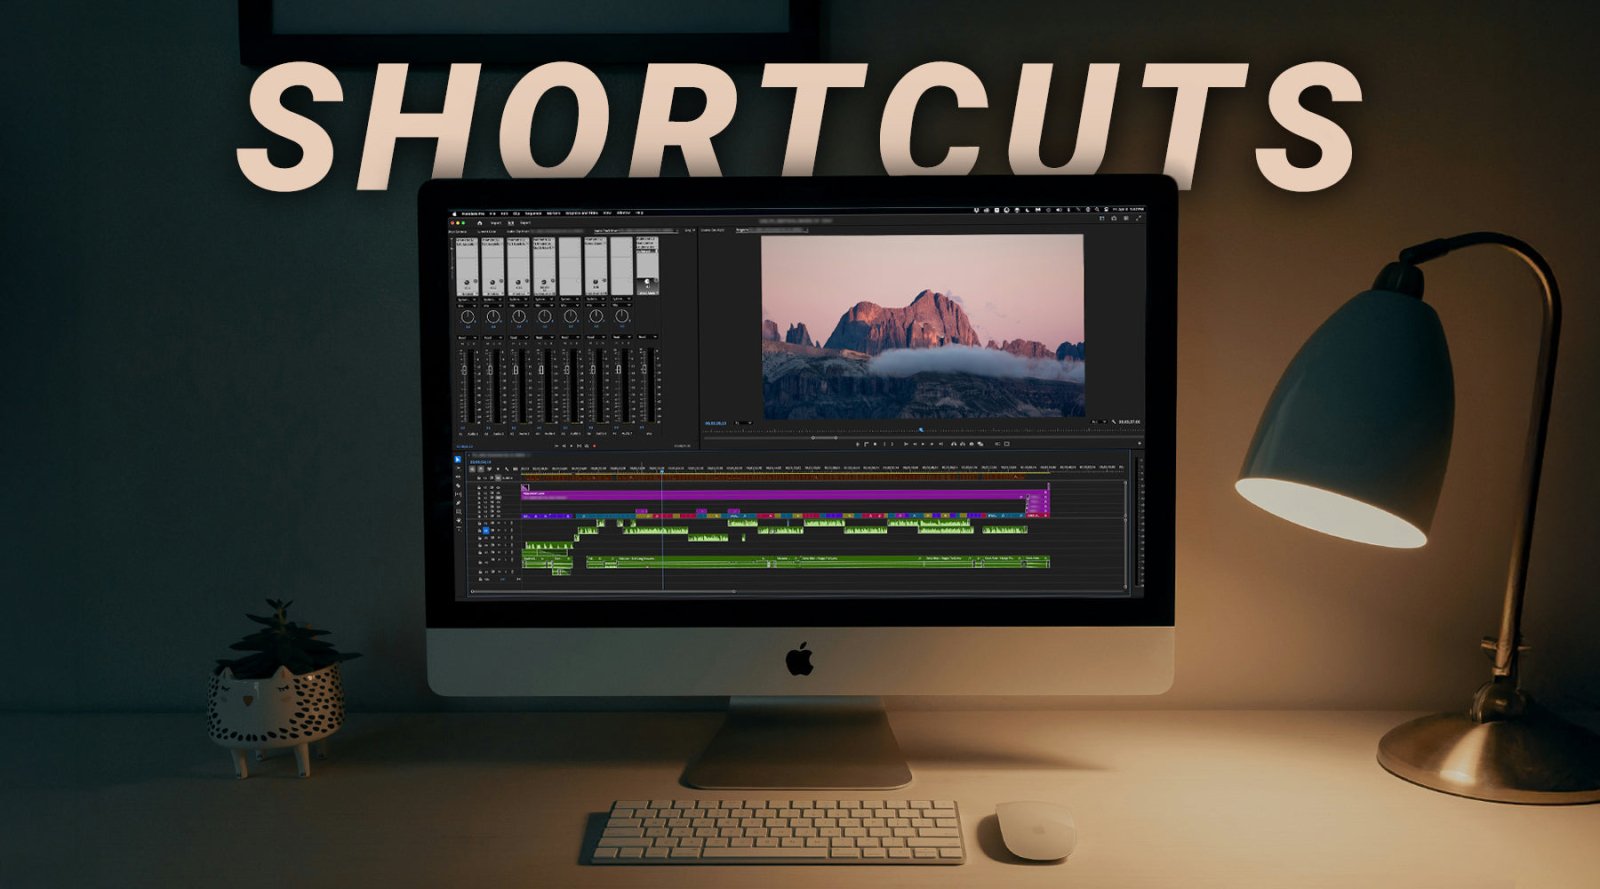
10 Adobe Premiere Pro Shortcuts Every Editor Should Be Using
If you're spending hours editing videos in Adobe Premiere Pro, mastering keyboard shortcuts is one of the fastest ways to improve your workflow. Whether you're creating YouTube videos, social media...
360 degree camera
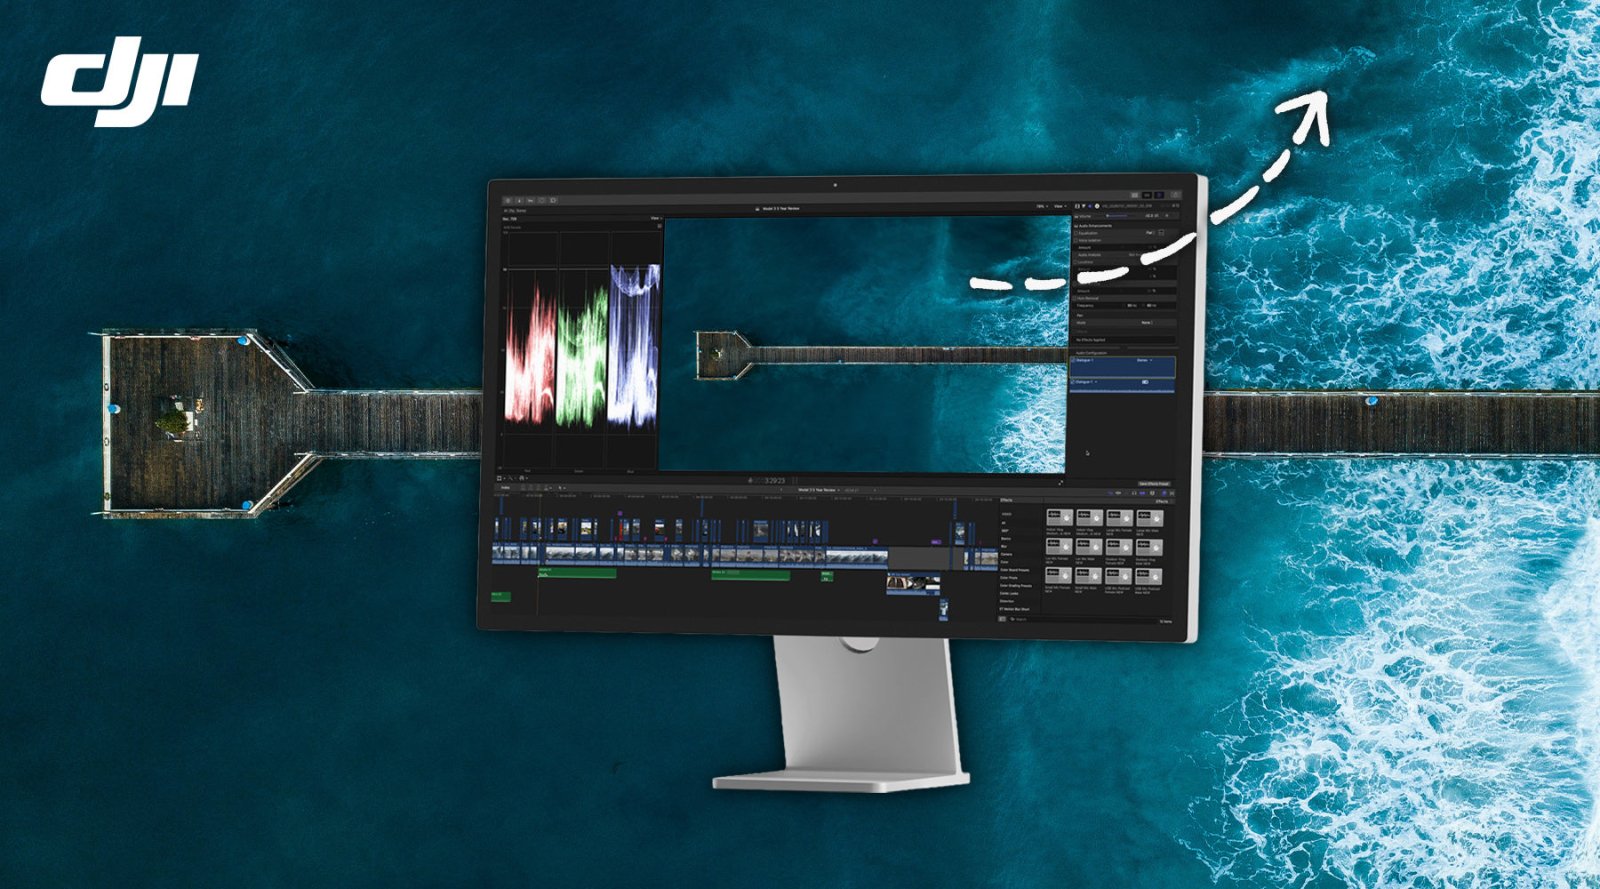
How To Edit DJI Avata 360 Footage in Final Cut Pro – The Ultimate Beginner to Pro Workflow
The DJI DJI Avata 360 changes the way aerial footage is filmed. Unlike a traditional drone that forces you to carefully frame every shot while flying, the Avata 360 captures an entire 360-degree sp...
AB10 Air
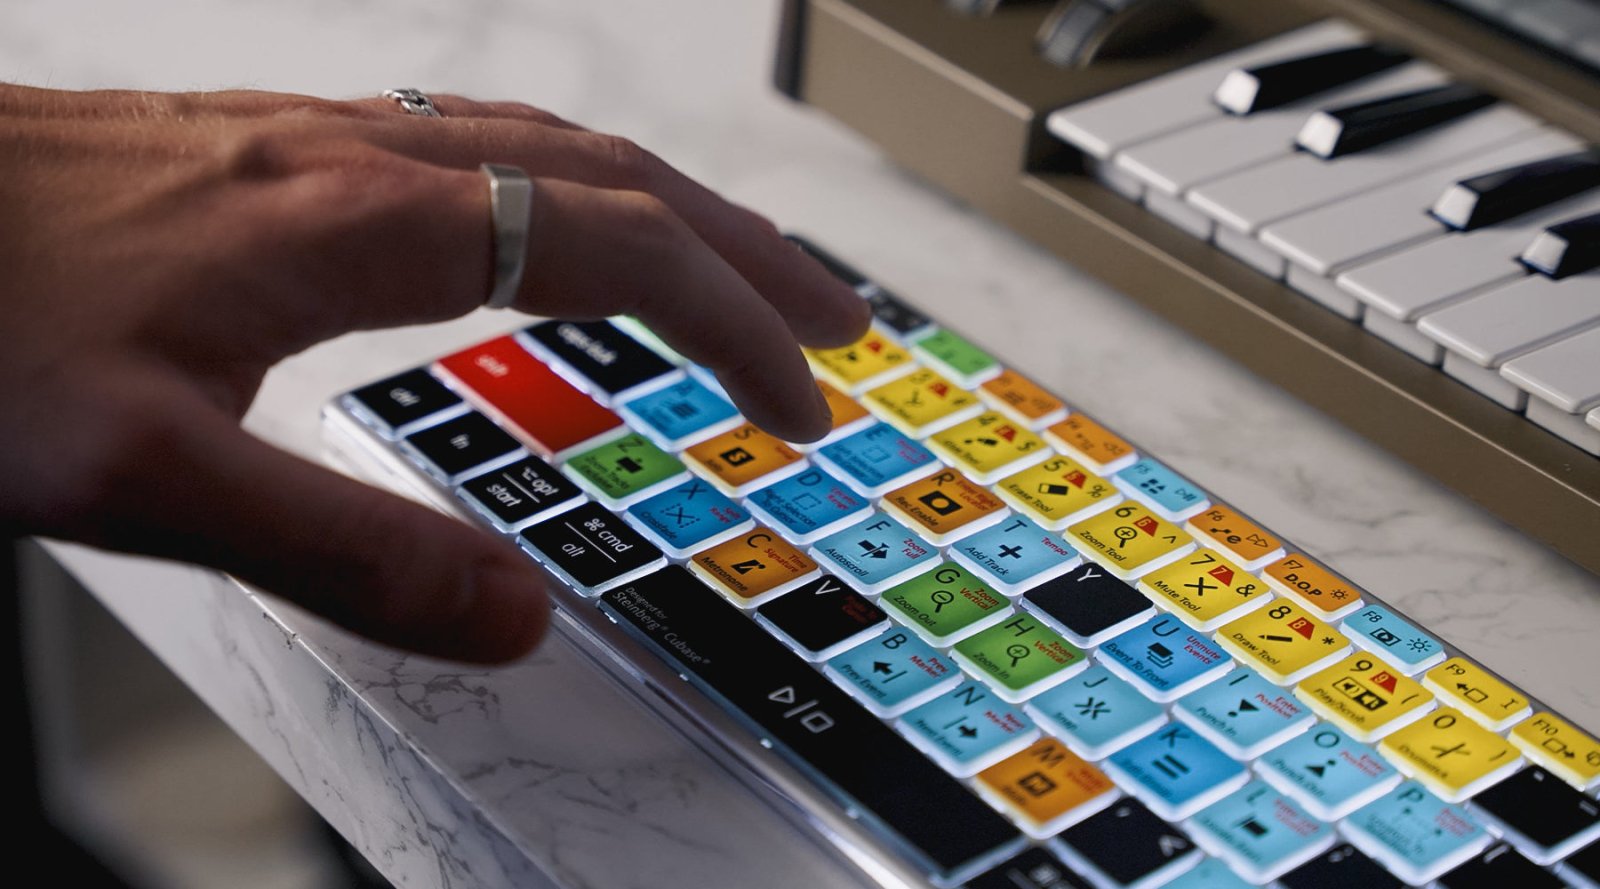
Cubase 15: Will Your Editing Keyboard Still Work?
The release of Cubase 15 brings a range of workflow improvements, creative tools, and performance enhancements aimed at modern music producers, composers, mixing engineers, and content creators. Wh...
Audio Editing Keyboard
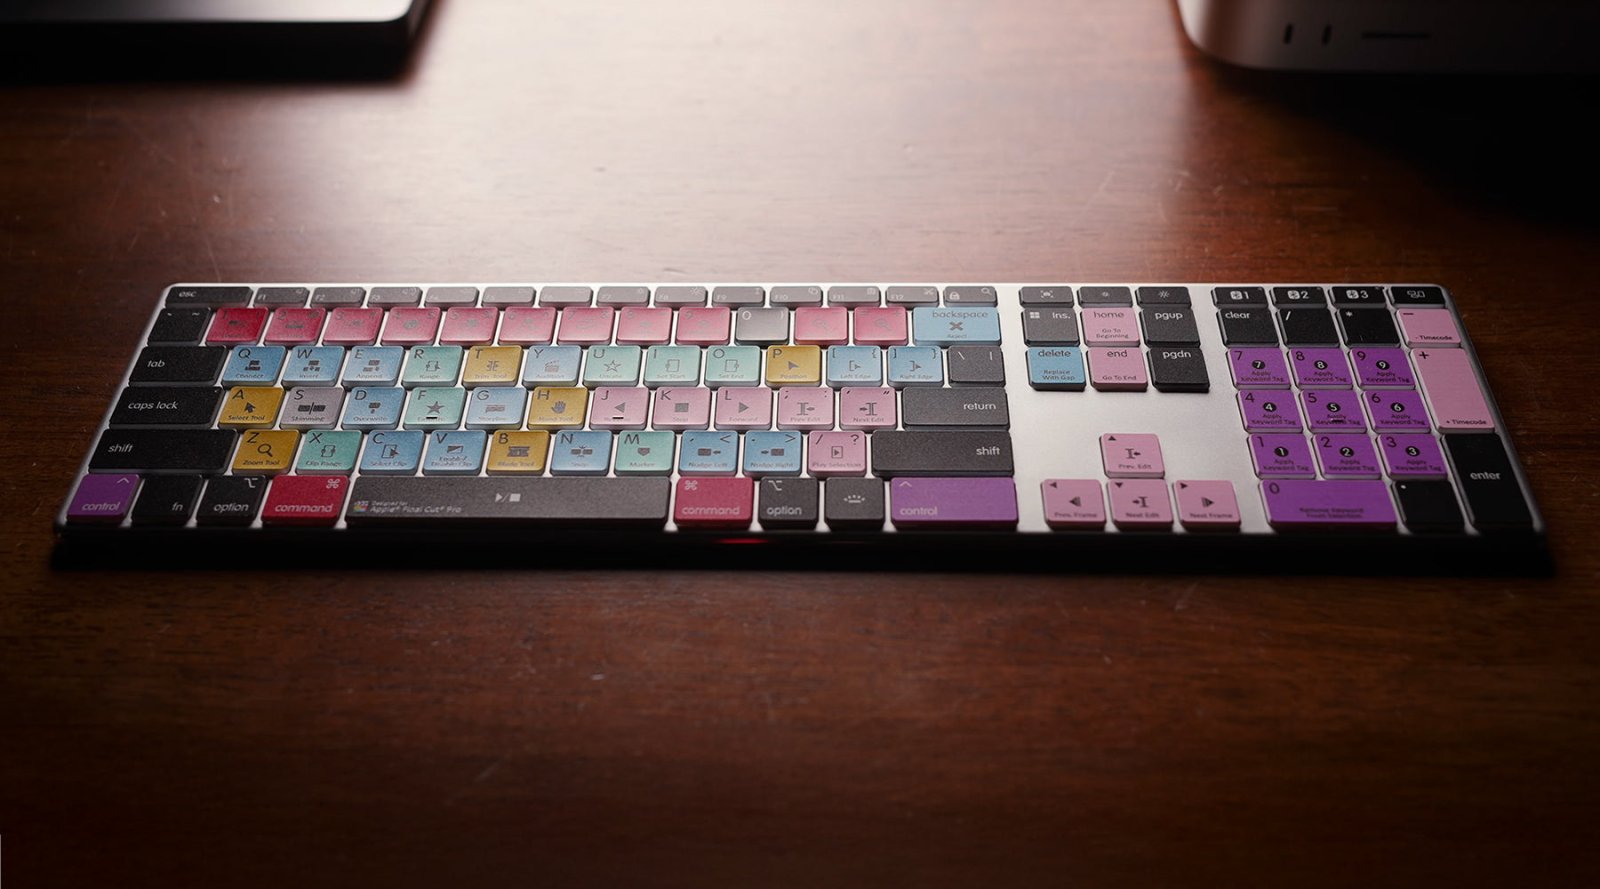
Editing Keyboards Explained: Faster Editing Starts Here
If you’ve ever watched a professional video editor or music producer at work, you may have noticed how quickly they move through their software without endlessly clicking through menus. One of the ...
dji
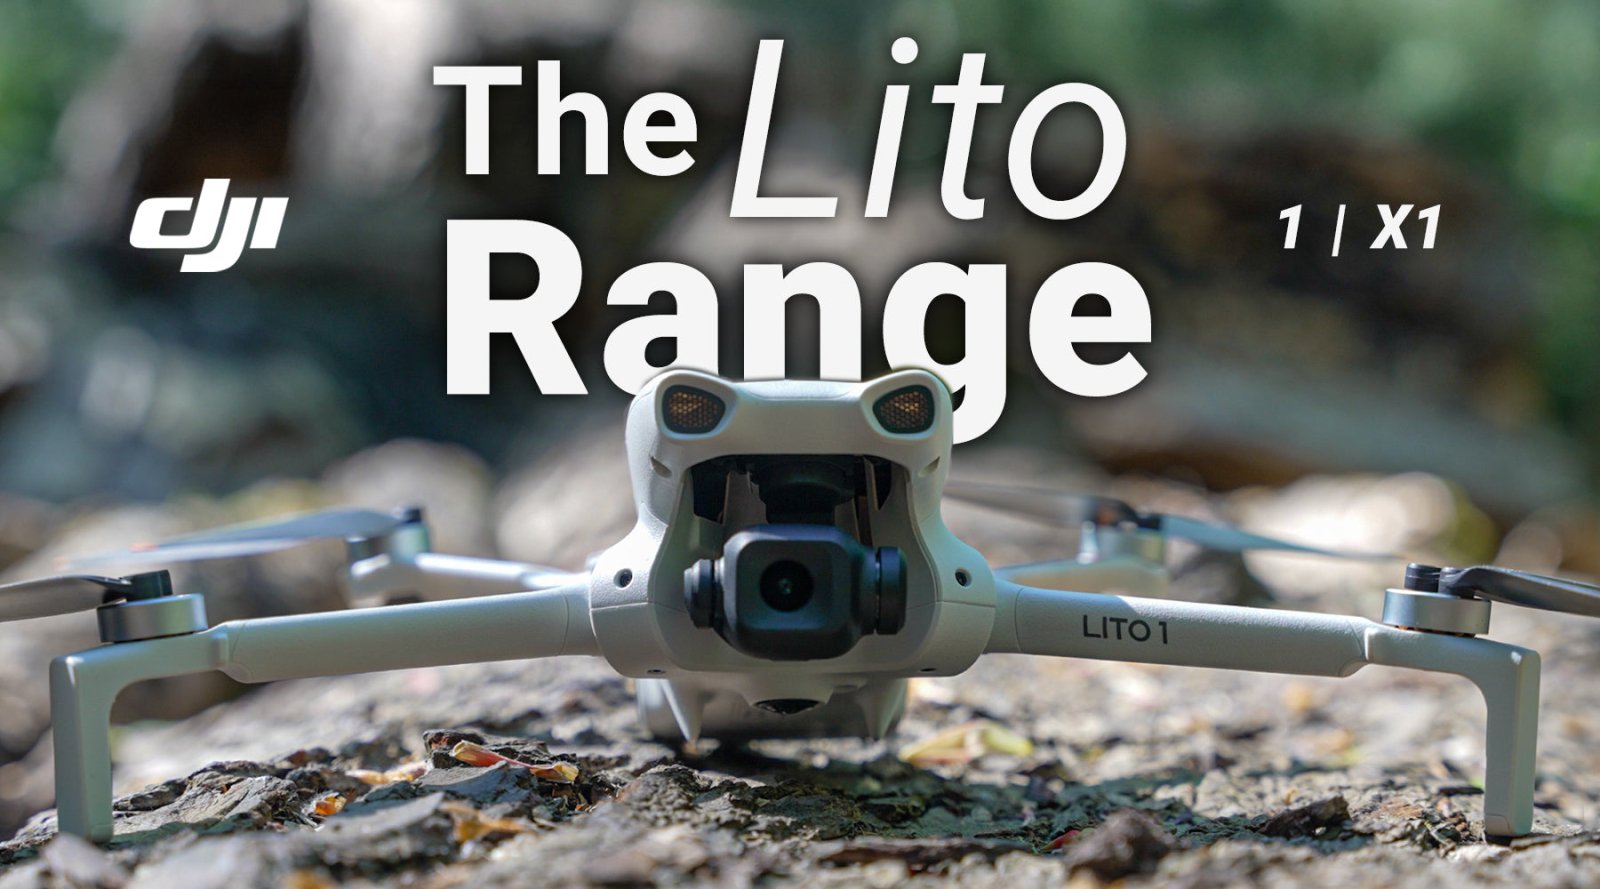
DJI LITO 1 vs DJI LITO X1: DJI’s Impressive New Beginner Drones
DJI LITO 1 vs DJI LITO X1: DJI’s New Beginner Drones Are Surprisingly Powerful
DJI has officially launched its new DJI LITO drone series, made up of the DJI LITO 1 and the DJI LITO X1, and they cou...
Cameras
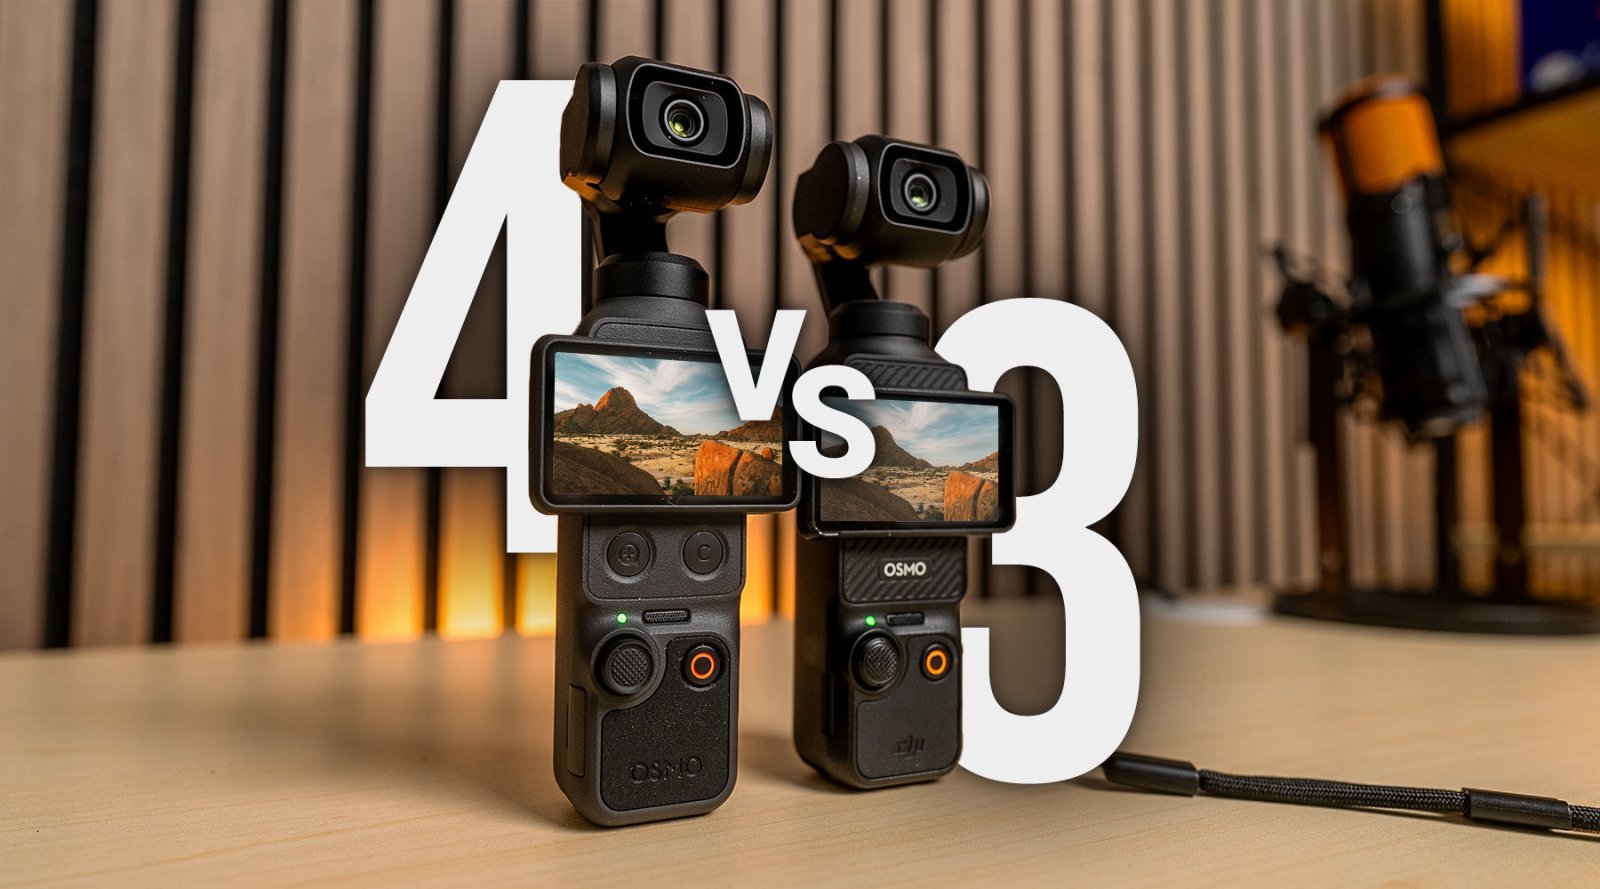
DJI Pocket 3 vs DJI Pocket 4: Which Pocket Camera Is Best for Creators in 2026?
The DJI Pocket 3 quickly became one of the most popular compact cameras ever released for content creators, vloggers and filmmakers. Its combination of stabilisation, image quality and genuinely po...
Cameras
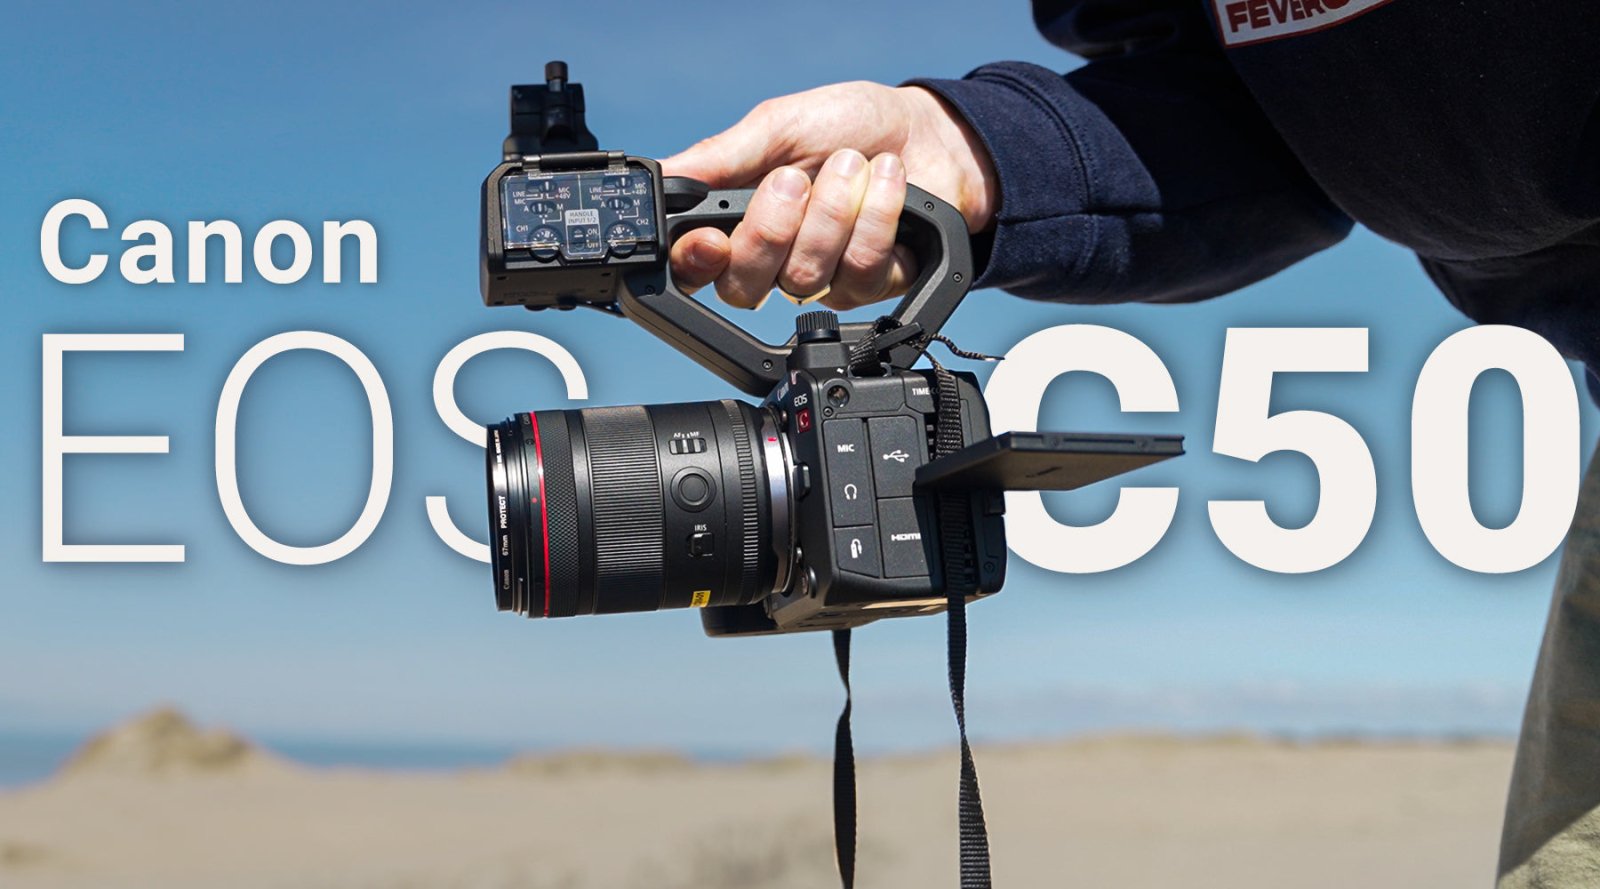
Canon EOS C50 Review: Canon’s Most Versatile Cinema Camera Yet?
The new Canon EOS C50 is shaping up to be one of the most exciting additions to Canon’s Cinema EOS line in recent years. Designed with filmmakers, content creators, and hybrid shooters in mind, it ...