In today’s world of podcasts, audiobooks, online courses, and commercials, demand for professional-quality voice-overs has never been higher. For aspiring voice actors or experienced professionals looking to improve their sound, setting up a professional voice-over studio at home can make a huge difference to your recordings – and ultimately, your career.
This guide will walk you through microphone choices, soundproofing and dampening, software options, and practical tips for creating the perfect home voice-over setup.
Choosing the Right Microphone: USB vs XLR
The microphone is the heart of your voice-over studio, and the right choice depends on your needs, budget, and workflow.
USB Microphones
USB microphones are plug-and-play devices that connect directly to your computer. They’re ideal for beginners or voice-over artists who want a straightforward setup without needing extra gear.
-
Pros: Easy to use, affordable, no need for an audio interface.
-
Cons: Less flexibility, generally lower sound quality compared to professional XLR microphones.
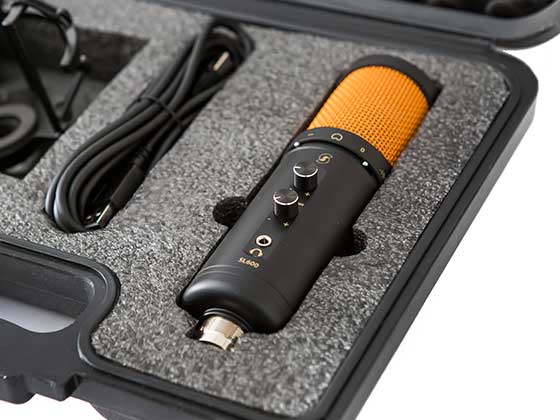
Recommended USB Microphone: Editors Keys SL600 USB Microphone
The Editors Keys SL600 is a studio-quality USB microphone designed with voice-over artists in mind. It delivers rich, detailed sound and rivals many XLR microphones in clarity. With its plug-and-play functionality, the SL600 is perfect for those who want professional results without the hassle of external equipment. If you’re just starting out or want a reliable, high-quality microphone for home use, the SL600 is an excellent choice.
XLR Microphones
XLR microphones require an audio interface or mixer but offer superior sound quality and more control over your recordings.
-
Pros: Professional-grade sound, greater flexibility, works well in treated rooms.
-
Cons: Higher cost, requires additional equipment and setup.
Popular XLR microphones for voice-over include the RØDE NT1-A, Audio-Technica AT2020, and Neumann TLM 103.
Soundproofing vs Sound Dampening
Many people confuse soundproofing and dampening, but both are crucial for a professional voice-over space.
-
Soundproofing prevents outside noises (traffic, neighbours, footsteps) from entering your recording space. Achieving full soundproofing at home can be expensive and complex, involving specialised building materials, double walls, rooms within rooms and heavy doors for complete isolation from the outside world.
-
Sound Dampening (or acoustic treatment) improves the sound inside your room. It reduces echoes, reverb, and unwanted sound reflections, stopping sounds from bouncing off reflective walls and surfaces, giving you a clean, professional recording.
Practical Dampening Tips for a Home Studio
-
Use acoustic foam panels or bass traps on walls and corners.
-
Hang thick curtains or duvets over windows and reflective surfaces.
-
Place a rug or carpet on hard floors.
-
Consider a portable vocal booth or reflection filter if you’re working in a multi-purpose room.
Remember: you don’t need a fully soundproofed studio to get professional results, but dampening is essential for clarity and consistency in your sound.

Choosing the Right Space
Your choice of recording space is just as important as your equipment. The room you choose will affect everything from the clarity of your voice to how much post-production work you’ll need.
Size of the Room
-
Small to medium rooms generally work best for voice-over because they have fewer reflective surfaces than large spaces. However, avoid very small rooms that can sound “boxy” or claustrophobic.
-
A room around the size of a small office or walk-in wardrobe is often ideal, as clothes and soft furnishings can help absorb sound naturally.
Shape of the Room
-
Avoid rooms with perfectly square dimensions, as they often cause sound waves to bounce in predictable ways, creating unwanted resonance.
-
Irregular-shaped rooms or those with varied wall angles tend to produce more natural-sounding recordings.
Location in the House
-
Choose the quietest area possible – ideally a room away from main roads, kitchens, or bathrooms.
-
Rooms at the back of the house, away from street-facing windows, usually experience less outside noise.
-
Attics and basements can work well if they are dry, properly ventilated, and not prone to external sounds such as rain or pipes.
Natural Sound Dampening
-
Rooms with carpeted floors, curtains, and plenty of furniture will already sound better than empty, hard-surfaced rooms.
-
A wardrobe full of clothes is an excellent beginner’s recording booth, as fabric absorbs a wide range of frequencies.
Practical Considerations
-
Make sure the room is comfortable to sit in for long periods – recording sessions can take hours.
-
Ensure there are enough power sockets for your gear and adequate desk space for your microphone, computer, and accessories.
In short, aim for a space that is quiet, mid-sized, irregularly shaped if possible, and filled with materials that absorb sound. Even if you don’t have a dedicated studio room, with some creativity and the right acoustic treatment, you can transform a spare room or wardrobe into a professional-grade recording space.

Software for Voice-Over Recording
Your choice of recording software (DAW – Digital Audio Workstation) will affect your workflow and flexibility.
Popular Options
-
Audacity (Free): Great for beginners. Simple interface, basic editing tools, but limited in advanced features.
-
Adobe Audition (Subscription): Professional-grade with powerful editing, effects, and noise reduction tools.
-
Logic Pro (Mac only, one-time purchase): A full-featured DAW excellent for both music and voice-over.
-
Reaper (Affordable licence): Highly customisable, lightweight, and powerful.
-
Garageband (Mac only) Comes available on most Macbooks, perfect for recording audio. Less advanced as Logic Pro but still a good contender
Tip: Choose software that balances your current needs with future growth. Beginners may start with Audacity, while pros often lean towards Audition or Logic.
Extra Tips for a Professional Voice-Over Setup
-
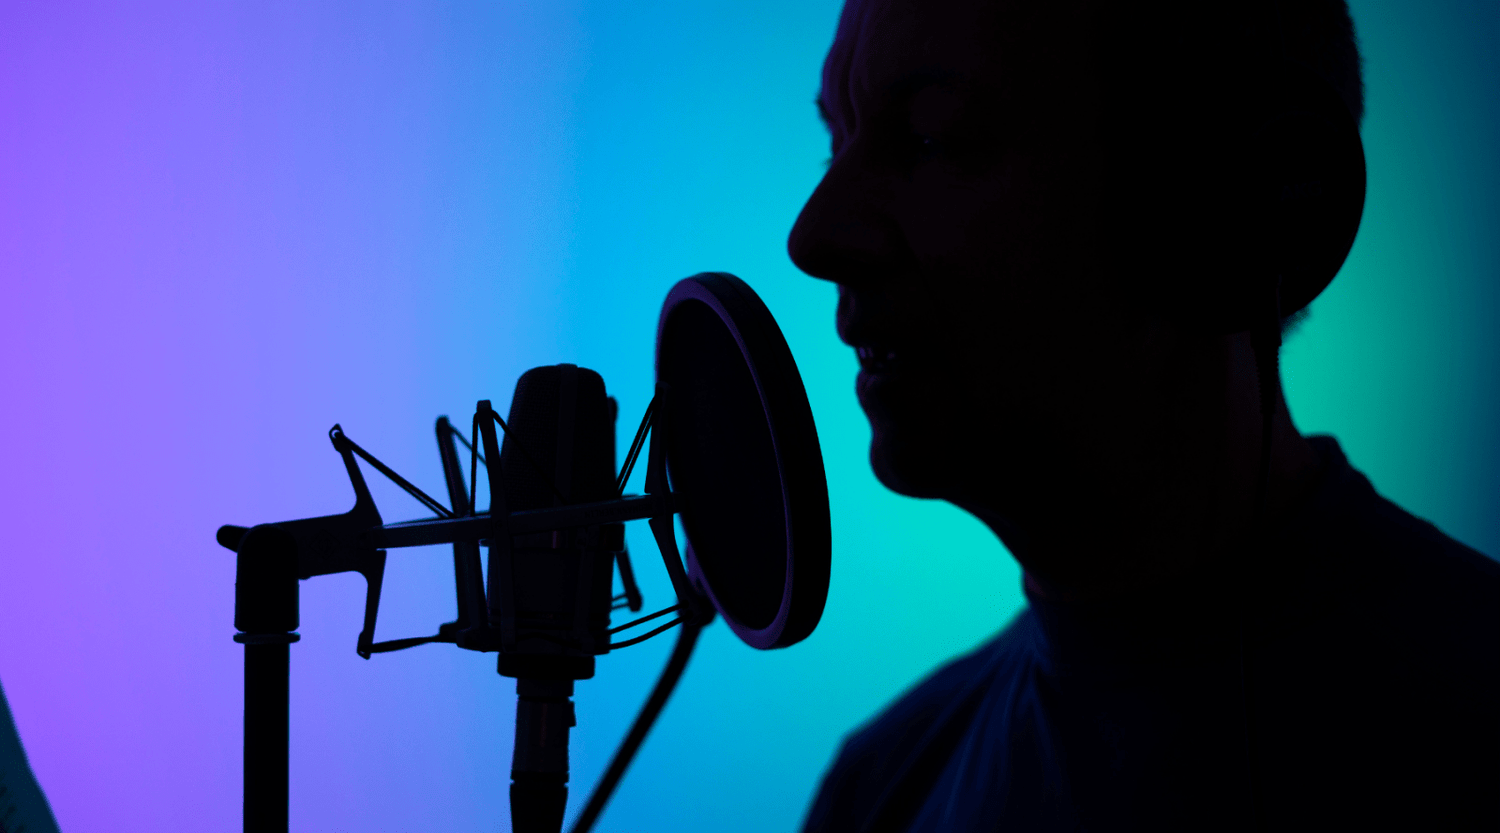
Use a pop filter to reduce plosive sounds (like ‘P’ and ‘B’).
-
Invest in a good pair of headphones for accurate monitoring.
-
Maintain consistent mic technique – stay about 6–8 inches away from the microphone.
-
Keep your space tidy and comfortable – a clutter-free environment makes it easier to focus.
Final Thoughts
Setting up a professional voice-over studio at home doesn’t have to break the bank. By choosing the right microphone – whether the convenience of a USB option like the Editors Keys SL600 or a high-end XLR mic – and focusing on proper sound dampening, you can achieve broadcast-quality recordings from the comfort of your own home.
Pair your setup with the right software and consistent recording practices, and you’ll be well on your way to delivering professional-grade voice-overs that clients will love.
For more professional audio gear, editing tools, and studio essentials, explore the full range at Editors Keys – your partner in creating world-class content.

