
TipsIf Cubase isn't detecting your audio interface, you might be wondering whether there's a problem with your recording equipment, USB connection or Cubase itself. It's a fairly common issue, particularly when setting up a new audio interface, installing Cubase for the first time or switching between different recording devices.
The good news is that most audio interface detection problems can be fixed without buying new equipment or reinstalling your DAW. The important thing is to work through a few simple checks to find out where the problem is coming from.
In this guide, we'll walk through the most common reasons why Cubase won't recognise your audio interface, how to check your audio settings and what to do if your interface still isn't appearing in the device list.

1. Check That Your Audio Interface Is Connected Properly
Before changing any settings in Cubase, start with the physical connection. Your audio interface needs to be switched on and connected properly to your computer before Cubase can communicate with it.
Check that the USB or Thunderbolt cable is securely connected at both ends. If your interface has its own power supply, make sure it is switched on and that any power indicators are illuminated. Some smaller interfaces receive their power directly from the computer, while others require an external power adapter.
If you're connecting through a USB hub, try plugging the interface directly into your computer instead. Some USB hubs don't provide enough power or can cause connection problems, particularly with audio equipment.
It's also worth trying a different USB port and, if possible, another compatible cable. A faulty cable can sometimes provide enough power to illuminate the interface but fail to transfer data correctly.
What you're looking for: Your computer should recognise that an audio device has been connected. If the interface doesn't appear anywhere on your computer, the problem may be with the cable, USB port, power supply or interface itself rather than Cubase.
2. Check Whether Your Computer Recognises the Audio Interface
Before troubleshooting Cubase, establish whether your operating system can see the interface. This is one of the most important checks because it helps you narrow down exactly where the problem lies.
If your computer cannot recognise the interface, Cubase won't be able to use it either.
On a Mac:
Open Applications, go to Utilities and launch Audio MIDI Setup. This is a built-in macOS application that displays the audio devices connected to your computer.
Look for your audio interface in the list on the left-hand side. If it appears, your Mac is recognising the device. Select it to check its available audio inputs, outputs and sample rate settings.
If the interface doesn't appear, disconnect it, reconnect it and check whether it becomes visible. You can also restart your Mac with the interface connected.
On Windows:
Open the Start menu and search for Device Manager. Expand the sections labelled Sound, video and game controllers and Audio inputs and outputs.
Look for the name of your audio interface. Depending on the manufacturer and driver installation, it may appear under one or both sections.
You can also right-click the Windows Start button, select Settings and open System followed by Sound. Check the available input and output devices to see whether your interface is listed.
If your interface is missing from these locations, check the manufacturer's installation instructions and drivers before moving on to Cubase.

3. Select the Correct Audio Driver in Cubase
One of the most common solutions
If your computer recognises your audio interface but Cubase doesn't seem to use it, the next step is to check your audio driver settings.
Cubase needs to know which audio device you want to use. It won't necessarily select your external interface automatically, particularly if you've previously used your computer's built-in speakers or another recording device.
Open Cubase and follow these steps:
-
Open the Studio menu at the top of Cubase.
-
Select Studio Setup.
-
Find the Audio System section.
-
Look for the ASIO Driver option on Windows or the audio driver selection on macOS.
-
Select your audio interface from the available list.
On Windows, you'll generally want to select the dedicated ASIO driver supplied by your audio interface manufacturer. For example, if you're using a Focusrite Scarlett interface, look for the Focusrite USB ASIO driver.
On macOS, Cubase uses Core Audio, so select your audio interface from the available audio device options.
Once you've selected the correct device, Cubase should attempt to connect to it. You may see a short pause while the software establishes communication.
If your interface appears in the list but Cubase won't connect to it, continue to the next steps.
Important note for Cubase 16 users: Steinberg has moved the audio device configuration in Cubase 16. Instead of Studio Setup, open Preferences on macOS or Edit followed by Preferences on Windows, then select Audio. If you're using an earlier version, the Studio Setup instructions above apply.
4. Install or Update Your Audio Interface Drivers
If your audio interface isn't appearing in Cubase's driver list, there could be a problem with the software that allows your computer and interface to communicate. This software is called a driver.
Think of a driver as a translator between your audio interface and your computer. Without the correct driver, your computer might struggle to communicate with the hardware, even if everything is plugged in correctly.
Visit the official website of your audio interface manufacturer and find the downloads or support section. Search for your exact interface model and download the latest driver that is compatible with your operating system.
For example, Focusrite, PreSonus, Universal Audio, Steinberg, Audient and MOTU all provide their own software and drivers for supported interfaces.
Make sure you download the correct version for your computer. A Windows driver won't work on a Mac, and some manufacturers provide different installers for different operating system versions.
Once downloaded, follow the installation instructions carefully. You may need to restart your computer before Cubase can recognise the updated driver.
On Windows, always try the manufacturer's dedicated ASIO driver first. ASIO stands for Audio Stream Input/Output and is designed to help music software communicate with audio hardware with low latency. If your interface doesn't have a dedicated ASIO driver, Steinberg's built-in ASIO Driver is another option worth trying, although it may not provide all the features of your manufacturer's driver.

5. Check Whether Another Application Is Using Your Audio Interface
Sometimes Cubase cannot access your audio interface because another application is already using it.
For example, you might have Spotify, YouTube, Discord, a video editing application or another music production programme open in the background. Depending on your driver and audio settings, these applications can compete with Cubase for access to the same device.
Close any applications that might be using your audio interface. This includes other DAWs such as Logic Pro, Ableton Live, FL Studio or Pro Tools.
Once everything else is closed, restart Cubase and see whether your interface is detected.
On Windows, some ASIO drivers only allow one application to use the interface at a time. On macOS, Core Audio generally supports sharing devices between applications, but certain hardware configurations and manufacturer control applications can still cause conflicts.
If you regularly switch between Cubase and other programmes, check your interface manufacturer's settings to see whether it supports shared audio access.

6. Check Your Audio Inputs and Outputs
If Cubase can see your audio interface but you're still unable to record or hear anything, the problem might be with your audio connections inside Cubase.
Cubase uses something called input and output buses. These are essentially virtual connections that tell the software where your audio should come from and where it should go.
For example, if you plug a guitar into input one of your audio interface, Cubase needs to know that input one is available for recording. Likewise, if you want to hear your music through speakers connected to outputs one and two, Cubase needs to know where to send the sound.
In Cubase, open the Studio menu and select Audio Connections. In older versions, this may be labelled VST Connections. In Cubase 16, look for the corresponding audio settings in Preferences.
Select the Inputs tab and check whether your interface's available inputs are listed. If they're missing, try adding a stereo or mono input bus and assigning it to the appropriate hardware input.
Next, open the Outputs tab. Check that your main stereo output is assigned to the correct outputs on your audio interface. For a typical studio setup, this will be outputs one and two.
If you're using headphones connected directly to your interface, make sure the output routing is sending audio to the headphone or monitor output that you're actually using.
Once everything is connected, try playing an existing Cubase project. If you can hear the audio through your interface, the output connection is working correctly.
7. Check Your Sample Rate Settings
Another possible reason for audio connection problems is a sample rate mismatch.
The sample rate determines how many times per second your audio is digitally measured when recording or playing back sound. Common settings include 44.1kHz and 48kHz, although higher rates such as 88.2kHz and 96kHz are also available.
If your audio interface, operating system and Cubase are trying to use different sample rates, you may experience connection problems, audio dropouts or playback issues.
To check your settings, open your audio interface's control panel or configuration software. Find the sample rate setting and check what it is currently using.
Then check the sample rate of your Cubase project. You can usually find this under Project Setup.
For a straightforward home recording setup, 44.1kHz or 48kHz is a sensible starting point. Choose one and make sure your interface and project are using compatible settings.
Some audio interfaces also allow other applications to change the sample rate automatically, which can cause problems when switching between programmes. Closing other audio applications before opening Cubase can help prevent this.
If you're unsure, consult your interface manufacturer's instructions for the recommended sample rate configuration.
8. Check macOS Microphone and Audio Permissions
If you're using Cubase on a Mac, it's worth checking your privacy settings. macOS has security permissions that control which applications can access microphones and other audio input devices.
If Cubase doesn't have permission to access your microphone, you may find that your interface is connected but you're unable to record audio through it.
Open System Settings and select Privacy & Security. Find Microphone and look for Cubase in the list of applications.
Make sure the permission is switched on. If you've recently installed Cubase or updated macOS, you may need to approve this permission again.
Close Cubase and reopen it after changing the setting. Try recording through your audio interface again.
Also check that you're using a Cubase version compatible with your macOS version. Operating system updates can sometimes introduce compatibility issues with older audio drivers or software.

9. Restart Your Computer and Reconnect Everything
It might sound like an obvious solution, but restarting your computer can resolve a surprising number of audio interface problems.
Audio drivers and connected devices don't always initialise correctly, particularly if your computer has been running for a long time or has recently installed an update.
Close Cubase and shut down your computer completely. Disconnect your audio interface from its USB or Thunderbolt connection and switch it off if it has a separate power supply.
Wait around 20–30 seconds before switching your computer back on. Once your operating system has loaded, reconnect and power up your audio interface.
Give your computer a moment to recognise the device before opening Cubase.
If everything is working correctly, your interface should now appear in the audio device settings.
If the problem keeps returning, try connecting the interface to another computer. This is a useful way to establish whether the problem lies with your computer or the audio interface itself.
10. Try a Different USB Port or Cable
A faulty USB connection can cause all sorts of confusing problems. Your interface might power on, illuminate its LEDs and appear to be working normally, but still fail to communicate properly with Cubase.
Start by swapping your USB cable for another compatible cable. Make sure it supports data transfer, as some USB cables are designed primarily for charging and won't work correctly with audio equipment.
Try connecting directly to a different USB port on your computer. Avoid using extension cables, docking stations or USB hubs while troubleshooting, as these can introduce additional connection problems.
If you're using a USB-C interface, remember that not every USB-C cable or adapter offers the same functionality. Check that your cable supports the connection requirements of your particular interface.
For Thunderbolt interfaces, use a compatible Thunderbolt cable and port rather than assuming any USB-C connection will work.
If your interface works perfectly when connected to another port or computer, you've probably identified a connection issue rather than a Cubase software problem.

11. Update Cubase to the Latest Version
If you've tried everything above and your audio interface still isn't working, check whether you're running the latest update available for your version of Cubase.
Software updates can include bug fixes, compatibility improvements and changes to how Cubase communicates with audio hardware.
Open the Steinberg Download Assistant or visit the official Steinberg website to check for updates.
Make sure you're downloading updates for your existing Cubase version and that your computer meets the relevant system requirements.
It's also worth checking whether your audio interface manufacturer has released any driver updates specifically for newer versions of Cubase or your operating system.
Before installing major software updates, save your projects and make sure you have backups of any important recording sessions.
12. Still Not Working? Try Resetting Your Cubase Preferences
If your audio interface works with other applications but Cubase still refuses to recognise it, there could be a problem with Cubase's configuration files or preferences.
These settings store information about your audio devices, drivers and other programme preferences. Occasionally, they can become corrupted or retain settings from an old audio interface.
Before attempting a reset, make a backup of your important Cubase preferences and configuration files. Resetting them can remove custom settings, so you don't want to lose anything important.
Steinberg provides instructions for resetting Cubase preferences, including how to temporarily move the preference folder so Cubase can generate a fresh set of default settings.
Once you've done this, reopen Cubase and configure your audio interface again. If it now appears correctly, an old or corrupted preference was likely causing the problem.
If you're still experiencing difficulties, contact Steinberg support or your audio interface manufacturer's technical support team. Give them your interface model, computer operating system, Cubase version and details of the troubleshooting steps you've already tried. This will help them identify the issue much faster.
Improve Your Music Production Workflow with Editors Keys
Once your audio interface is connected and Cubase is running properly, you can start thinking about making your recording and editing workflow more efficient.
Whether you're recording guitars, producing electronic music, mixing vocals or working on a larger studio project, keyboard shortcuts can save considerable time when navigating your DAW.
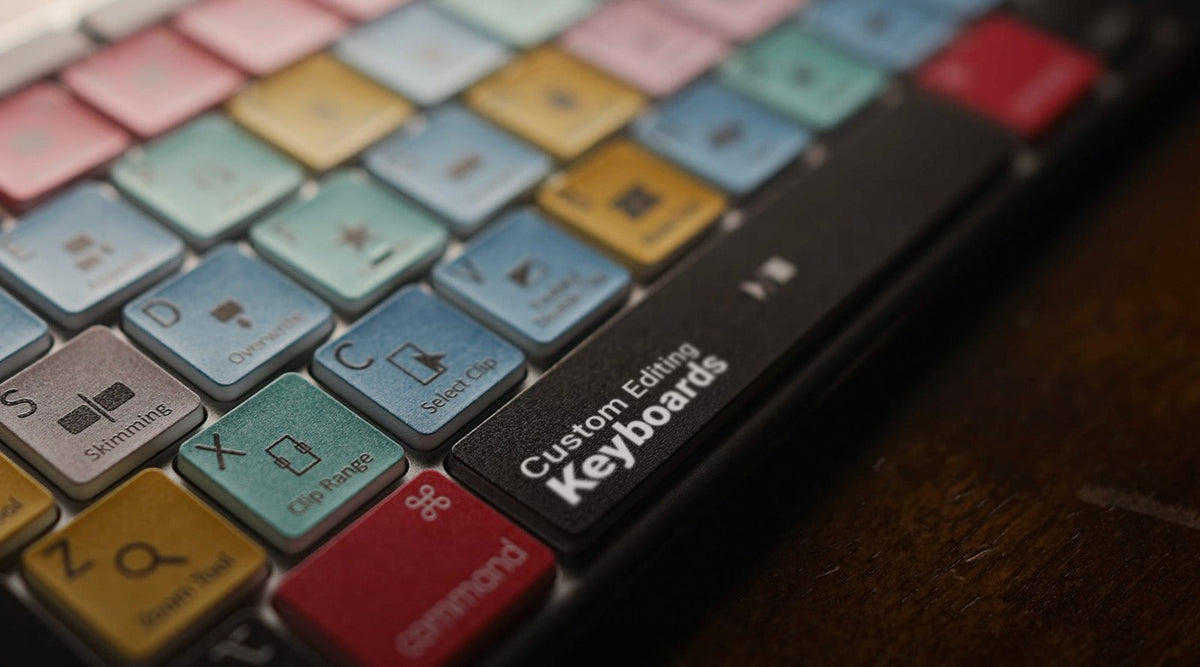
Editors Keys produces specialist shortcut keyboards and silicone keyboard covers designed to make music production and video editing easier. Rather than constantly looking up keyboard commands or trying to remember complicated key combinations, you can see the shortcuts printed directly onto your keys.
Our Cubase shortcut keyboards feature shortcuts mapped out for common production and editing tasks, helping you learn commands more quickly and spend less time navigating menus.
Explore the Editors Keys backlit keyboard range:
AB10 Air Wireless Backlit Shortcut Keyboard
A wireless backlit keyboard designed for a cleaner, more flexible studio setup. Its illuminated shortcut keys make it easier to work in darker recording environments, while wireless connectivity helps keep your desk free from unnecessary cables.
AB10 Core Wired USB-C Backlit Shortcut Keyboard
A wired alternative with USB-C connectivity and illuminated keys. Ideal for producers who prefer a direct, reliable connection to their computer and want their Cubase shortcuts readily available while working.
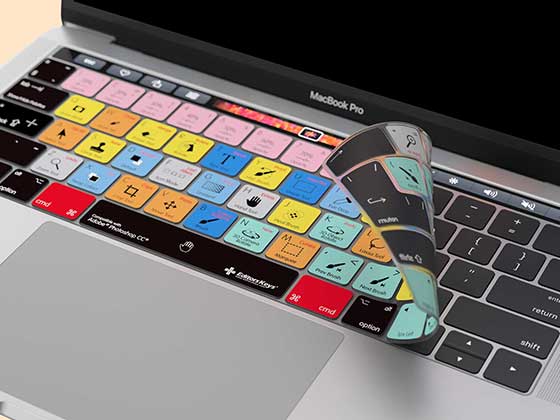
Silicone Shortcut Keyboard Covers
If you'd rather keep your existing keyboard, Editors Keys also produces specialist silicone shortcut covers for compatible keyboards. These feature the shortcuts for your favourite music production and editing software printed directly onto the keys. They're a simple way to learn commands, improve editing speed and protect your keyboard from dust and spills.
Whether you're a beginner learning Cubase or an experienced producer looking to speed up your sessions, having your most-used shortcuts directly in front of you can make everyday studio tasks much easier.
Explore the full range of Editors Keys shortcut keyboards and silicone covers and find the right setup for your studio.