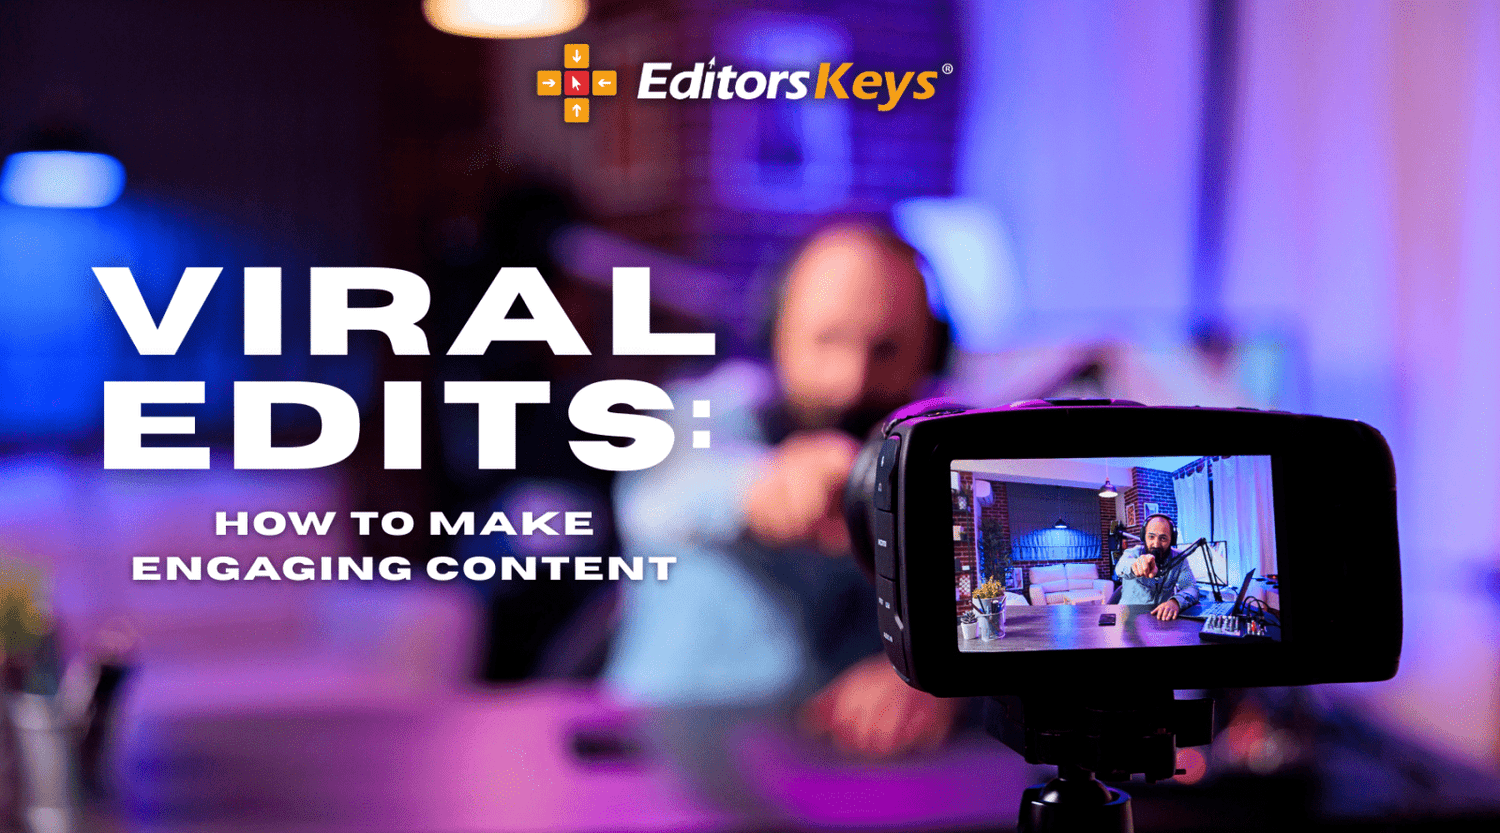
Whether you're a seasoned content creator or just starting out, understanding how to pace your edits, craft a story, and enhance visuals can be the difference between a scroll-past and a share. In this guide, we’ll walk you through the core techniques to create viral video edits that shine on YouTube, Instagram, TikTok, and beyond.
The First Few Seconds Matter Most
On social media, first impressions are everything. You’ve got just 1–3 seconds to hook your viewer before they swipe on.
Tips to Grab Attention Instantly:
-
Use Bright, Contrasting Colours: Bold colours stand out in a sea of muted thumbnails. Try warm tones like red, orange or vibrant pastels for that eye-catching first frame.
-
Start with Movement: Still frames don’t stop the scroll—motion does. A fast pan, zoom, or quick-cut intro keeps viewers curious.
-
Hook With a Question or Bold Statement: Start your video with a direct question (“Have you ever wondered how viral videos are made?”) or a dramatic statement to spark intrigue.
-
Add Captions Immediately: Many viewers watch without sound, especially on mobile. On-screen text ensures your message is received with or without audio.
Pacing: Keep It Tight, Keep It Moving
Pacing is what gives your edit energy. Think of it as the rhythm of your story. Too slow, and your audience loses interest. Too fast, and your message gets lost.
Best Practices:
-
Trim the Fat: Cut any clip that doesn’t serve your story. Shorter is often better, especially for Reels and TikToks.
-
Jump Cuts & Match Cuts: Jump cuts keep things snappy. Match cuts (matching the movement or framing between shots) help transitions feel smooth and intentional.
-
Use Beat-Driven Editing: Sync cuts to the beat of a music track. This technique adds an unspoken rhythm that keeps viewers engaged, even subconsciously.

Motion Graphics: Visual Glue That Holds It All Together
Motion graphics are more than just eye candy—they’re essential for guiding your viewer, reinforcing your message, and giving your videos that slick, professional edge. Whether you’re editing a fast-paced TikTok, a YouTube tutorial, or a branded Instagram Reel, well-placed motion graphics can completely transform the look and feel of your content.
They don’t just make things look better—they make your content more engaging, accessible, and memorable.
Where to Use Them:
▶ Intros and Outros: Set the Tone & Drive Action
A strong branded intro immediately signals that your content is high-quality and intentional. It builds trust and makes your work feel professional, even if you're a solo creator filming on your phone.
-
Keep intros short and sharp—ideally under 3 seconds.
-
Use your logo or a quick name animation to create brand recognition.
-
In your outro, use motion graphics to drive actions like:
-
“Subscribe for more”
-
“Follow for tips”
-
“Watch the next video”
These subtle visual cues can really increase engagement and retention.
-
▶ Text Callouts: Highlight Key Points & Add Personality
Animated text helps to reinforce spoken information, add context, or inject humour. It’s especially useful in social media content where many viewers watch with sound off.
-
Use bold, readable fonts that contrast well with your background.
-
Keep it minimal: no more than a few words on screen at a time.
-
Animate with purpose—whether it’s a slide-in for emphasis, a bounce for energy, or a flicker for urgency.
-
Use colour and motion to highlight your message without distracting from it.
▶ Animated Icons & Transitions: Keep Things Moving
Adding small animated icons (like arrows, emojis, or reaction symbols) can make your video feel more lively and interactive, especially in formats like tutorials, reviews, or vlogs.
Seamless transitions between scenes also help maintain momentum and make your video feel more cohesive and professionally edited. Use wipes, fades, zooms, or slides—whatever suits your style and tone.
-
Match your transition style to your content—fast cuts for energetic content, smooth dissolves for cinematic videos.
-
Avoid overusing flashy effects—consistency is key to good design.

Tools to Speed Up Your Workflow
If you’re editing in Final Cut Pro or Adobe Premiere Pro, it’s easy to get bogged down tweaking keyframes or searching through menus. That’s where motion graphic templates and tools from Editors Keys come in.
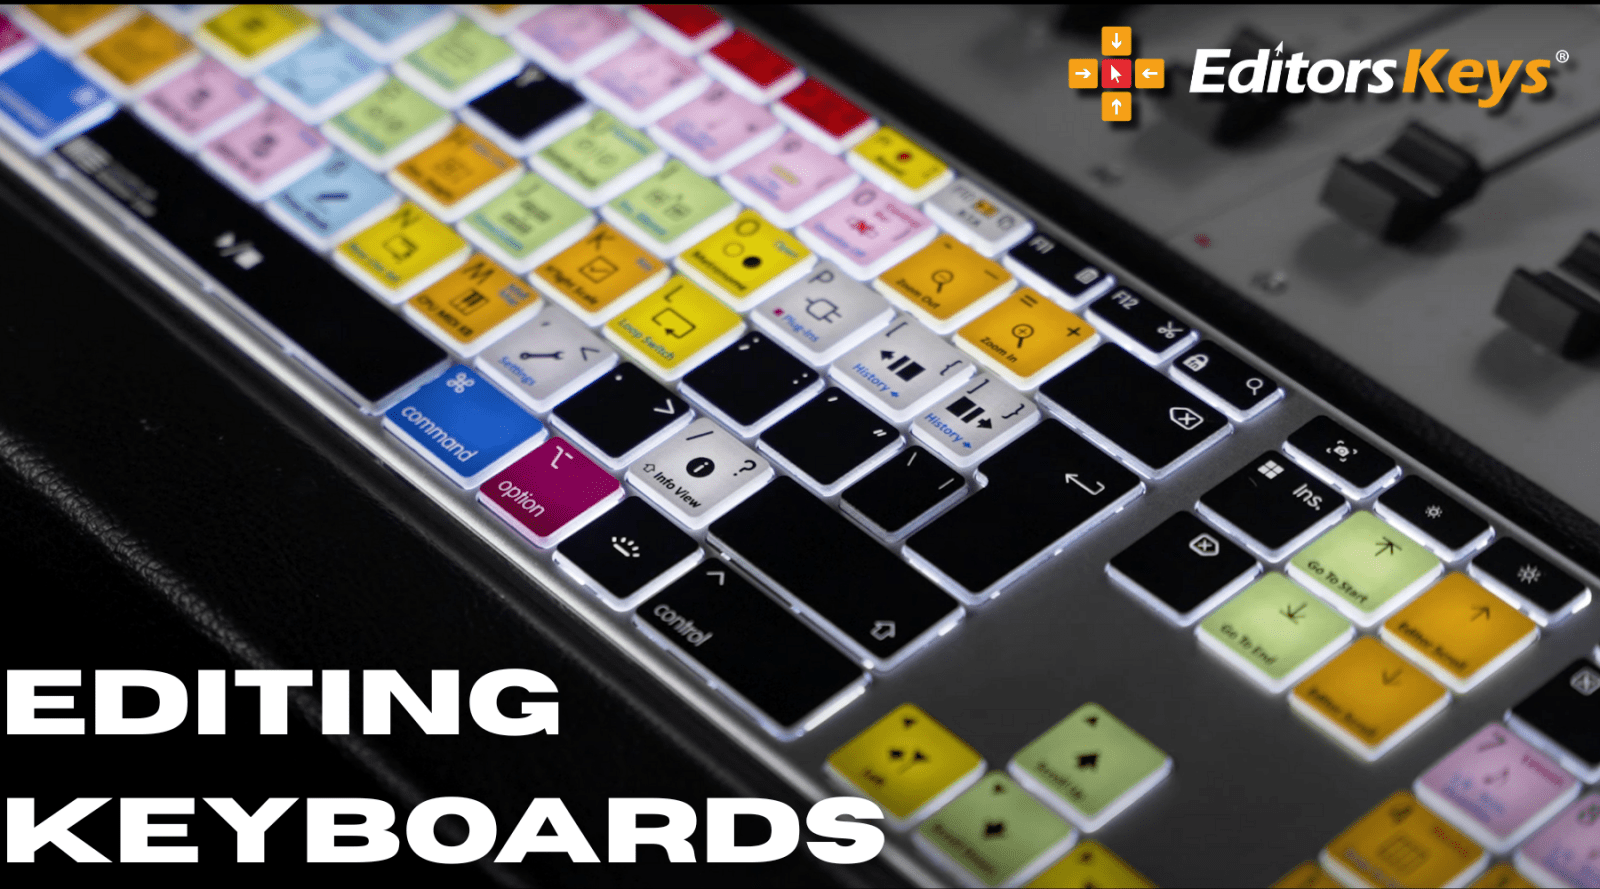
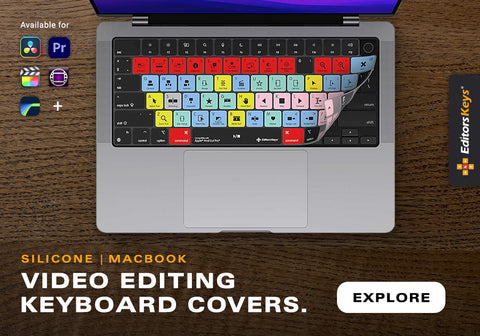
▶ Editors Keys Shortcut Keyboards and Covers
These are designed specifically for video editors, featuring colour-coded shortcut labels for Final Cut Pro, Premiere Pro and more. With these at your fingertips, you can:
-
Work faster and more efficiently.
-
Spend less time on repetitive tasks.
-
Focus more on creativity and storytelling.
▶ Time-Saving Motion Graphic Packs
Pair your editing software with pre-made templates or plug-ins that can instantly add animated titles, transitions, or lower thirds—without needing to be a motion graphics expert.
It’s a smart way to boost production value while keeping your editing process streamlined.
Motion graphics should serve the content, not distract from it.
Use them to enhance, clarify, and guide—not overwhelm. Think of them as the subtle glue that keeps everything flowing together.
Whether you're creating short, snappy content for Reels or longer tutorials for YouTube, mastering motion graphics (even at a basic level) will set your videos apart and make them feel a cut above the rest.
Tell a Story: Emotion Over Information
Think of your video like a mini narrative—even if it’s short. A clear, simple structure can turn even the most basic piece of footage into something compelling and memorable.
1. Hook (0–3 seconds): Grab Attention Immediately
This is your moment to stop the scroll. You only get a few seconds to convince someone to watch, so make this count.
Tips:
-
Use a bold visual (e.g., close-up, unusual angle, fast action).
-
Open with an emotional question: “Ever felt like giving up on your dreams?”
-
Start mid-action to build curiosity: “I wasn’t supposed to film this...”
-
Use sound or text to tease what's coming: “Watch till the end to see what happened.”
2. Problem or Setup: Establish the ‘Why’
Once you’ve grabbed attention, set the scene. This could be the context, the challenge you're facing, or the subject you’re addressing.
Tips:
-
Keep it brief but relatable.
-
Introduce a tension or curiosity gap: “I tried editing a video blindfolded...”
-
Let your audience know why they should keep watching: “Here’s how I turned basic phone footage into a cinematic masterpiece.”
This section builds anticipation and invites the viewer to invest their attention.
3. Climax or Payoff: Deliver the Value or the Wow Moment
This is where you deliver on your promise. It could be the tutorial tip, the transformation, the reveal, or even the punchline.
Tips:
-
Be clear and concise—don’t bury the lead.
-
Use creative editing or sound design to enhance the impact.
-
Make sure the moment is emotionally satisfying—something that feels worth the watch.
If your video teaches something, this is where the lesson lands. If it's entertainment, this is where the biggest laugh, gasp, or twist happens.
4. Call to Action: Tell Them What to Do Next
You’ve got their attention—now guide it. Don’t let the moment go to waste. Whether you want engagement, a follow, or a visit to your website, now’s the time to ask.
Tips:
-
For short-form content: “Follow for more editing tips”, “Tag a friend who needs this”, “Save this for later!”
-
For longer content: “Hit subscribe for weekly videos”, “Check the link in the description for the full tutorial”
-
Keep it casual and on-brand—don’t be pushy, be helpful.

Transform iPhone Footage with Editors Keys iPhone LUTs
You don’t need a cinema camera to produce cinematic results. Our Editors Keys iPhone LUTs are designed specifically to make your mobile footage look professionally colour graded in seconds.
Why Use LUTs?
-
Instant Professional Look: Transform flat, dull video into stylised, vibrant content that pops.
-
Consistency Across Shots: Keep your edits looking clean and cohesive.
-
Optimised for iPhone Footage: Unlike generic LUTs, these are made with mobile sensors in mind—perfect skin tones, deep blacks, and true-to-life colour.
These LUTs work seamlessly with Final Cut Pro, Premiere Pro, DaVinci Resolve, and even mobile editing apps like LumaFusion. Simply drop in the LUT, make minor tweaks, and you’ve got a polished, cinematic-grade edit.

Bonus Tips for Creating Viral Content
Here are a few final pointers to give your content the best chance of going viral:
-
Use Sound Strategically: Trending audio, sound effects, and music drive discoverability and engagement.
-
Post at the Right Time: Early mornings or evenings (when users are free) tend to perform best.
-
Engage With Comments: The more interaction, the more likely platforms will promote your content.
-
Thumbnails Matter: For YouTube, create custom thumbnails with big text, expressive faces, and contrast.
Final Thoughts
Creating engaging, viral content isn’t about luck—it’s about strategy. With the right pacing, compelling motion graphics, smart storytelling, and a touch of visual polish (thanks to tools like our Editors Keys iPhone LUTs), you’re well on your way to making content that stops thumbs and starts conversations.
Whether you're editing on a MacBook with Final Cut or shooting on your iPhone, these principles will help you stand out in a crowded feed.
Ready to upgrade your content?
Explore our shortcut keyboards and iPhone LUTs today.