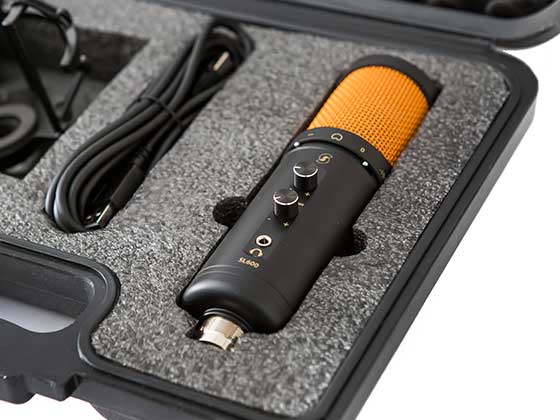

When people think about creating great videos, most of their attention goes towards camera settings, colour grading and cinematic visuals. While these elements are important, one thing consistently separates amateur videos from professional productions: high-quality audio.
Viewers will often forgive slightly imperfect visuals, but poor audio can quickly make even the most beautiful footage feel unprofessional. Crackling dialogue, inconsistent volume levels or distracting background noise can all cause people to click away from your content.
Fortunately, you don't need to be an experienced sound engineer to dramatically improve your audio. DaVinci Resolve includes a range of powerful tools that allow beginners to create clean, polished sound with just a few simple adjustments.
In this guide, we'll cover the essential audio techniques every DaVinci Resolve editor should know to produce more professional videos.
1. Understand Your Audio Timeline
Before making any adjustments, it's important to understand how audio works inside the DaVinci Resolve timeline.
Whenever you import a video clip, DaVinci Resolve automatically places the video track above and the audio track below. Although they're linked together by default, the audio can be edited independently whenever needed.
This allows you to:
-
Trim the beginning or end of an audio clip.
-
Move audio independently from the video.
-
Separate audio from video when required.
-
Arrange dialogue, music and sound effects across multiple tracks.
Keeping your timeline organised from the very beginning makes editing significantly easier later in your project. Naming tracks, grouping similar audio together and avoiding unnecessary clutter all contribute to a much smoother editing workflow.

2. Set Your Audio Levels Correctly
One of the quickest ways to improve your video's sound is by adjusting the overall volume of each clip.
Click on an audio clip in your timeline and you'll notice a white horizontal line running through the centre. This controls the clip's gain.
-
Drag the line upwards to increase the volume.
-
Drag it downwards to reduce the volume.
For spoken dialogue, a good general target is between -6 dB and -3 dB. This gives your voice enough presence without pushing the signal into clipping or distortion.
If your levels regularly hit 0 dB, the audio may begin to distort, creating unpleasant clipping that can be difficult to repair later. Keeping your dialogue comfortably below this ceiling leaves enough headroom while maintaining a strong, clear sound.
3. Add Smooth Audio Fade Ins and Fade Outs
Abrupt audio cuts can sound harsh and distracting, especially when moving between different clips or adding background music.
DaVinci Resolve makes this incredibly easy.
Each audio clip includes small fade handles at both ends. Simply drag these handles inward to create:
-
Smooth fade-ins at the beginning.
-
Gentle fade-outs at the end.
These short fades help eliminate sudden starts and stops while creating much more natural transitions throughout your edit.
They're particularly useful when:
-
Cutting between interview clips.
-
Introducing background music.
-
Ending scenes cleanly.
-
Blending ambient sound.
Even subtle fades can make a noticeable difference to the overall professionalism of your video.

4. Reduce Background Noise
Almost every recording contains some unwanted background noise.
Whether it's computer fans, air conditioning, distant traffic or room ambience, these distractions can pull attention away from your subject.
DaVinci Resolve includes useful noise reduction tools within the Fairlight page.
To reduce unwanted noise:
-
Open the Fairlight workspace.
-
Open the Mixer.
-
Select the track containing your dialogue.
-
Enable Noise Reduction (if available in your version of DaVinci Resolve).
The key here is subtlety.
Applying too much noise reduction can leave voices sounding unnatural, muffled or robotic. In most situations, a gentle amount of processing removes distractions while preserving the natural quality of the recording.
Think of noise reduction as polishing your audio rather than completely removing every tiny background sound.
Free: the complete DaVinci Resolve shortcuts PDF
Every default Resolve shortcut, grouped by page, including the colour trim keypad. A4, printable, grouped by task. Pop your email in and we'll send it straight over.
We'll email the PDF straight over, then the occasional tip. Unsubscribe any time.
5. Use Background Music Properly
Background music can completely transform the mood of a video.
It adds energy, emotion and atmosphere while helping your edits feel more engaging. However, many beginners make the mistake of allowing the music to overpower the dialogue.
Instead:
-
Place your music on a separate audio track beneath your voice.
-
Lower the music level until it supports rather than dominates.
-
Ensure dialogue remains the clearest element throughout the video.
A simple rule is this:
If viewers have to concentrate to understand what you're saying, your music is probably too loud.
Professional mixes always prioritise speech first, with music acting as subtle support rather than competition.

6. Always Check Your Audio Before Exporting
One of the biggest mistakes editors make is exporting immediately after finishing their edit.
Instead, spend a few extra minutes reviewing your entire timeline.
Listen carefully for:
-
Sudden volume jumps.
-
Clipping or distortion.
-
Music that's too loud.
-
Missing words or awkward edits.
-
Pops and clicks.
-
Abrupt transitions.
-
Audio that feels unbalanced.
It's also worth listening through multiple playback devices.
Try your:
-
Studio monitors.
-
Laptop speakers.
-
Headphones.
-
Even your phone speakers if possible.
Audio can sound very different depending on the playback system. A quick final check can prevent the frustration of uploading a video, only to discover problems afterwards.
Speed Up Every DaVinci Resolve Editing Session with Editors Keys
Learning keyboard shortcuts is one of the fastest ways to become more efficient inside DaVinci Resolve. Instead of constantly searching through menus, you can perform common editing tasks almost instantly using keyboard shortcuts. Over time, these shortcuts become second nature, allowing you to edit faster while keeping your focus on the creative process.
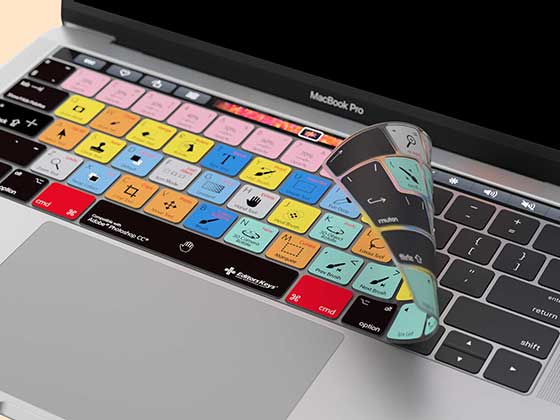
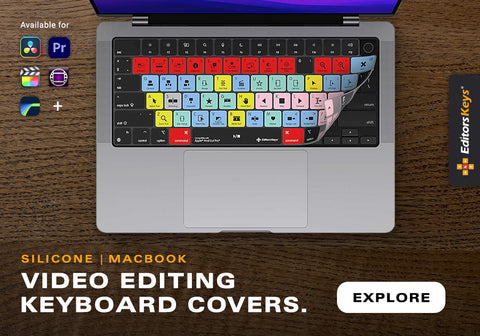
That's exactly why the Editors Keys DaVinci Resolve shortcut keyboards and keyboard covers were created.

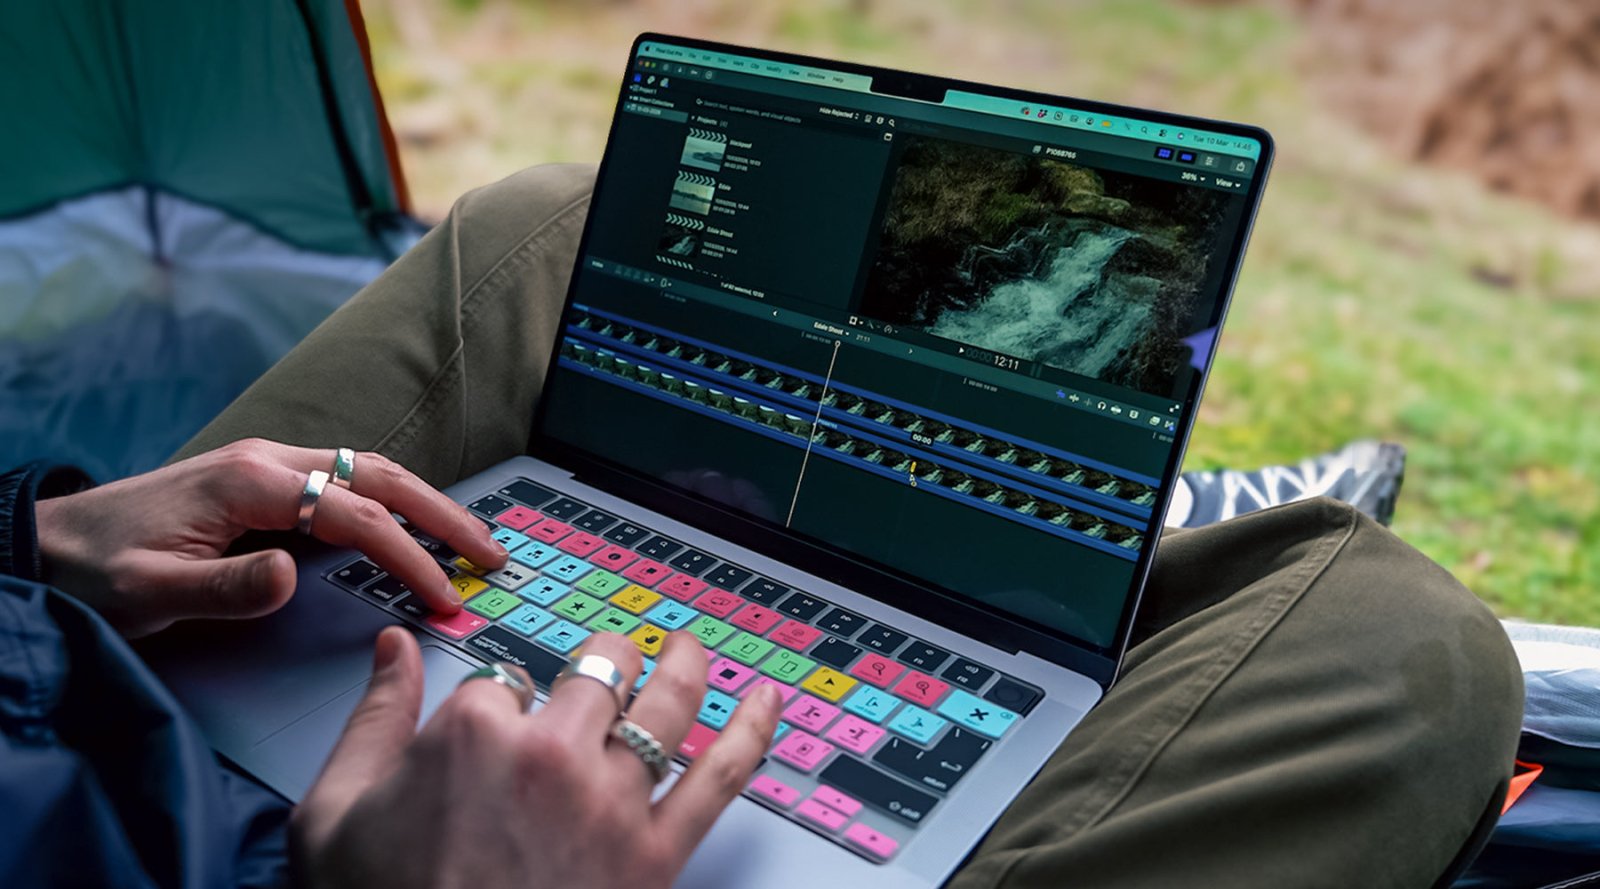
Every key is colour-coded and clearly labelled with DaVinci Resolve's most useful shortcuts, including commands for:
-
Timeline editing
-
Playback controls
-
Cutting and trimming
-
Audio editing
-
Fairlight tools
-
Colour grading
-
Effects
-
Media management
-
Navigation
-
And much more
Rather than memorising dozens (or even hundreds) of keyboard shortcuts from documentation, the shortcuts are always visible right in front of you, helping you build muscle memory naturally while you edit.
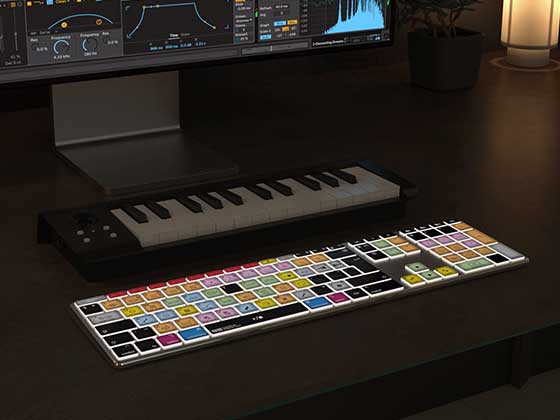
The Editors Keys range includes both the AB10 Core wired keyboard and the AB10 Air wireless Bluetooth keyboard. The wireless model can even pair with multiple devices, making it ideal for editors who work across Macs, Windows PCs or compatible tablets.
If you're serious about improving your editing speed, reducing time spent navigating menus and becoming more productive in DaVinci Resolve, an Editors Keys shortcut keyboard or keyboard cover is one of the simplest upgrades you can make.
Final Thoughts
Professional-looking videos deserve professional-sounding audio. The good news is that achieving clean, polished sound in DaVinci Resolve doesn't require expensive equipment or years of audio engineering experience. By learning the basics—organising your timeline, setting proper audio levels, smoothing transitions, reducing background noise, balancing music and thoroughly checking your mix before export—you can dramatically improve the quality of every project you produce.
Mastering these core techniques provides a strong foundation that you'll continue building upon as your editing skills grow.
And if you want to edit even faster while learning DaVinci Resolve's most useful shortcuts naturally, explore the range of Editors Keys DaVinci Resolve shortcut keyboards and keyboard covers. They're designed to help videographers, YouTubers, content creators and professional editors work more efficiently, spend less time searching through menus and more time creating outstanding videos.
Make sure you watch our full Youtube video below!