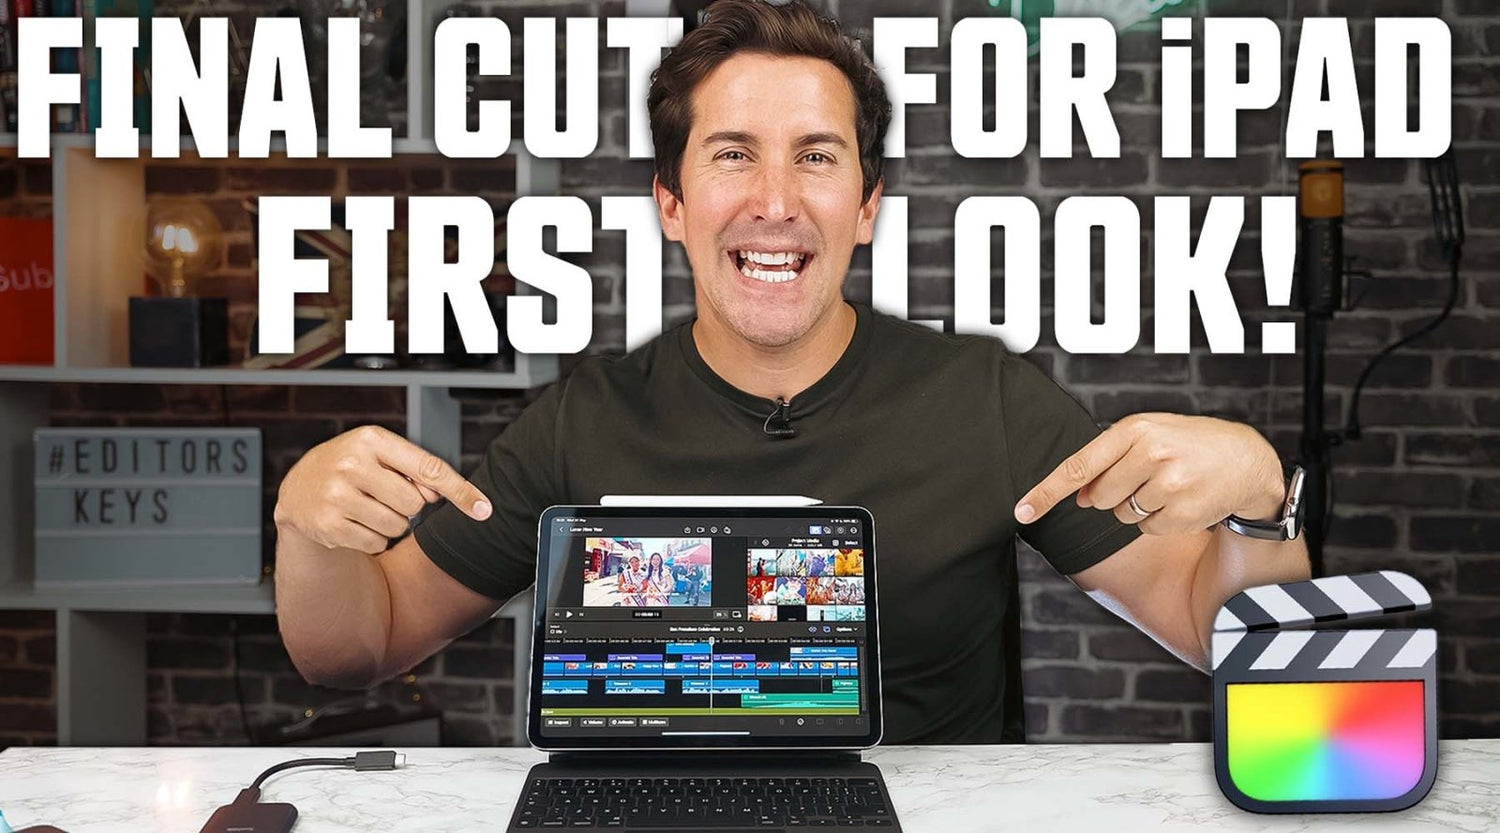
Well, it's finally happened....Final Cut Pro is available on the iPad! Now you can take your video editing workflow on the go with you! This will surely be a game-changer for many many videographers everywhere as now they won't be limited to a Mac computer at a desk, or carrying around a big chunky Macbook Pro with them onto a plane/train etc - their humble iPad Pro will do. If you're familiar with Editors Keys, you'll know that we have a lot of Final Cut Pro content on our channel, and our website! It's one of our best selling ranges of products on our site, so when we heard about it landing on iPad, we just had to check it out for ourselves.
In this blog, we're going to have a run through the whole interface and check out how this version of Final Cut Pro works on the iPad (while it is the same program, certain features and things differ from the desktop version, and some are exclusively for the iPad) Everything from importing to exporting a project, showcasing the new features and tools and we'll also have a look at some of the things that are missing from it, so let's get into it!
Creating a new project
Upon opening Final Cut, you be greeted with the projects page, if you haven't started any projects yet then it'll be blank - you can start a new project by clicking on the "New Project" button in the bottom left of the screen, you can select the timeline settings if you want to adjust things like resolution, orientation, colour space and frame rate. After that's done you're ready to start importing your media into your timeline and something we've noticed is that you can import your footage from an external SSD drive, but you can't edit directly from a hard drive which is a bit of a shame because this is something that you can do in LumaFusion. Personally we like to keep things organised and backed up, so editing projects directly to a hard drive is a good way of keeping things in order and in the same place, unfortunately you'll have to import your files directly to your iPad in order to get them into your project. We hope that Apple changes this in a future update because it would certainly make the process a lot easier for video editors who have a lot of clips and media to work with, maybe a large project or movie.
While you're selecting your files to import, another thing that we noticed is that you can't select multiple clips or folders to import into your project, they have to be selected one-by one which, again, isn't exactly preferable - especially for huge projects with a lot of media, and they can't even be previewed at this stage so it's a bit of a gamble which clips you're going for (unless you've memorised the thumbnails) We really like the design and user interface as it does look a lot like the desktop version of FCPX, it's a very similar layout so anyone who's used to that version will be able to navigate their way through this with relative ease. There are a few differences to the desktop version however, so let's have a look!
Starting at the top of the screen, we can see four buttons in the middle of the top menu bar. The first from the left is the import button where you can import media from your iPad photos app, or from the files app. Next to that is the camera button, so you can actually capture high quality, hi resolution video straight from your iPad into your project. You can control things like the shutter speed of the iPad camera, which is quite useful - you can also record voiceovers for your projects here, but there doesn't seem to be a section purely for recording voiceovers which does seem like a missed opportunity, but perhaps it'll be introduced in later updates. This is the first release version of the app so there will be certain things built upon in future versions.
Next to the camera button is the marker tool which is a new addition that's exclusive to the iPad version of FCPX. When you've imported your clips into the timeline, you can select a clip and actually draw a title onto it, using the touchscreen or Apple Pen. Final Cut will then animate that title being drawn on, it's a super cool and quirky feature that adds a fun touch to the editing process. It's a good way of being able to quickly add a small title, note or pointer towards something in the clip - the drawing animation looks good when played back and we think it'd be very useful perhaps for Youtubers or vloggers. Unfortunately this isn't available on the desktop version, so you'd have to do this on the iPad version and then send it across to the desktop version if you wanted to, but the touchscreen and Apple Pen are better suited for this feature (especially for handwriting)
Next to the marker tool is the export button, which allows you to export your project as a full video, audio only or even just the current frame that's selected. You can also export the Final Cut project if you want to continue it on the desktop version of FCPX. Further along to the right side of the screen, we have our project media where all our imported clips can be found, options for video effects and the option for the jog wheel feature, which we'll get into momentarily. Similar to the desktop version, you can add keywords to your clips in the project library and you can also mark in and out on a video clip by pressing the I and O keys, just like in the desktop version, or you can just drag your finger to select the in and out points for the clip.
Inspector
Taking a look at the inspector, we noticed that in the desktop version this is normally in the top right of the screen - As this version of Final Cut is made specifically for the iPad and for touch screen control, we like that Apple has clearly thought out the user interface, as well as the placement of buttons and menus to correlate this. When using an iPad your thumbs are nearly always going to be towards the bottom of the screen, especially if the iPad is just sat on your lap and not in a holder/Magic Keyboard Folio. In the bottom left we have options like "inspect" "volume" "animate" and "multi-cam".
Upon selecting the "inspect" menu, we can see options for things like clip speed (unfortunately there isn't any speed-ramping available at the moment, we're hoping it gets introduced in a future update!) We can set the opacity of a clip so that , when placed on top of another clip, it can be more or less visible depending on what the opacity is set to. We also have the blend modes which will blend layers based on their colour hue and can result in different colour modes and looks. Below that, we have a very cool feature which we'll be doing a full video on very soon - Colour conversion! Have you ever imported an HDR shot from your iPhone into Final Cut and it looks so blown out and over saturated? Well the colour conversion feature is going to fix that all for you - simply drag your clips in and FCP will automatically detect and fix the colour profile for you, make everything Rec 709 and just make it look so much better! It's been in Premiere for a few weeks and we're so glad that it's in Final Cut now as well.
Along the top we also have our transform options, so things like cropping, rotation, positioning, scale to fit, anchor points as well as additional cropping tools such as Ken Burns and auto-crop. Next along are the audio controls for the selected clip so you can adjust things like the clip volume, panning, fade ins and outs. We also have some great enhancement tools that are also available in the desktop version of Final Cut and they're super useful for things like voice isolation, loudness and noise removal. If you've used these before, it basically means that you can use a sub-par microphone, turn on these sound options and the will audio will come out sounding a lot better, if there's any background noise this'll get rid of it and does so pretty well.
Next along, we have the effects menu, which is where things can get a little bit tricky. Normally when editing video, one of the first things you change is the colour adjustments of the clips, and we like to use the colour wheels when adjusting clips. However, on the iPad version of FCP, there's only adjustable sliders for the colour levels, there's no colour wheels, scopes or histograms which is a shame, and we hope this changes in a future update of the program. You essentially just slide the sliders left or right to adjust the parameters of each setting (E.G: contrast, brightness, saturation, highlights, black point) but you'll have to do it by eye, due to the lack of much visualisation from any colour wheels or scopes. Of course, this is just the first version of FCP so hopefully this'll change in future updates because it is useful to have sort sort of visual aid when changing these kinds of things. Like we said, this is super useful and you'll be able to do some pretty basic to intermediate colour corrections, you just won't be able to know if they sit within the parameters that you're looking for.
Jog-Wheel
On the right of the screen, we can see a translucent wheel which we can make appear or disappear. This is basically a digital version of a jog dial/jog-shuttle and what it allows you to do is precisely cycle through your clips frame-by-frame throughout your project in order to find the exact right moment that you're looking for, you can click on the cross to minimise the shuttle, move it around the screen to a more preferable position or click on it's icon in the top bar to disable it completely.
Multi-Cam
Next up is multi-cam, used for if you have multiple camera clips of the same footage. Simply create a new multi-cam clip, select and import the multi-cam footage that you want, FCP will synchronise the audio and then you can really easily tap on which clip you'd like as the project is playing which creates an edit. We think this makes multi cam a bit easier a more fun to use when editing, it makes great use of the touch screen feature as well. You can tell that Apple really took some time to think about the user interface and the layout when they were designing this iPad version of Final Cut.
Effects, Transitions, Titles Etc.
There are a lot of effects and such in the iPad version of FCP, a lot of which come from the desktop version as well, so a lot of familiar effects and titles for keen users of the program. We have colour effects like black & white, hard light, negative, hue & saturation which are all good for little adjustments to your clips. We also have blur effects and distortion effects like fisheye, mirror and kaleidoscope. We also have a new feature: Scene Removal! We'll get into this in a future video/blog as it deserves it's own. We've done a lot of videos where text will mask behind the subject of the shot, this will essentially do that for you, but pretty much instantly so keep an eye out for that one.
Next along we have the transitions page, which contains all the classic transitions needed for a project, everything we've seen in the desktop version. We're actually quite surprised at the amount of effects, transitions and features that Apple have brought through to the iPad version, as well as completely new ones that are exclusive to the iPad. There's also a wide selection of title pages to choose from, all of which can be tweaked and edited to fit your taste and whatever suits your project best. There's also dynamic backgrounds which work especially well in contrast with the scene removal tool.
We also have the soundtracks list. Now there isn't hundreds of tracks to choose from, but they have produced a few really good ones that can be used in your projects. Just like with the desktop version, you do have the options to turn certain timeline options on and off, like snapping and position. You can also edit the appearance of the timeline like the clip height and the audio meters if you choose.
What we like about this iPad version is that Apple are including most of the keyboard shortcuts from the desktop version, certain shortcuts like for the blade tool seem to be missing at the moment, but we're going to include it in our Editors Keys Final Cut Pro shortcut cover for the iPad Magic Keyboard, because we have a feeling that they're going to add the desktop shortcuts for currently missing tools like the blade and marker. Makes sure you keep your eyes peeled for that (you can sign up to our mailing list on our website so that you'll get notified when they drop)
Final Cut for iPad can also be used in conjunction with the Apple Pencil, we don't usually use the Apple Pencil for editing, but we love this little feature that Final Cut has for it. If you hold the pencil over the touchscreen, but not actually touching it then you can use it to hover through your timeline and drag it across, previewing clips as it goes. It's great for looking through your timeline without actually editing anything on it, and we're super excited to see what other new features Apple add for this as well.
Exporting
Say we finally want to export our masterpiece, we hit the Export button at the top of the screen and we're met with a large list of options to export. We can export the whole project as a video, export the audio only, export the current frame of the project, or even export the entire project as a Final Cut project, which we can then later re-open in the desktop version. Apple have made the process super easy, which we like - You can choose high quality which does a ProRes 422 which will be a huge file. You've also got smaller sizes and then you also have an option just for social platforms so if you're uploading to Youtube, Facebook, TikTok, Instagram etc then this is the one to use. You can then choose the video codec, resolution, file type and colour space.
LUTs
One little thing that is a bit frustrating is that, at the moment, there's no way to add your own custom LUTs. We think that this will most likely be sorted in a future update for Final Cut, as almost everyone who's in videography uses LUTs at some point, whether it's fixing up a shot from a DJI drone, or just to make a shot look more cinematic style. Maybe you've got some of our Editors Keys LUTs at hand, sadly they won't work on Final Cut for iPad at the moment, but we're pretty certain that they'll be available soon
Recording Voiceover
At the moment, there doesn't look to be a way to record voiceovers in Final Cut Pro for iPad, but we've found a little way to do it on the iPad built-in camera. Firstly you'll need to plug in your USB microphone, for this we used our own Editors Keys SL600 with a USB-C cable, and then click on the camera icon at the top of the screen. Obviously we're not going to record a video, but you'll see a little volume icon in the bottom left of the screen which bring up a menu showing us our input sources and we can see that the input has changed from the iPad's microphones to our own SL600 mic.
We're then going to hit record and it's going to record a video but it'll record the audio through the USB microphone straight into the iPad and then you can simply detach the audio or hide the video, whichever works for you. At the moment, this is the only way to record a voiceover on Final Cut for the iPad, so it's a bit clunky but it's a good workaround if you do need to record a voiceover for your video.
That's our very quick first look into Final Cut for iPad, we'll be releasing a full beginners video for it very soon so if you're looking to learn all the tools and tricks, we'll be showing how to use the automatic scene removal tool and we'll be showing you how to take a project from the iPad to the desktop and then working on it that way. So if you want to learn more about Final Cut for iPad then stay tuned and be sure you're subscribed to our Youtube channel! Check out our video on FCP for iPad below!