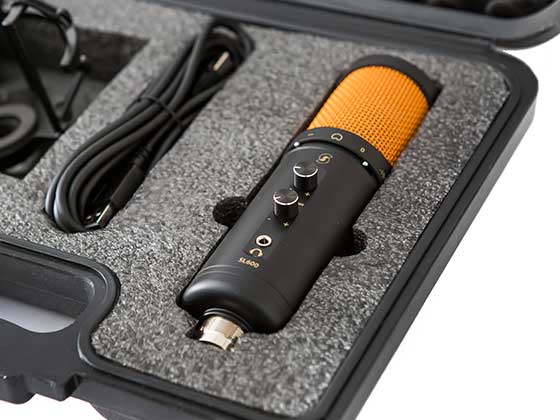
If you’ve just picked up a USB microphone and want to start recording in Logic Pro, you might be wondering how to set it up correctly. The good news is that it’s simple to get started, and once you’ve done it once, it becomes second nature. In this guide, we’ll walk you through the process step by step using the Editors Keys SL600 USB Microphone as an example.
Step 1: Plug in Your USB Microphone
Start by connecting your USB microphone directly to your Mac, or if you're using a Macbook with USB-C ports then use a USB-C adapter. Logic Pro will recognise it as an input device once it’s connected.

Step 2: Create a New Project in Logic Pro
Open Logic Pro and create a new empty project. You’ll be presented with four track options. For recording vocals or instruments with a USB microphone, select Audio.
From here, you’ll see options such as:
-
Mic or Line
-
Guitar or Bass
Choose Mic or Line.
Step 3: Select Your USB Microphone as the Input
Under Audio Input, make sure your USB microphone is selected. If it doesn’t appear immediately, click the arrow to refresh the list.
For best results, set both the Input Device and Output Device to your USB microphone. This way, you can use the headphone output on the mic itself to monitor your recordings.

Step 4: Adjust Buffer Size for Low Latency
When you record with a USB microphone in Logic Pro, the buffer size determines how quickly your Mac processes audio. In simple terms, it’s the number of audio samples your computer holds before sending them to the software.
-
Lower buffer size (e.g. 32 or 64 samples):
Best for recording vocals or live instruments because it keeps latency (the slight delay between speaking/playing and hearing it back) to a minimum. This makes it easier to stay in time when recording. However, lower buffer sizes put more strain on your computer’s CPU, especially if you’re running lots of plug-ins or virtual instruments. -
Higher buffer size (e.g. 256, 512 or 1024 samples):
Best for mixing and editing, when you don’t need to record in real time. A higher buffer size eases the load on your CPU, reducing the chance of pops, clicks or glitches during playback with multiple tracks and effects running.
Step 5: Check Your Input Levels
Once you’ve created the track, speak into the microphone and watch the green level meter. This shows your audio levels in real time.
-
If the bar stays in the green, your levels are healthy.
-
If it hits yellow or red, your audio is too loud and may distort.
Most USB microphones, including the SL600, have a gain knob. Adjust this until your levels sit comfortably in the green zone. Aim for clarity without distortion.

Step 6: Enable Input Monitoring
Click the “I” button (Input Monitoring) on your track. This allows you to hear yourself through headphones while recording – perfect for vocal takes or singing over a backing track.
Step 7: Start Recording
When you’re happy with the setup, simply hit the red record button or press R on your keyboard.
You’ll see your voice or instrument appear as a waveform on the track. If it looks too small, you can increase the gain slightly. If it’s too large and clipping, lower the gain until it looks balanced. Remember: you can always make recordings louder later, but you can’t fix heavy distortion.

Final Tips
-
Test your microphone levels while singing or speaking at the actual volume you plan to record with.
-
Keep an eye on the audio level to make sure you stay out of the red.
-
Use headphones to avoid audio feedback and to monitor your sound accurately.
That’s it – your USB microphone is now fully set up in Logic Pro and ready to record.
Be sure to check out the full video on our new Editors Keys Audio Channel below and stay tuned for more audio tutorials!


