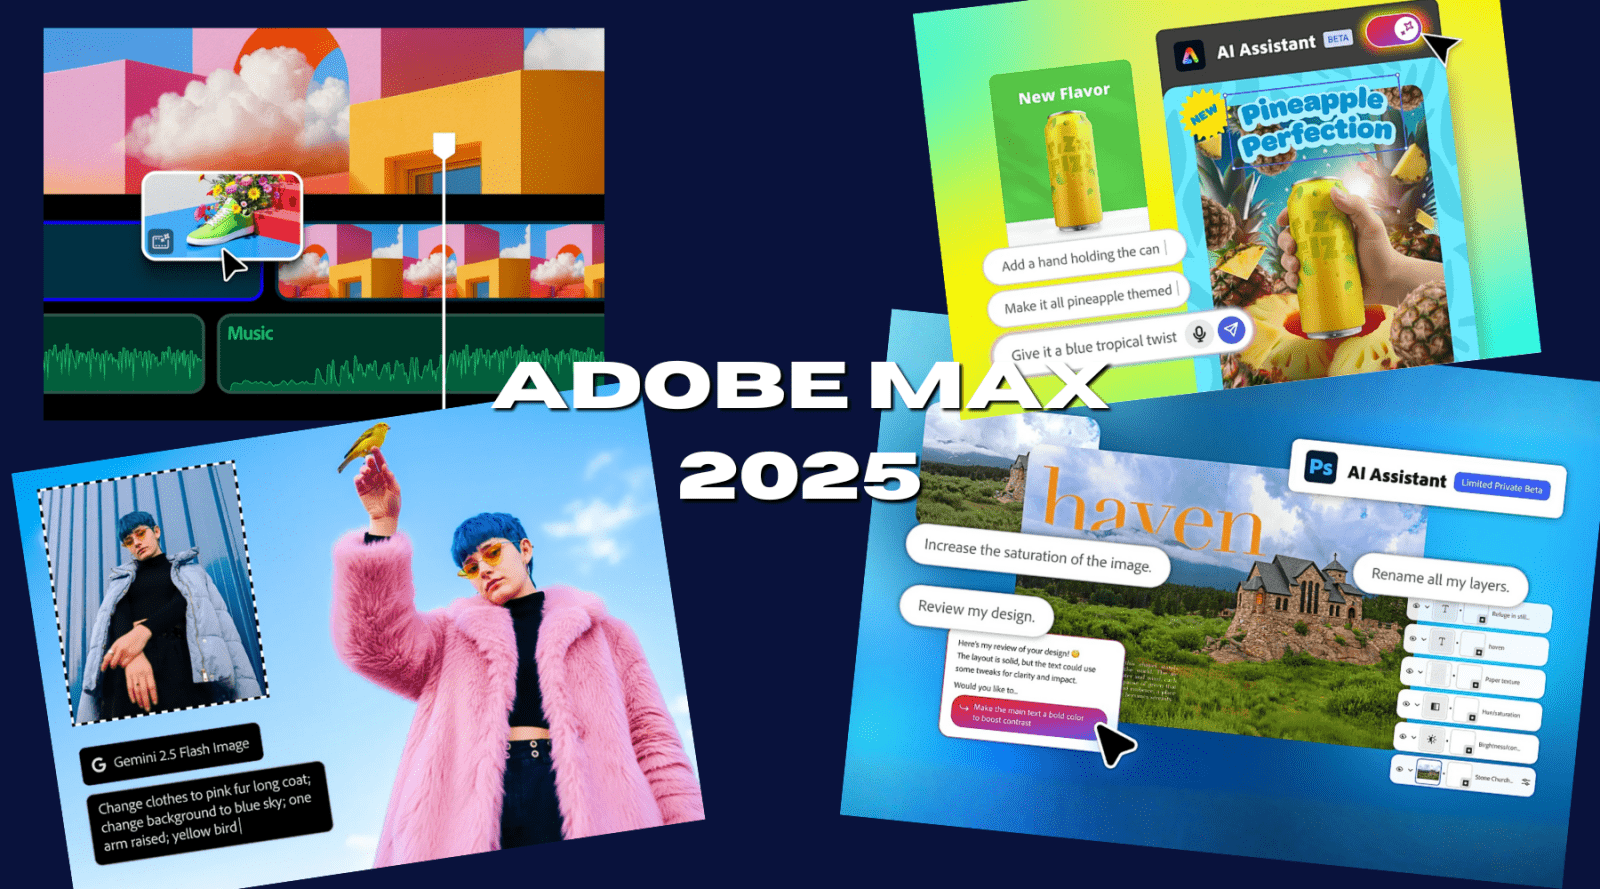
If you’ve ever spent hours painstakingly drawing around a moving subject frame by frame in Premiere Pro, you’re going to love this update. Adobe has just introduced a brand-new automatic masking tool — and it completely transforms how you can isolate subjects, add text behind objects, or colour grade specific areas in your video.
In this guide, we’ll walk you through exactly how to use Premiere Pro’s new Object Mask Tool, step by step, and show you the creative possibilities it unlocks.
What Is the New Object Mask Tool?
The new Object Mask Tool (sometimes referred to as the automatic masking or rotoscoping tool) uses Adobe’s Sensei AI to automatically detect and track people or objects in your footage.
Instead of manually keyframing masks around a moving subject, you can now simply hover over an object — and Premiere will intelligently select and track it across your timeline. It’s fast, accurate, and opens the door to effects that were once reserved for After Effects.

Step 1: Accessing the Object Mask Tool
Make sure you’re using the latest version of Premiere Pro, or if the feature hasn’t yet rolled out to your version, download the Premiere Pro Beta from Creative Cloud.
-
Import your clip and select it in the timeline.
-
On the left-hand toolbar, locate the Object Mask Tool.
-
Hover over your subject — Premiere will automatically highlight the area it detects.
-
Click once, and the mask is created.
You can also choose from Lasso or Rectangle selection tools if you want more control over the area you’re masking.
Step 2: Tracking the Mask Automatically
Now that your object is selected, it’s time to let Premiere do the heavy lifting.
-
Head to the Effect Controls panel.
-
Under the mask options, click Track Mask Forward or Track Mask Backward.
Premiere will then analyse the clip and automatically track the object’s motion. You can even track multiple objects by adding additional object masks — ideal for scenes with multiple people or items in motion.
This new process is lightning-fast compared to traditional rotoscoping, saving hours of tedious frame-by-frame adjustments.

Step 3: Removing Backgrounds — No Green Screen Required
Here’s where it gets really impressive. Once you’ve tracked your mask, you can use it to remove or manipulate specific parts of your footage.
-
Go to the Effect Controls panel and drag your mask into the Opacity section.
-
Instantly, everything outside your mask will disappear — leaving only your subject visible.
You’ve now achieved a green-screen-style isolation effect without ever needing a green screen. You can place another video or image behind your subject to create cinematic or surreal compositions.
To refine the edges, tweak the Feather and Mask Expansion settings until it blends seamlessly with the background.
Step 4: Creating Stunning Colour Effects
Want to make your subject pop from a black-and-white background? It’s easy with the new masking workflow:
-
Move your mask back into Unassigned Mask.
-
Search for the Lumetri Colour effect in your Effects panel.
-
Drag it onto your clip and reduce the Saturation to zero.
-
Click Invert Mask so the effect applies to the background instead of the subject.
Now, your background is desaturated while your subject remains in full colour — a classic cinematic effect made possible in just a few clicks.
Step 5: The Classic “Text Behind Subject” Effect
This is one of the most popular looks in modern editing — and it’s never been easier to achieve.
-
Type out your text in the timeline using the Text Tool.
-
Drag your mask to the Opacity section again.
-
Disable the Lumetri Colour effect and turn off the inverted mask option.
-
Duplicate your video layer and place the text layer between the two clips.
-
Delete the unassigned mask from the bottom layer.
Now, your text appears behind your subject while they remain in focus in the foreground — a sleek, professional effect used across commercials, vlogs, and music videos.
To enhance the look, you can:
-
Add a Gaussian Blur to the background to make your subject stand out.
-
Adjust Exposure and Contrast to guide the viewer’s eye.

Endless Creative Possibilities
The new Object Mask Tool in Premiere Pro is genuinely a game-changer for editors and creators. Whether you’re looking to:
-
Create dynamic titles that interact with your footage,
-
Highlight specific subjects during interviews,
-
Add cinematic depth to your scenes, or
-
Stylise your videos with selective colour grading —
This tool drastically cuts down on manual work while opening up new layers of creativity.
Transform Your Look with Editors Keys Cinematic LUTs
Once you’ve finished masking and colour correcting your footage, give it that final polish with our Editors Keys Cinematic LUTs.
Designed to work perfectly in Premiere Pro, these LUTs can instantly transform your video — whether you’re going for a cinematic blockbuster tone, a soft vintage mood, or a bold modern style.
Simply drag and drop your chosen LUT onto your clip to see the transformation.
Check them out via the link in or around the video — or visit EditorsKeys.com to explore our full LUT collection.

Final Thoughts
Adobe’s new Object Mask Tool represents a major leap forward for video editors. It takes one of the most time-consuming tasks — masking and tracking — and turns it into an almost automatic process.
Try it out for yourself and see how it can streamline your workflow and elevate your edits. And if you’d like to see more tutorials like this, be sure to subscribe to our Editors Keys YouTube channel for the latest guides and creative tips.