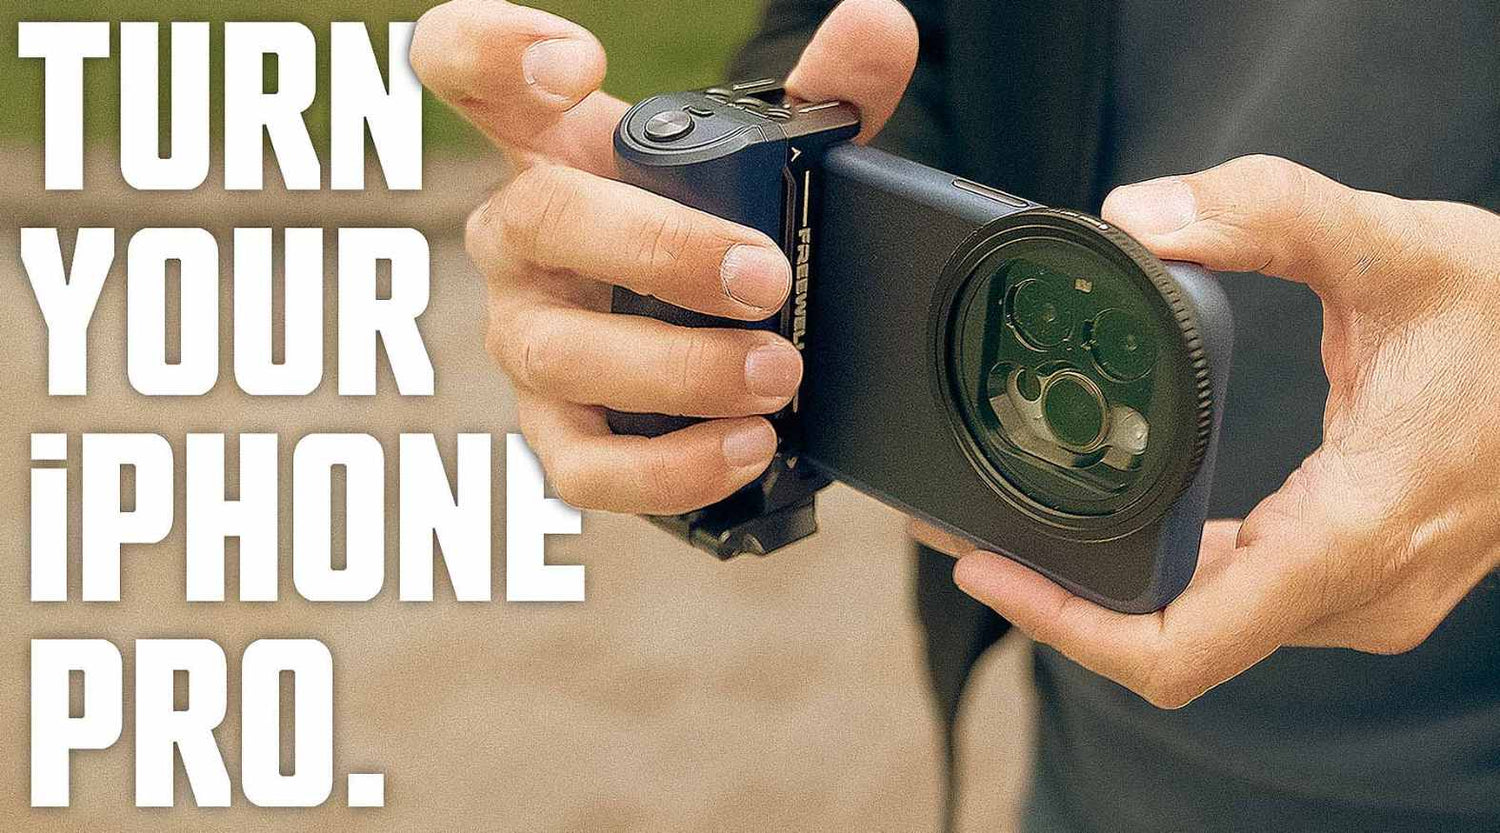
If you're an owner of an iPhone then you've probably become accustomed to the brilliantly high quality pictures and footage that they're able to capture, and the standards keep elevating every year with each new model that comes out! But for those of us who want to create super high-quality, even film grade, shots with their iPhone then we might've found the kit for you - The Sherpa Cinematic Pro Kit by Freewell with its ND filters and anamorphic lenses gives you all the tools to create your own cinematic shots.
Freewell actually reached out to us and sent us this kit to have a look at and we're more than impressed with it. In the kit comes a magnetic case for your iPhone, onto which the lenses attach and the connection is super strong so you don't have to worry about them falling off. We really like the simplicity of this because it means that you can go from filming mode to regular iPhone shooting in the click of a finger, without having to change cases. We've got our hands on the variable ND filters (which stands for Neutral Density - It reduces or alters the intensity of all wavelengths/colours of light equally. This results in no changes in colour hue) We also have a mist filter and the super handy camera grip, which makes the iPhone a lot more ergonomically pleasing when you're holding it for long periods of time. It even includes a built-in shutter button and an extendable selfie stick handle! Super cool!

The 180 Shutter Rule
So there's a reason why your iPhone footage looks like...well....iPhone footage - your iPhone camera can be too "sharp" but that can be remedied with the mist filter. The mist filter adds a very very fine softness to your footage to break up those sharp edges a bit, making look a bit less digitally produced. Secondly, when you're filming with an iPhone, you're not able to keep the 180 degree shutter rule! For those who are new to filming, or not a savvy with the terms (like myself!) the 180 degree shutter rule basically helps the footage to look smoother and more realistic - The rule states that the camera shutter speed should be set to twice the number of frames per second that you're filming, so if you're filming at 25p then you should have a shutter setting of 1 over 50
Motion Blur with ND Filter
When looking at two side-by-side shots of a waterfall (check out out Youtube video below) we get to see the effects of the ND filter in use, along with the standard unedited iPhone footage. From looking at both shots we can see that the iPhone footage just looks too sharp and everything is in focus, the quality is very high and doesn't look bad at all, it's just that for shots of flowing water, it almost looks too crisp and sharp. When we look at the footage taken with the Sherpa ND filter and a lower shutter speed, the waterfall looks so much smoother and slightly more blurred - if we zoom in, you can't see the individual water drops, just a continuous flow. Now you might be wondering "surely a higher quality, more crisp image is better?" It really depends on what kind of shot you're aiming for: if you're just filming some shots of your holiday, or for a social media story/post then yeah standard iPhone footage is more than enough. But if you're perhaps filming a short film or promotional footage then you'd want it to look a bit more cinematic and eye-catching.

Gear
So let's go through some of the gear that's included in the set, starting with the iPhone case. What's great about the case is that it already has MagSafe built in as well as the magnetic filter attachment, so you'll need this in order to attach the filters to your iPhone. In our opinion, it is a little bit slippery and wouldn't be our first choice for an "everyday carry" phone case, but it's very secure and of course is needed to use the filters with your iPhone! Fixing the filters onto the case is a simple as lining up the Freewell logos on the back, snapping it on and voila! you're ready to start shooting with an ND filter or Mist filter.
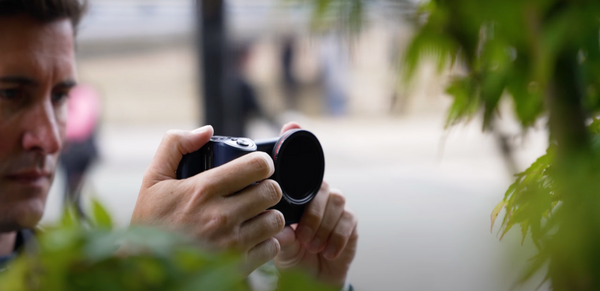
iPhone Camera Grip - We really like this attachment as it acts as a chunky and sturdy grip for your iPhone whilst filming and gives you a bit more of an ergonomic feel and something to grip onto comfortably. It also has a built-in shutter button which means you don't have to take your eyes off the subject that you're filming in order to find the shutter button on the iPhone's touchscreen. It also has a built-in cold shoe mount so that you can attach a microphone if you want to enhance your audio, you can also unfold it into a selfie stick as well! This is great for if (like us) you tend to use your iPhone for a vlogging camera as it means that you get a little bit of an extension, not a very long one but it'll widen your shot enough to perfectly capture the subjects within it!

You will need a manual app to control your camera as the built-in iPhone video camera app won't allow you to change certain things like shutter speed. We're using an app called "ProTake" and if you'd like to see a full demo on how to use that app then do leave a comment below! ProTake will now allow you to control the shutter speed on your iPhone so we can select the 1 over 50 rule and get those nice cinematic, slightly burred motions that match the movies and real life.
Filters - The filter we use most of the time is the variable ND filter, we like the image quality that it produces as well as the ability to control the shutter speed. We also like to use the mist filter which doesn't have any ND on it but it adds a slight softness to your footage, removing that over-sharp iPhone quality and giving it a nice smooth look, almost similar to that of a mirrorless camera.
Next up is the anamorphic filter and initially we thought this would kind of be a little bit gimmicky. We've never really used an anamorphic lens so we weren't expecting a lot but the shots that come from it actually look pretty good! You just screw the lens onto the phone case and you're ready to go. If you film with this lens using the normal iPhone camera app, you well get a squished image and you'll need to manually fix that in Premiere afterwards by right clicking on the clip, going to Modify > Interpret Footage, and then under "Pixel Aspect Ratio" make sure that the "HD Anamorphic 1080" option is selected. This will "flatten out" the shot and make it fit the aspect ratio much better. If you're using the ProTake app, then it actually has an anamorphic setting that you can turn on in the settings which means that once you're done shooting, there's no editing required for the footage taken. As you can see from the image below (or from the Youtube video) the footage looks very cinematic and the shot just looks wider. The only downside to using this lens is that you will probably have to use a tripod in order to get the best out of the footage. When filmling a lot of moving shots, the edges of the frame to look a little warped and bent so it's probably best used static on a tripod in order to get the best footage possible.

Conclusion
So all in all, what are our thoughts on the Freewell Sherpa Series Kit? Well we have to say that we're really impressed with what this kit can do! If you're the type of person that films a lot on their iPhone and likes getting cinematic and eye-pleasing shots, maybe you've got some DLSR or high-end cameras that you're a bit apprehensive about taking on holiday with you. We think that this kit is probably the closest that you could get to having that high-end 4K quality video image without having to take a ton of gear with you. Really, all you need is the case and maybe an ND filter and you've got all you need for those cinematic shots. Of course, if you wanted to take the whole kit with you, for instance the camera grip and the anamorphic lenses then it still won't take up a lot of space in your bag. What did you think of the Freewell Sherpa kit? Let us know in the comment section below, and check out our Youtube review of the kit as well.