The go-to-guys when it comes to action cameras have just launched the DJI Osmo Nano and it's already receiving rave reviews as athletes, explorers and adrenaline junkies from all over the word are exhibiting creative ways to shoot with this small but mighty bit of kit.

A lightweight and hardwearing camera is perfect for catching a vast array of shots from numerous creative angles and the Osmo Nano's capabilities certainly pack a punch when it comes to quality and colour. Whilst the spec the Osmo Nano boasts is all well and good to get excited about, if you're not a video editor by trade, it can just seem like a whole load of jargon. In this blog we'll talk about how to get the very best out of your DJI Osmo Nano footage in post.
What is D-Log M?
You will have seen that DJI have been excited about showing off the Osmo Nano's "10-bit and D-Log M colour performance". But what does this mean? Well - put simply, D-LOG M is the name for DJIs logarithmic (Log) colour profile. Cameras shoot in Log in order to capture the widest dynamic range meaning data and details from the extremes in light and dark are preserved. This means that in, and straight out of, camera Log footage looks very flat, desaturated and washed out as the automatic contrast and colour applied to standard footage is stripped away to provide optimum versatility and control when it comes to colour grading.

What is 10-bit?
When shooting in 10-bit your camera has the ability to capture over 1 billion colours which is a massive step up from the prior bit-rate's ability to capture 16 million. Apart from providing your footage with a huge variety of beautiful tones and pops of colour, enabling 10-bit will massively assist shooting in Log as it has the superior capacity needed to handle the information recorded in log. This means more colour information, smooth gradients and the aptitude to be shaped and manipulated in post-production.

Editing & Colour Grading D-Log M
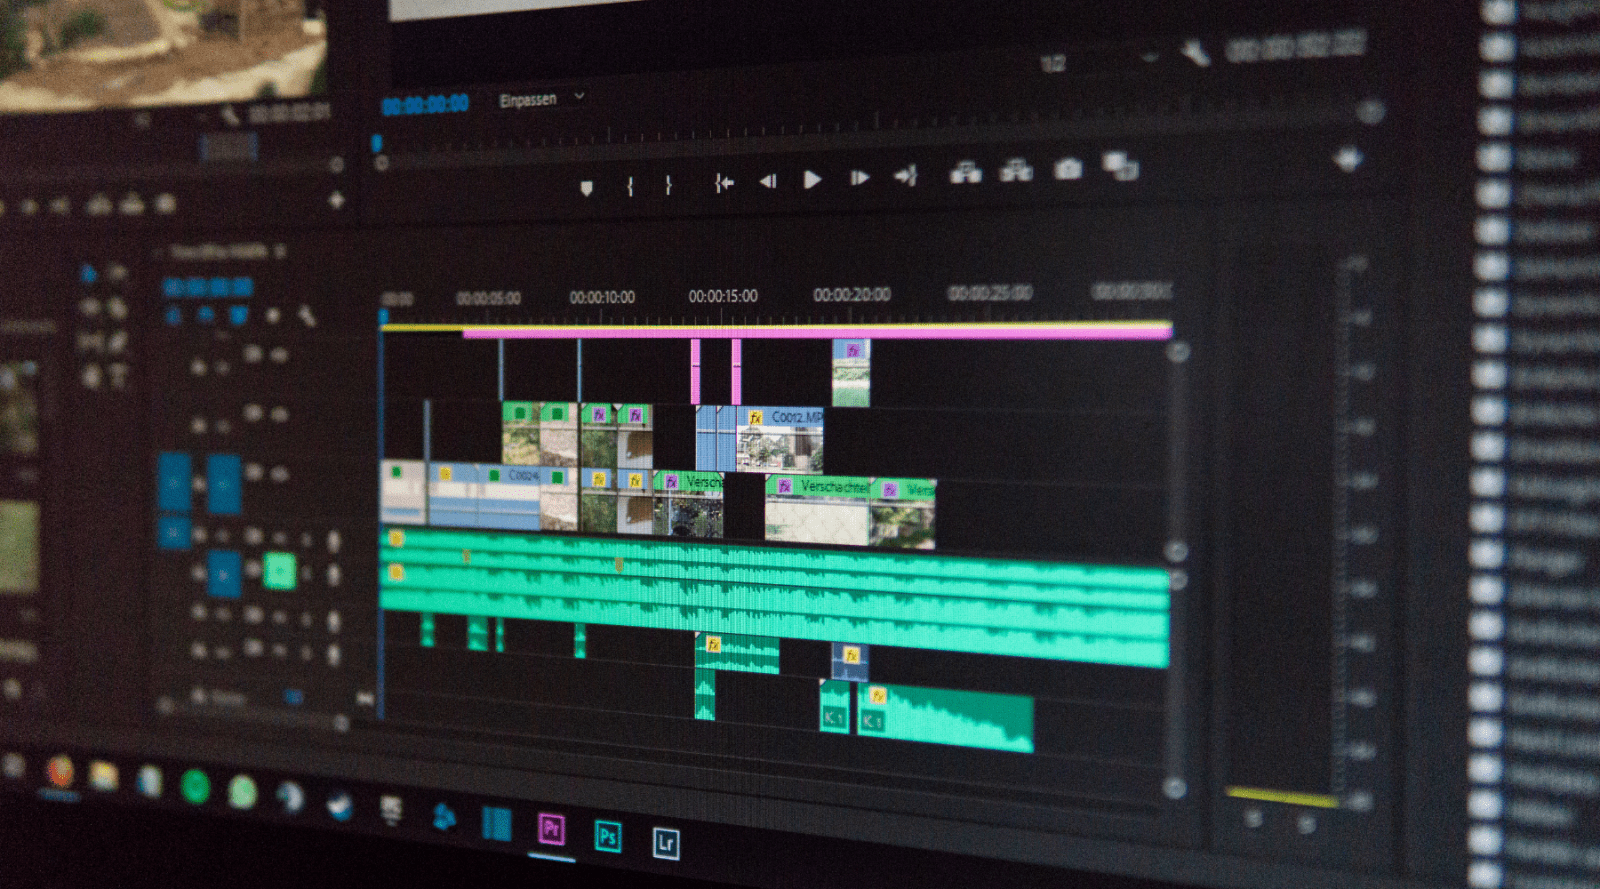
To colour-grade footage shot in D-Log M you'll need to import your chosen clips into your editing program of choice; DaVinci Resolve, Premiere Pro, Final Cut pro etc. then you'd usually covert it to your programs preferred colour space so you can then begin adjusting exposure, white balance, saturation and contrast to achieve the desired look.

How To Easily Colour Grade With LUTs
Manual colour grading can be quite a technical and time consuming process so many people use LUTs to achieve a collection of cinematic outcomes which can then be adjusted accordingly. Here at Editors Keys our in-house videographer custom-crafted this collection of 10 LUTs specifically for the D-LOG M profile earlier this year. With no need for conversion or correction these LUTs can be dropped straight on top of our footage and then adapted in whichever way suits your preference. DJI Osmo Pocket and DJI Osmo Action users have been enjoying these LUTs since their release in March and you can get a better look at the collection, see before an afters and download yours here.