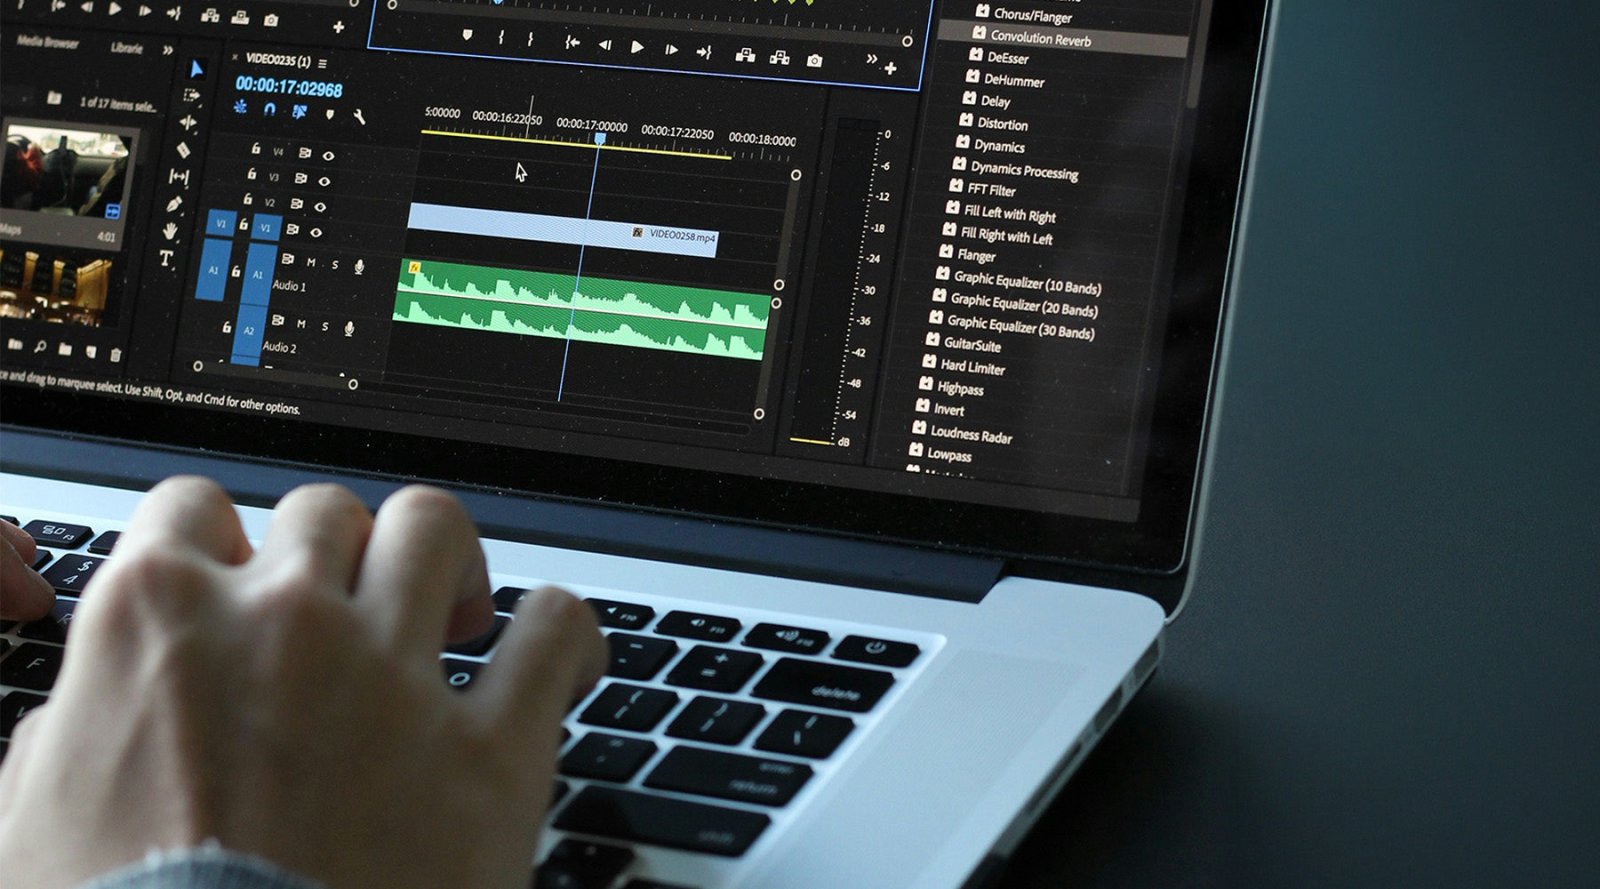
Professional video editors rarely work by clicking through menus. The fastest editors spend most of their time with one hand on the keyboard and the other on the mouse, using shortcuts to eliminate repetitive tasks and speed up every stage of the editing process.
Adobe Premiere Pro includes hundreds of keyboard shortcuts, but the reality is that only a handful are used constantly in professional workflows. Mastering these essential shortcuts can dramatically reduce editing time, improve efficiency, and make the entire editing process feel more fluid.
Whether you're editing YouTube videos, documentaries, podcasts, commercials or social media content, these are the Premiere Pro shortcuts that professional editors rely on every day.
Why Keyboard Shortcuts Matter in Premiere Pro
Many editors spend years learning advanced effects, colour grading techniques and motion graphics, but overlook one of the biggest productivity gains available to them: keyboard shortcuts.
Every time you move your cursor to a menu, search for a tool, or drag an effect manually, you're introducing friction into your workflow. A task that takes two seconds might not seem significant, but when repeated hundreds of times during a project, those seconds quickly become hours.
That's why professional editors aim to minimise mouse clicks and maximise keyboard usage. The shortcuts below are some of the most useful tools available in Premiere Pro and can help you edit faster from the very first day you start using them.
1. Nest Sequence
Mac:
Command + N
Windows:
Control + N
As projects grow, timelines can become increasingly difficult to manage.
Multiple video layers, adjustment layers, graphics, captions, speed ramps, colour corrections and effects can quickly turn even a simple edit into a cluttered mess. Nesting allows you to group clips together into a single sequence, helping to keep your timeline organised and easier to work with.
How to Use Nesting
-
Select the clips you want to combine.
-
Right-click on the selected clips.
-
Choose Nest.
-
Name the nested sequence.
-
Premiere Pro creates a single nested clip containing all selected media.
Why Editors Use It
Nesting is extremely useful when working with:
-
Complex transition effects
-
Speed ramp sequences
-
Subtitle and caption groups
-
Multi-layer graphics
-
Motion graphics templates
-
Colour grading multiple clips together
Instead of applying effects individually to numerous clips, editors can apply effects to the nested sequence itself, saving significant amounts of time. Many professional editors use nesting daily because it helps maintain cleaner timelines and simplifies complicated edits.
2. Render Playback
Shortcut:
Enter
Nothing slows down editing more than choppy playback. As projects become more demanding, especially when working with:
-
4K footage
-
Colour grading
-
Motion graphics
-
Third-party plugins
-
Multiple video layers
Premiere Pro may struggle to play footage smoothly in real time. Pressing Enter renders the selected section of your timeline, creating preview files that allow Premiere Pro to play back the sequence much more smoothly.
How to Render Playback
-
Set your In and Out points.
-
Press Enter.
-
Wait for Premiere Pro to render preview files.
-
Review your sequence with smoother playback.
Why It Saves Time
Many editors skip rendering because they're eager to continue editing. The problem is that poor playback makes it difficult to judge:
-
Transitions
-
Effects timing
-
Motion graphics
-
Colour adjustments
-
Speed changes
Rendering allows you to preview exactly how your edit will appear before exporting. This is particularly valuable for editors working on older computers or projects containing demanding visual effects.
3. Apply Default Video Transition
Mac:
Command + D
Windows:
Control + D
Transitions are among the most frequently used effects in Premiere Pro. Rather than opening the Effects panel, locating a transition, dragging it to a cut point and adjusting its duration, Premiere Pro allows you to apply your default transition instantly.
How to Use It
-
Select a cut point between two clips.
-
Press Command + D or Control + D.
-
Premiere Pro instantly applies the default video transition.
By default, this is usually a Cross Dissolve, although you can customise your preferred transition.
When It's Useful
This shortcut is perfect for:
-
B-roll edits
-
Interviews
-
Corporate videos
-
Wedding films
-
Documentary projects
-
Social media content
When you need dozens of transitions throughout a project, this shortcut can save an enormous amount of time.
4. Playback Controls (J, K and L)
J = Rewind
K = Pause
L = Play Forward
These three keys are arguably among the most important shortcuts in all of video editing. Professional editors often spend hours reviewing footage. Constantly reaching for playback buttons or dragging the playhead quickly becomes inefficient.
The J, K and L keys provide complete transport control directly from the keyboard.
How They Work
L Key
Press L to play footage forward.
Press it repeatedly and playback speed increases.
For example:
-
One press = normal speed
-
Two presses = faster playback
-
Three presses = even faster playback
J Key
Press J to play footage backwards.
Repeated presses increase rewind speed.
K Key
Press K to pause playback instantly.
Why Professional Editors Love JKL Controls
These shortcuts are invaluable when:
-
Reviewing interviews
-
Logging footage
-
Editing podcasts
-
Working through long-form content
-
Finding specific moments quickly
Instead of watching everything in real time, editors can rapidly scan footage and locate important sections significantly faster. Once mastered, you'll find yourself using the mouse far less during footage review.

5. Export Media
Mac:
Command + M
Windows:
Control + M
Every editing project eventually ends with an export.
Rather than navigating through menus every time, use:
Command + M or Control + M
to instantly open Premiere Pro's export window.
Why This Matters
While simple, this shortcut is used on every project.
Whether you're exporting:
-
YouTube videos
-
Social media content
-
Client work
-
Commercials
-
Podcasts
-
Training videos
This shortcut removes an unnecessary step from your workflow. Small efficiency gains add up quickly when repeated daily.
6. Undo and Redo
Undo
Mac: Command + Z
Windows: Control + Z
Redo
Mac: Command + Shift + Z
Windows: Control + Shift + Z
Every editor knows Undo.
Far fewer regularly use Redo.
When experimenting with edits, effects, transitions and creative decisions, being able to move backwards and forwards through changes is incredibly valuable.
Why It Matters
Editing is often a process of trial and error.
You might:
-
Test different cuts
-
Compare transitions
-
Experiment with effects
-
Try alternative pacing
Undo allows you to reverse mistakes instantly.
Redo allows you to restore changes just as quickly.
Together, they encourage experimentation without fear of permanently damaging your edit.
7. Timeline Zoom
Zoom In:
+ (Plus Key)
Zoom Out:
- (Minus Key)
Many editors still manually drag the timeline zoom bar.
The keyboard provides a much faster solution.
How It Helps
Large projects can contain:
-
Hundreds of clips
-
Multiple sequences
-
Complex sound design
-
Detailed cuts
The plus and minus keys allow you to quickly zoom in and out of your timeline without interrupting your workflow.
Perfect For
-
Precision trimming
-
Audio editing
-
Sound design
-
Complex timeline navigation
-
Long-form projects
The faster you can navigate your timeline, the faster you can edit.
8. Match Frame
Shortcut:
F
Match Frame is one of Premiere Pro's most underrated shortcuts. Many editors discover it years after starting to use Premiere Pro and immediately wonder how they managed without it.
How Match Frame Works
-
Place your playhead over a clip in the timeline.
-
Press F.
-
Premiere Pro loads the original source clip into the Source Monitor.
Why It's So Useful
Match Frame makes it easy to:
-
Find original footage
-
Access unused portions of clips
-
Create alternative edits
-
Review source material
-
Locate alternate takes
Instead of searching through bins and folders manually, you can jump directly back to the source clip in seconds. For documentary editors and long-form content creators, this shortcut can save a huge amount of time.
9. Add Edit
Mac:
Command + K
Windows:
Control + K
If there is one shortcut many professional Premiere Pro editors use hundreds of times per day, it's Add Edit.
What It Does
Add Edit instantly cuts a clip wherever your playhead is positioned.
No Razor Tool required.
How to Use It
-
Position the playhead.
-
Press Command + K or Control + K.
-
Premiere Pro instantly creates a cut.
Why Editors Use It Constantly
This shortcut is essential for:
-
YouTube editing
-
Podcast editing
-
Interview editing
-
Social media content
-
Reels
-
TikTok videos
-
Corporate productions
Rather than switching tools, making a cut, and switching back again, Add Edit allows you to stay focused on the timeline. It's one of the biggest workflow improvements available in Premiere Pro.
Editing Faster with Editors Keys Premiere Pro Keyboards
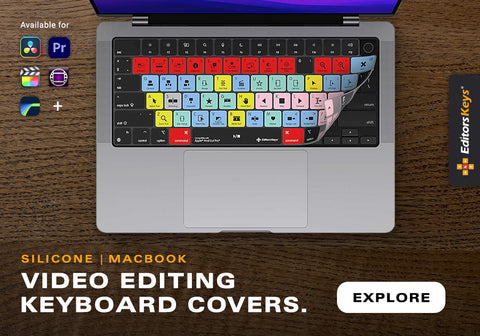
Learning shortcuts is one thing. Remembering them all while editing is another challenge entirely. This is where an Editors Keys Adobe Premiere Pro Keyboard or Keyboard Cover can make a significant difference.
Each key is colour-coded and clearly labelled with its Premiere Pro shortcut function, allowing editors to learn shortcuts naturally while they work. Instead of constantly searching online or memorising shortcut lists, the commands are visible directly beneath your fingertips.

Benefits of an Editors Keys Keyboard
-
Learn shortcuts faster
-
Reduce reliance on menus
-
Improve editing speed
-
Build long-term shortcut memory
-
Increase productivity
-
Create a more professional editing setup
Many editors discover that after using a shortcut keyboard for a few weeks, the shortcuts become second nature. The result is a faster, more efficient editing workflow and less time spent hunting through menus.
Editors Keys shortcut keyboards and keyboard covers are available for Adobe Premiere Pro, Final Cut Pro, Avid Media Composer, Pro Tools and many other professional creative applications.
The Real Secret to Faster Editing
The fastest Premiere Pro editors aren't necessarily the ones who know every feature. They're the editors who remove friction from their workflow. Shortcuts such as Nest Sequence, Render Playback, Add Edit, Match Frame and JKL playback controls eliminate countless unnecessary mouse movements and menu clicks.
Individually, each shortcut might only save a few seconds. Across hundreds of edits, those seconds become hours.
Master these nine shortcuts, combine them with an Editors Keys Premiere Pro Keyboard, and you'll spend less time searching through menus and more time focusing on what really matters: creating better edits.