


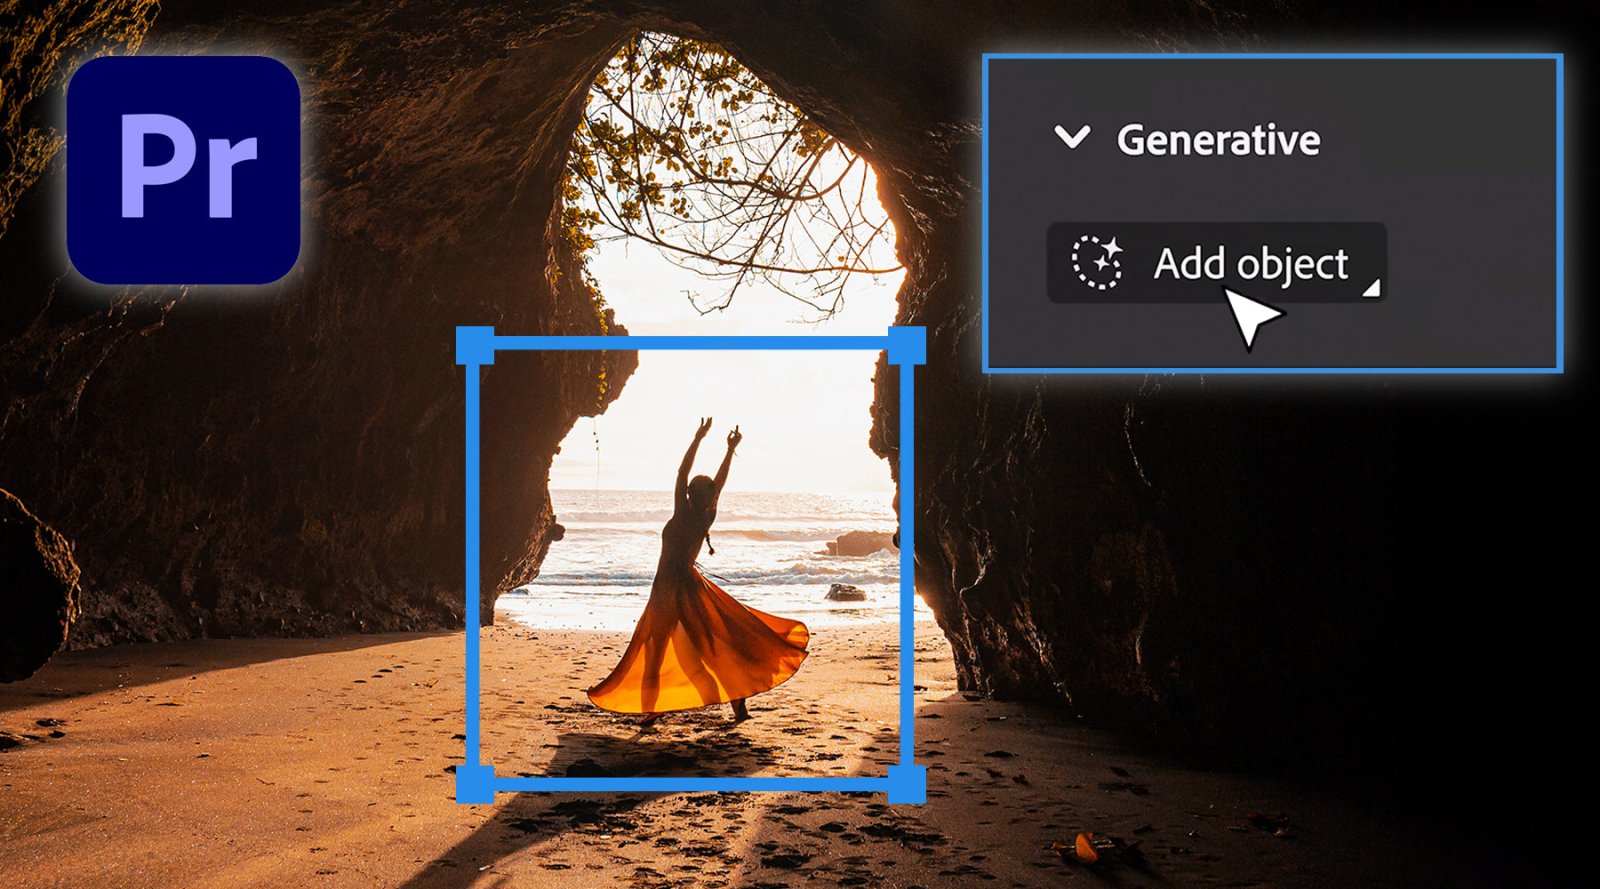
Welcome back to another Editors Keys blog, in this one we're going to be discussing how to remove any unwanted objects from your footage in Adobe Premiere Pro, with a few simple steps, you can make those distractions disappear, enhancing the professionalism of your footage. Let's dive right in.
Step 1: Begin by importing your video clip into the timeline. Drag the clip into the timeline area to get started.
Step 2: Duplicate your clip. Press and hold the Alt key while dragging the clip above to create a duplicate layer.
Step 3: Now, find a suitable replacement area within your video. This should be a part of the footage that matches the background or surrounding elements seamlessly.
Step 4: Navigate to the Opacity tab and select the Pen Tool.
Step 5: Using the Pen Tool, create a mask around the area you want to remove. Ensure that the mask is large enough to cover the object completely.
Step 6: Now, move this shape over the top of the object. You can adjust the position as needed to cover it completely.
Step 7: To blend the mask seamlessly, increase the mask feather. This will help it blend in with the surrounding elements of your video.
Step 8: Nest both clips together. Right-click on the clips, select Nest, and give it a name to organise your project effectively.
Step 9: With the object removed, you can now proceed with colour grading and adding additional effects to enhance your video further.
And there you have it! By following these steps, you can effortlessly remove unwanted objects from your video in Premiere Pro. While it may seem intricate at first, with practice, it becomes second nature.
If you found this tutorial helpful, remember to give it a thumbs up and subscribe for more Premiere Pro tips and tricks. Thanks for tuning in, and I'll catch you in the next video!

2 comments
Hilal ahmad
I am creator
I am creator
Andy
Hi, thats for the guide but step 6 makes no sense. We already have the mask on the object we want to remove from step 5.
Please update.
Thanks
Hi, thats for the guide but step 6 makes no sense. We already have the mask on the object we want to remove from step 5.
Please update.
Thanks