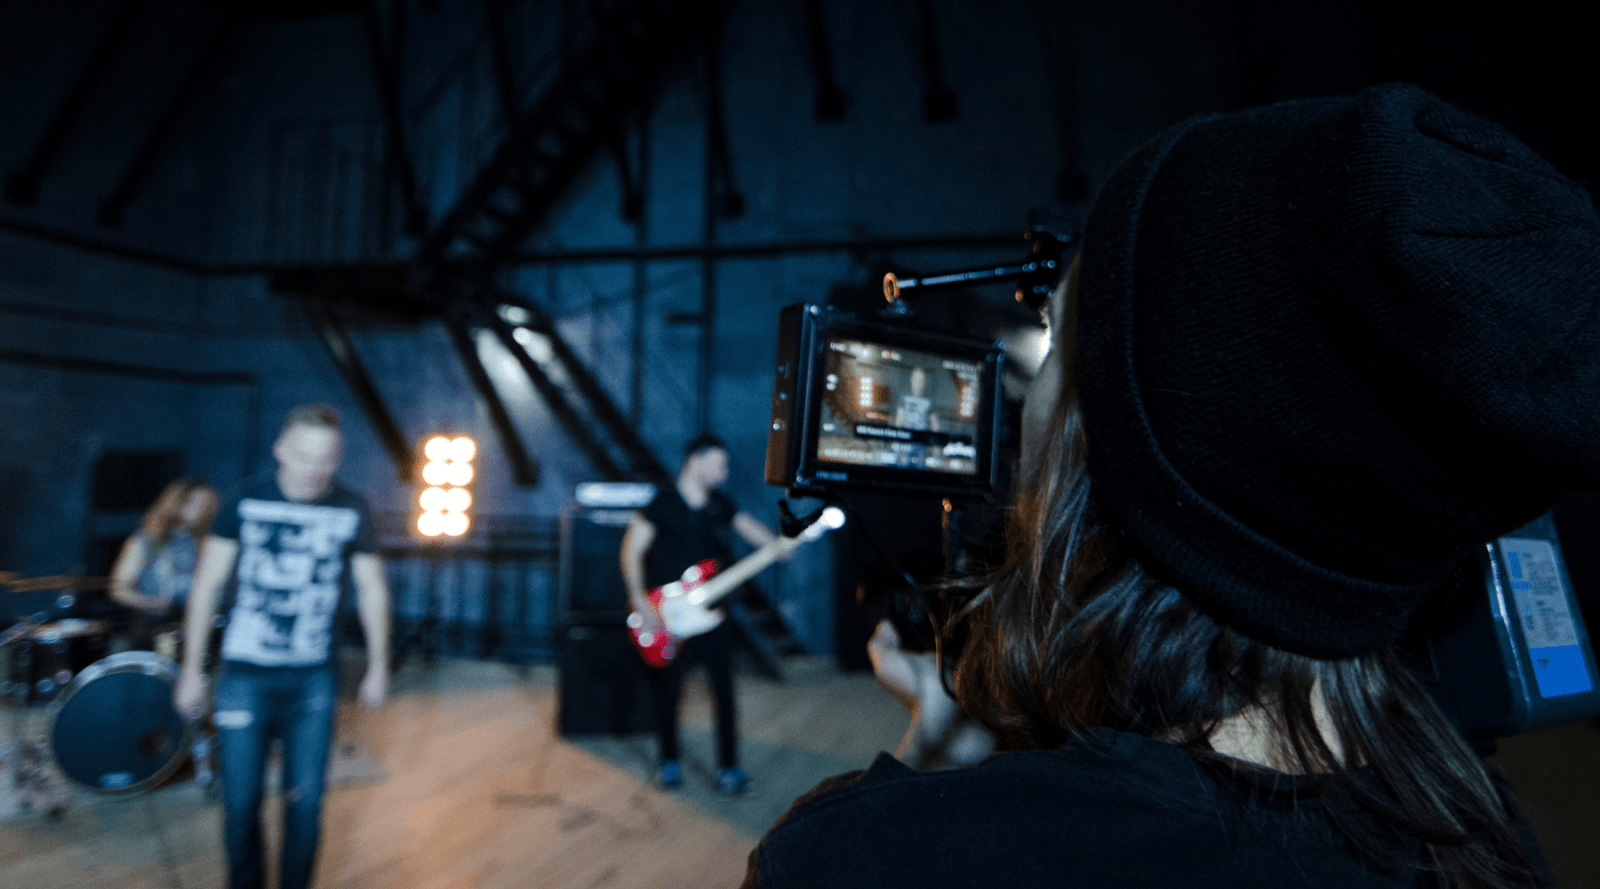
If you've ever captured what felt like the perfect shot, only to discover it's marred by distracting shake once you import it into Final Cut Pro, you're not alone. Whether you're vlogging, shooting B-roll, or producing a cinematic sequence, camera shake can instantly take your viewer out of the moment. The good news? Final Cut Pro, combined with a few clever techniques, can rescue even the shakiest of footage — and in 2025, the tools available are more powerful than ever.
In this guide, we’ll walk you through the latest and most effective stabilisation techniques inside Final Cut Pro and beyond. Whether you're a seasoned videographer or just starting your content creation journey, mastering these techniques will instantly elevate the professionalism of your videos.
Why Stabilisation Matters
Before diving into the technical details, let’s quickly address why stabilisation is so critical in the edit:
-
Professional polish: Smooth footage feels intentional and cinematic.
-
Viewer comfort: Excessive shake can be jarring and difficult to watch.
-
Creative flexibility: Clean, stabilised shots give you more options in the edit, from dynamic crops to visual effects.
Final Cut Pro’s Built-In Stabilisation Modes
Final Cut Pro offers three core stabilisation modes:
1. Automatic Stabilisation
This is the default option when you enable stabilisation via the Inspector. It’s quick, easy, and often the first step users take. However, as many editors find, automatic stabilisation can introduce unwanted warping, especially in handheld shots with erratic movement.
2. InertiaCam
Best suited for clips that feature smoother, directional movement (such as forward walking or panning left to right). InertiaCam works by analysing movement inertia and compensating accordingly. It’s often more stable than Automatic for predictable camera paths.
Pro Tip: InertiaCam excels with wide, steady motion — think walking shots or establishing B-roll sequences.
3. SmoothCam
When your footage is erratic or challenging (such as vlog-style, handheld walk-and-talks), SmoothCam provides the most control. You’ll gain access to three key parameters:
-
Translation Smooth: Controls X/Y motion. Higher values = more stabilisation, but more cropping.
-
Rotation Smooth: Corrects for angular shifts. Ideal for subtle, handheld tilts.
-
Scale Smooth: Adjusts zoom movement. Often best set to 0 unless the shot involves forward/backward motion.
Optimal Settings Example:
-
Translation Smooth: 3.7
-
Rotation Smooth: ~1.2
-
Scale Smooth: 0
Experiment to find your footage’s “sweet spot.”

Advanced Tip: Use Tripod Mode in Final Cut Pro
If your camera is relatively still but you're seeing micro-jitters (common with handheld stills), try enabling Tripod Mode in Final Cut Pro’s stabilisation settings. When available, this eliminates micro-shake without introducing warping. It's perfect for static interview shots or locked-off B-roll when you forgot your tripod.
Note: Tripod Mode only becomes available when Final Cut detects minimal movement.
The Role of In-Camera Stabilisation
Before hitting record, consider your camera’s built-in stabilisation options. For Sony users, for example, the following modes are common:
-
Off: Raw, unaltered footage. Great for post-stabilisation flexibility.
-
Standard/SteadyShot: Adds light optical stabilisation.
-
Active: Often the best compromise — stabilised without heavy digital artefacts.
-
Dynamic Active: More aggressive, but can introduce micro-jitters and odd digital warping, especially in low light.
Top Tip: Avoid pairing heavy in-camera digital stabilisation (like Dynamic Active) with post-stabilisation in Final Cut. You risk compounding artefacts, causing Final Cut to “fight” against your camera’s digital interpretation.
For close-up shots, stick to optical stabilisation or disable it entirely — you’ll get better results applying subtle post-stabilisation manually.
Technique Spotlight: Use Slow Motion for Smoother Footage
If your camera lacks built-in stabilisation, or you're trying to simulate gimbal-like footage without the gear, slow motion is your friend. Shooting at 50fps or 100fps and slowing down in the timeline naturally smooths out camera movement.
-
25fps footage slowed down: Results in choppy, low-frame motion.
-
50–100fps footage slowed to 25fps: Smooth, elegant slow motion with fewer jitters.
Pair this with Final Cut’s stabilisation, and your footage can look like it was shot on a gimbal — no extra hardware needed.

Next-Level Stabilisation: Using Sony’s Catalyst Browse
For Sony camera users, there’s an incredible free tool that outperforms Final Cut’s native stabilisation: Catalyst Browse. This software taps into your camera’s gyroscopic metadata, allowing for stabilisation based on actual physical movement recorded during the shoot.
How Catalyst Browse Works:
-
Import your footage into the free app.
-
Select the clip and choose Stabilisation > Analyse.
-
It uses your camera’s gyro data to counteract movement precisely.
-
Export the stabilised clip and reimport into Final Cut Pro.
Benefits:
-
More precise than digital stabilisation alone.
-
Mimics gimbal-like motion.
-
Avoids “warping” commonly seen in Final Cut’s Automatic mode.
You can even manually control the crop level, balancing how much the footage zooms in against how strong the stabilisation effect is.
Important note: The free version of Catalyst Browse only allows one clip to be processed at a time. The paid version (Catalyst Prepare) enables batch processing.

Stabilisation Workflow Summary (2025 Edition)
-
Check in-camera settings: Prefer optical stabilisation (or none) for better post flexibility.
-
Analyse your shot:
-
Static with jitter? Use Tripod Mode.
-
Smooth pan or forward motion? Try InertiaCam.
-
Erratic handheld movement? Use SmoothCam with manual tweaks.
-
-
For challenging shots:
-
Use Catalyst Browse for gyro-stabilisation.
-
Film in slow motion for a natural smoothing effect.
-
-
Avoid over-stabilising: Too much cropping or warping can distract viewers.
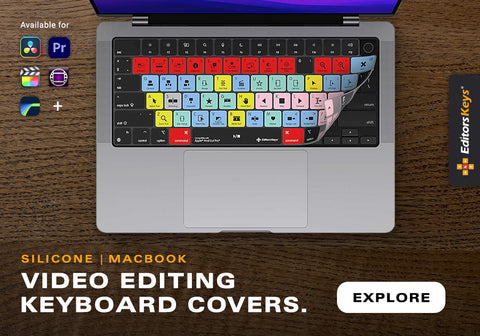
Boost Your Workflow with a Final Cut Pro Shortcut Keyboard
Want to speed up your editing while perfecting your footage? The Editors Keys Final Cut Pro keyboard is an essential tool for any serious video editor.
-
Wireless & backlit (three brightness levels)
-
All key shortcuts clearly labelled
-
Boosts editing speed and productivity
🎥 Whether you're fine-tuning stabilisation or cutting your next short film, it’s a game-changer.

Final Thoughts
In 2025, stabilising your footage is no longer a battle against bad shots. With the right combination of in-camera prep, Final Cut Pro settings, and external tools like Catalyst Browse, you can achieve buttery smooth footage — no gimbal required.
Whether you're filming cinematic B-roll, high-energy walk-and-talks, or close-up product shots, the stabilisation tools available today give you unparalleled control.
Have a tip of your own? Tried Catalyst or another method we didn’t mention? Let us know in the comments — and don’t forget to explore our full range of tools designed for video editors like you.