Today we're going to show you 5 tricks that'll help you edit faster in CapCut. If you're not familiar with CapCut, it's a free online video editing program brought to you by the company ByteDance (The company behind TikTok) This app is growing in popularity mainly because it has hundreds of effects, many of which are trending effects that a lot of people look for for their videos - it's also free to use and available for your iPhone, Mac, PC iPad - whatever!
1) Face Enhance
This first trick is about enhancing your facial features, and it's pretty crazy! It's a pretty funny and unique feature that we haven't seen in many other video editors before, you can actually edit the face of a subject/subjects within the frame. You have a huge selection of different options to choose from and they're all pretty impressive. Firstly, select your clip and then go to the video panel at the top right of the screen and click on the "enhance" section. Tick the "face" selection and choose whether you want to enhance a single face, or if there's more than one face in the shot then you'll have to option to enhance multiple faces too. There are multiple sliders for you to have a mess with and each of them will chance certain properties of the face in the shot. For instance, smoothness, evenness, brightness and teeth brightness - you can select a skin tone and make it brighter or darker to fit your needs.
Then if you go into the "facial beauty" section, you can alter certain things like thinness of the face, chin length, shortness of face, adjusting the lower or upper half of the face, eye size, lip size etc. You can even add makeup to the face, It's really impressive what can be done with this feature and the results can be pretty realistic at times!
2) Captions
Next up is adding automatic captions to your videos - it's something that we should all know, especially if you're a Youtuber or content creator. To save time when editing, Capcut can actually transcribe your footage and add captions automatically so they're ready for you to upload onto Instagram or Tiktok. To get started, select your clip and then in the top menu bar, select the "text" section and click on "auto-captions". There are plenty of different language options available so select your preferred language, hit "create" and in seconds Capcut will auto generate the captions for your video! You can edit how the text looks from the menu bar on the right of the screen, select "text" and you'll be able to adjust the size, style, font, colour and much more. Super simple and it takes a lot of the hassle out of having to manually write subtitles or captions for your videos
3) Effects
Next up, let's talk about effects and there are tonnes to talk about! This is one of the main things that really makes Capcut stand out above the other video editing platforms out there at the moment. If you click "effects" on the menu bar at the top of the screen, you'll have a massively library of video effects and body effects and they're all pretty impressive, there's even a trending category section which is super useful if you're working on your socials like Tiktok or Instagram reels and need those flashy popular looks. If you click on the effect once, it'll preview over your video clip, if you want to use it on your clip then simply drag in onto your timeline above the section. On the right hand side of the screen, you'll find options for increasing and decreasing the properties of the effect, size, speed, intensity etc.
Now lets take a look at the body effects, these work similar to the face enhancing effects that we looked at earlier: they'll recognise your body and apply certain effects to that! Again, to apply it to a section of your footage, simply drag and drop it into your timeline above the section you want to alter. A good tip for having a cleaner timeline, if you don't want all these effects stacking up on each other is instead of dragging each individual effect onto the timeline and on top of one another - try placing the effect on to the clip itself so that it applies to the whole clip. You can change the duration of the effect by dragging the slider from the beginning and ending of the clip, and when you apply a new effect to that clip, you can edit each individual effect by selecting the dropdown menu at the top left of the clip, this will avoid your timeline getting all messy and cluttered
4) Cutout
We've all seen those cool green screen effects where you can cut out the background and make it look like you're somewhere completely different. It's a super cool effect, but you do need a big green screen in order to achieve this, which can be costly! Fortunately, Capcut can cut the background of of any video so there's no need for a costly green screen! Scroll to the right hand side of the screen, under the "video" section and select the "cutout" option. Simply click the box that says "auto cutout" and Capcut will edit out the background automatically! It may take some time to fully process, and if you don't have a green screen or solid background then it will try its best to remove the background. It can sometimes fail a bit, or cut certain section out but it does actually work for the most part. It'll remove the background and you can then paste a different one in, perhaps you want to go to the beach, or even the moon... the choice is yours (just don't forget to pack a helmet)
You can then scroll to the "basic" section on the right hand side of the screen and select "canvas" and you'll be presented with a wide selection of backgrounds to choose from, including solid colours, gradients, styles and textures. There's a lot to choose from Capcut's own selection but you can also make your own background of your choosing. If you want your cutout to appear over another clip, which is what most people look for when they use green screen/keying effects, simply drag your clip into the timeline and then place your cutout clip above the background clip. You can change the size and position of the cutout clip by moving the slider to the right of the screen.
5) Shortcuts
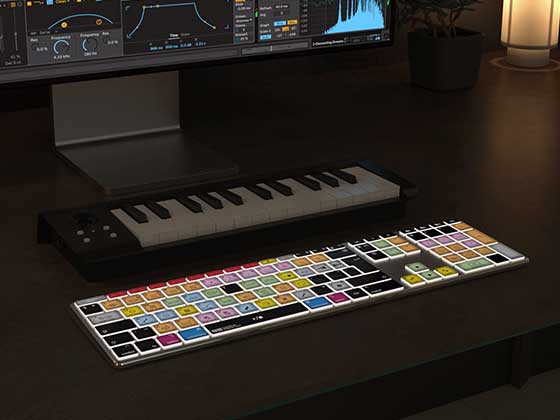
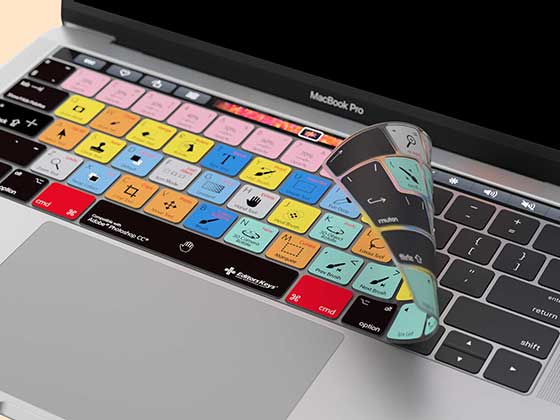
Another feature that we absolutely love is the keyboard shortcuts, because they help to speed up editing (as you may or may not know, that's what we're all about!) Capcut features keyboard shortcuts for both their desktop and iPad versions. If you want to see the shortcuts available then simply go to the help bar at the top of the screen and select "shortcut" and it'll bring up all of the available keyboard shortcuts for capcut. What we really love about Capcut is that if you're used to editing in other programs like Final Cut Pro or Adobe Premiere for example, you can pick from a number of shortcut layouts that are similar to the ones used for those programs so you don't have to spend time learning any new layouts, super handy! What this also means is that if you're an owner of one of our Editors Keys editing shortcut keyboard covers, then you'll be able to use it with Capcut! Would you like a Capcut editing keyboard cover? Let us know in the comments below!
If you're maybe new to editing and Capcut, you can get learning from any of the preferred layouts - you can even customise each shortcut so they're more preferable to you by selecting any of the shortcuts and then picking the key/combo that you'd like and then hitting save. Here's 10 essential shortcuts if you're getting started in Capcut!
- Backspace - Deletes anything in your timeline or a project bin
- When you're choosing which point in a clip you'd like to drag into your timeline, press the I key and this will create an "in point" press space for it to play, and then press O to set an "out point" This will save a lot of time when trimming clips, and will also make your timeline a lot tidier
- Press the C key to bring up the razor tool and then you can cut and splice your selected clip in the timeline. Press the V key to go back to the selection tool.
- Command + Z will undo any mistakes that you made, and to redo simply press Command + Shift + Z
- Use the + and - keys to zoom in and out of your timeline for a better view.
Those shortcuts are the ones that we use the most when editing in Adobe Premiere, so you can pull those along into your Capcut project and edit your projects in no time at all.
Are you a Capcut user? What do you think of all the effects and features that it has? Let us know in the comments below, and let us know if you'd like a Capcut editing keyboard cover! Check out our full Youtube video on Capcut below.

2 comments
Fatima Hashim
These CapCut tips are awesome! The Face Enhance feature is really cool for making faces look better in videos. Automatic captions are a big time-saver for content creators. The effects are impressive, and it’s great that you can use them without making the timeline messy. The Cutout feature is perfect for those who don’t have a green screen. And the keyboard shortcuts will make editing faster. I’m excited to try these out! A CapCut editing keyboard cover would be great too. Thanks for the helpful tips! I also read it from https://capcutp.com🌟🚀
These CapCut tips are awesome! The Face Enhance feature is really cool for making faces look better in videos. Automatic captions are a big time-saver for content creators. The effects are impressive, and it’s great that you can use them without making the timeline messy. The Cutout feature is perfect for those who don’t have a green screen. And the keyboard shortcuts will make editing faster. I’m excited to try these out! A CapCut editing keyboard cover would be great too. Thanks for the helpful tips! I also read it from https://capcutp.com🌟🚀
Rehan
This tutorial showcases CapCut’s powerful features succinctly. The “Face Enhance” tool and automatic captions streamline editing, while the diverse effects and “Cutout” function enhance creativity. Keyboard shortcuts further boost efficiency. CapCut emerges as a user-friendly editing solution, empowering creators.Video Editor
This tutorial showcases CapCut’s powerful features succinctly. The “Face Enhance” tool and automatic captions streamline editing, while the diverse effects and “Cutout” function enhance creativity. Keyboard shortcuts further boost efficiency. CapCut emerges as a user-friendly editing solution, empowering creators.Video Editor