Even with high-quality cameras and great footage, poor editing can instantly make your video feel unpolished. The way you cut, pace, and use effects is just as important as what you captured in-camera. For videographers and editors who want their work to stand out, avoiding common editing pitfalls is essential. Here are five mistakes that often make videos look amateur – and how to fix them.
1. Poor Pacing and Awkward Timing
The mistake:
Rushing through cuts or letting shots drag unnecessarily. Bad pacing makes a video feel unnatural, boring, or confusing. For instance, a travel vlog that lingers too long on one shot will lose attention, while a music video cut too quickly might feel chaotic rather than exciting.
What to avoid:
-
Holding on static shots longer than necessary.
-
Adding cuts that don’t serve the rhythm of the story.
-
Cutting dialogue mid-breath, creating jarring jumps.
What to do instead:
-
Edit with rhythm. Match the energy of your edit to the content. A tense action sequence needs quicker cuts, while an emotional interview benefits from slower pacing.
-
Cut on the beat. If you’re working with music, cut to drum hits or chord changes to create a natural flow.
-
Use J-cuts and L-cuts. Letting audio lead into or out of a shot smooths transitions and creates flow.
-
Trim dead space. Tighten pauses in dialogue or unnecessary silence to maintain momentum.
Pro workflow tip: After creating a rough cut, step away for a while. When you return, you’ll notice pacing issues much more clearly.
Pro tip: When reviewing your timeline, watch it once at 1.25x speed. If a section feels too slow even at a faster pace, it needs trimming.
2. Overusing Transitions and Effects
The mistake:
Many beginner editors rely on flashy transitions (spins, wipes, 3D flips) or apply heavy colour filters, thinking it makes the edit look more “professional”. In reality, it often looks dated and distracts from the story.
What to avoid:
-
Using more than two or three types of transitions in a single video.
-
Overdoing slow-motion on clips that don’t benefit from it.
-
Over-saturating colours, crushing blacks, or applying heavy vignettes that scream “Instagram filter” rather than filmic grade.
What to do instead:
-
Keep transitions subtle. Straight cuts and cross-dissolves are industry standards because they’re invisible to the audience. Reserve flashy transitions for moments where they genuinely fit the story.
-
Use slow-motion sparingly. Only use it to emphasise key action or emotion, and ensure you’ve shot at a high enough frame rate (e.g., 60fps or 120fps) to maintain smoothness.
-
Aim for cinematic colour grading. Focus on balancing exposure, contrast, and white balance before creative grading. Think about mood: warm tones for nostalgia, cooler tones for drama.
Pro workflow tip: Use adjustment layers in Premiere Pro, Final Cut, or DaVinci Resolve to apply colour correction and grading across multiple clips consistently.

3. Ignoring Audio Editing
The mistake:
Neglecting audio is one of the biggest giveaways of amateur video. Even stunning visuals can’t save a project if the audio is distorted, unbalanced, or inconsistent.
What to avoid:
-
Letting background music drown out dialogue.
-
Leaving harsh cuts between clips without smoothing.
-
Using only camera-recorded audio, which often sounds thin or noisy.
What to do instead:
-
Balance audio levels. Dialogue should sit clearly above background music, usually around -6dB, with music mixed lower at around -18dB to -24dB.
-
Use crossfades. Apply short fades to smooth transitions between clips and avoid jarring pops.
-
Apply EQ and compression. Remove low-end hums (below 80Hz), tame harsh frequencies, and compress dialogue for consistent volume.
-
Layer sound design. Add ambient noise, room tone, or subtle sound effects to create a more immersive experience.
Pro workflow tip: Always listen on multiple devices (headphones, speakers, laptop speakers). What sounds balanced in one environment may be too loud or muddy in another.
4. Disorganised Workflow
The mistake:
Dragging clips straight from the camera card onto the timeline, not labelling files, or using dozens of random adjustment layers. A messy project wastes time and increases errors.
What to avoid:
-
Keeping all clips in one folder with random names like “MOV_0034”.
-
Applying effects directly to individual clips instead of using adjustment layers.
-
Forgetting to back up your project or media.
What to do instead:
-
Organise before editing. Create bins (folders) for footage, audio, graphics, and sequences.
-
Rename clips logically. Use descriptive names (e.g., “Interview_Camera1_Wide”).
-
Use adjustment layers and nesting. This ensures your effects and colour grading remain consistent.
-
Back up regularly. Save project versions so you can revert if something goes wrong.
Pro workflow tip: Many editors create a standard “project template” folder structure they reuse for every project. This ensures consistency and saves setup time.
5. Forgetting to Edit for the Viewer
The mistake:
Focusing too much on showing off your favourite shots or effects rather than thinking about what the audience needs. Self-indulgent editing often leaves viewers confused or disengaged.
What to avoid:
-
Including every clip “because it looks cool”.
-
Adding effects that don’t serve the story.
-
Leaving in confusing sequences without clear narrative flow.
What to do instead:
-
Prioritise storytelling. Every cut should move the story forward or enhance the mood.
-
Test your edit on fresh eyes. Ask someone who wasn’t on the shoot to watch and give feedback. They’ll quickly point out confusing or unnecessary sections.
-
Cut ruthlessly. If a clip doesn’t add value, remove it – no matter how much you like it.
Pro workflow tip: Watch your edit without sound. If the visuals alone don’t tell the story clearly, your sequencing may need improvement.

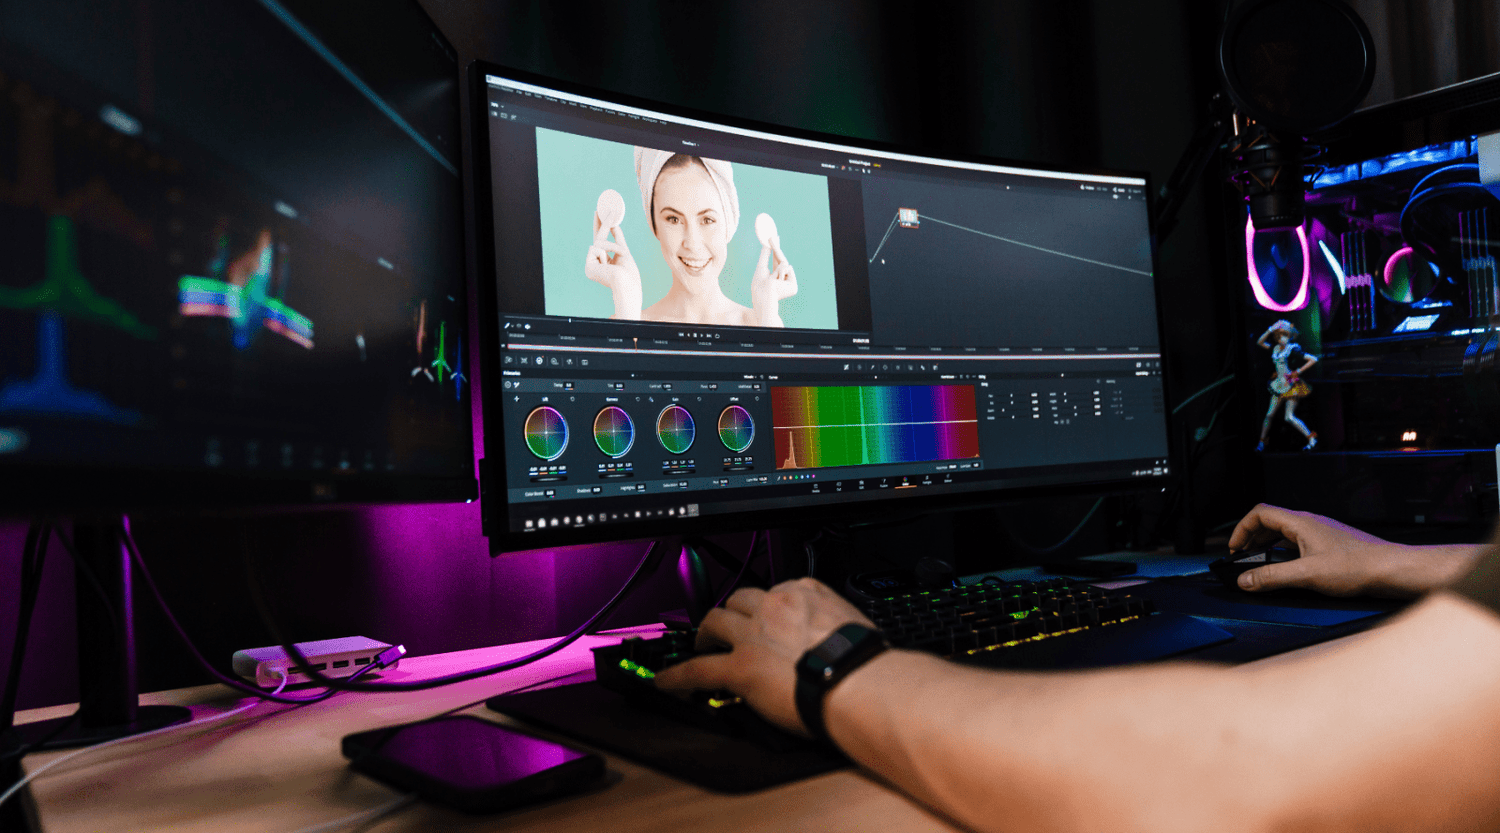
How to Speed Up Your Workflow with Editors Keys
One of the biggest hurdles in video editing is efficiency. Memorising hundreds of software shortcuts in tools like Adobe Premiere Pro, Final Cut Pro, or DaVinci Resolve can feel overwhelming – but using them is the key to professional speed and precision.
That’s where Editors Keys video editing keyboards and keyboard covers come in. Designed specifically for editing, they feature printed shortcut icons directly on the keys, helping you:
-
Edit faster – Cut, trim, and add effects in a fraction of the time.
-
Learn shortcuts quickly – No need to keep checking menus or cheat sheets.
-
Work more comfortably – Reduce mouse usage and streamline your workflow.
Professional editors rely on shortcuts to maintain rhythm and flow. With an Editors Keys keyboard, you can instantly step up your editing game and focus more on creativity, less on remembering key commands.
Final Thoughts
Editing is where your footage becomes a finished story. By avoiding common mistakes – poor pacing, overused effects, sloppy audio, disorganisation, and neglecting the viewer – you’ll instantly make your videos look more professional. Combine that with the right tools, like an Editors Keys editing keyboard, and you’ll not only improve the quality of your videos but also the speed and confidence of your workflow.
If you want your edits to look polished and cinematic, remember: keep it clean, keep it consistent, and always edit with the viewer in mind.