
Logic Pro gives guitarists several ways to record, shape and mix their sound, whether you are tracking a clean guitar part, recording a high-gain rock riff or experimenting with effects to create something more unusual. You can record directly through an audio interface, capture the sound of a real guitar amplifier with a microphone, or plug straight into your Mac and use Logic Pro’s built-in amp modelling to build a complete guitar tone from scratch.
The best approach depends on the sound you want to achieve, the equipment you own and how much control you want over the recording process. Fortunately, you can produce excellent guitar recordings at home without an expensive studio, provided you understand how to set up your signal, manage your recording levels and use your plugins effectively.

1. Set Up Your Guitar and Audio Interface
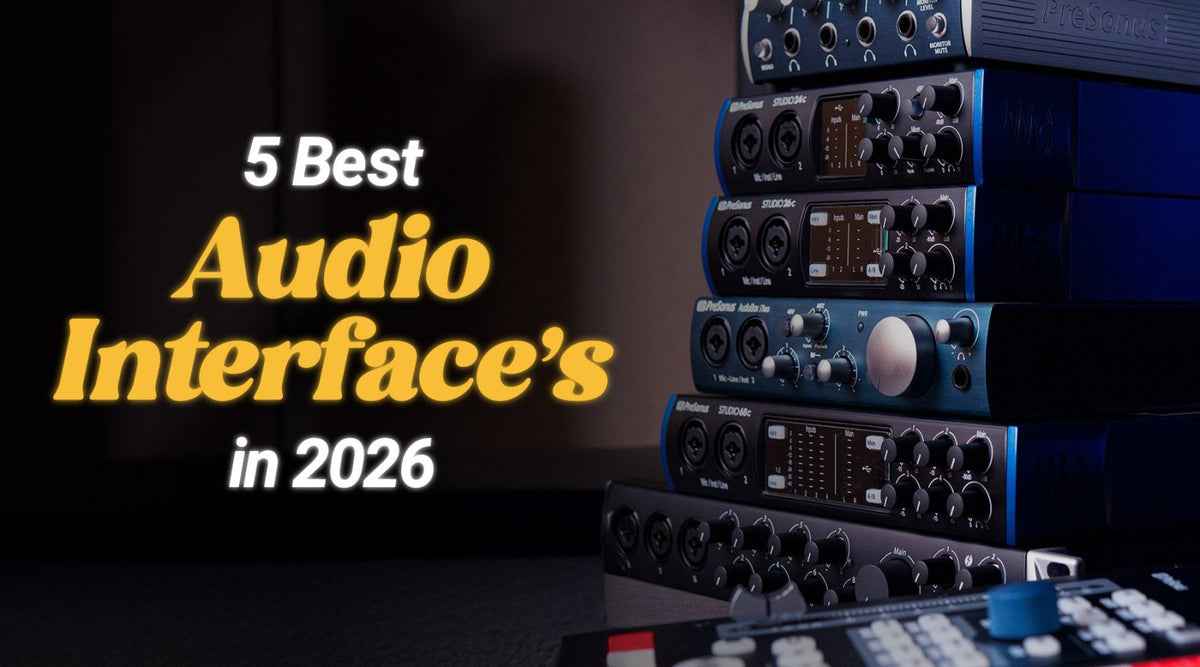
Before opening Logic Pro, connect your guitar to an audio interface using a standard instrument cable. An audio interface converts your guitar’s analogue signal into digital audio that your Mac can record. Most modern interfaces include an instrument or Hi-Z input designed specifically for electric guitars and basses.
If you are plugging a guitar directly into your interface, select the instrument input rather than a standard line input where possible. This ensures the interface is properly matched to your guitar’s signal, helping preserve its natural tone and high-frequency detail. Connect the interface to your Mac, open Logic Pro and check that it is selected under Logic Pro’s Settings, then Audio.

Create a new project and add an audio track by selecting Track, then New Audio Track. Choose the input connected to your guitar and enable input monitoring if you want to hear the instrument through Logic Pro while playing. If you are recording a microphone instead, select the input connected to that microphone.
Play your guitar and adjust the gain on your interface. Aim for a healthy signal that is clearly audible without clipping. As a practical starting point, guitar peaks around -12 dBFS to -6 dBFS give you plenty of headroom for processing later. You do not need to record as close to 0 dBFS as possible; digital clipping can create unwanted distortion that is difficult to repair.
If you hear a noticeable delay between playing a note and hearing it through your speakers or headphones, reduce the I/O buffer size in Logic Pro’s audio settings. A buffer of 64 or 128 samples is often a useful starting point for recording, although the best setting depends on your Mac, interface and project.
2. Recording Guitar Through a Real Amplifier
If you already own a guitar amplifier and pedals that you love, recording the amp with a microphone can be one of the most rewarding ways to capture your guitar sound. A real amplifier responds dynamically to your playing, your guitar’s volume control and the way your pedals interact with the signal. The microphone also captures the sound of the speaker and its cabinet, which can contribute significantly to the character of the recording.
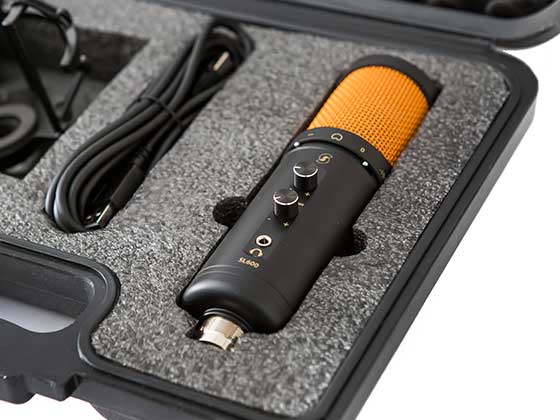
You will need a microphone, a suitable microphone stand, an XLR cable and an audio interface with a microphone input. A dynamic microphone is a popular choice for recording guitar cabinets because it can handle high sound pressure levels and produces a focused, direct sound. Condenser microphones can also work well, particularly when you want more high-frequency detail or a different sense of space.
Position the microphone a few centimetres from the speaker grille, starting near the centre of the speaker cone. This usually produces a brighter, more aggressive tone. Moving the microphone towards the outer edge of the cone often produces a darker, smoother sound. Small changes in position can make a substantial difference, so record a few test takes before committing to the final setup.

Connect the microphone to your interface, select its input in Logic Pro and record a short passage while listening carefully. If your amplifier has several speakers, experiment with their positions, as individual speakers can sound slightly different. You can also move the microphone further away to capture more of the room, although this may introduce unwanted reflections in a small or untreated space.
Once the recording is in Logic Pro, you can use EQ to remove unnecessary low-frequency rumble, reduce harsh frequencies or emphasise the part of the guitar that helps it sit in the mix. A high-pass filter somewhere around 70–100 Hz can be a useful starting point for many electric guitar recordings, but the correct setting depends on the instrument, tuning and arrangement.
Compression can help control inconsistent playing dynamics and make a guitar part feel more even. However, heavily compressed distorted guitars may already have a relatively consistent level, so additional compression is not always necessary. Start with a moderate ratio, such as 2:1 or 3:1, and adjust the threshold until you achieve a few decibels of gain reduction on the loudest notes.
Logic Pro also includes reverbs, delays, modulation effects and saturation tools that can enhance a microphone recording. You might use a short room reverb to create a sense of space, a delay to add depth to a lead line or subtle saturation to introduce extra harmonic character. Keep the original recording intact and experiment with effects on separate plugin inserts or auxiliary buses, allowing you to adjust the processing without having to record the part again.
3. Recording Guitar Directly into Logic Pro
Recording a guitar directly into Logic Pro, commonly known as recording DI (direct input), is ideal if you want to work quietly, record late at night or avoid setting up a physical amplifier and microphone. It is also particularly useful when recording in a bedroom or home studio where the sound of a loud amplifier might be impractical.
The main consideration is that a DI guitar signal on its own will usually sound thin, bright and somewhat unnatural compared with a guitar coming through an amplifier and speaker cabinet. That is because an electric guitar amplifier and speaker significantly shape the sound. The solution is to use amp and cabinet modelling to recreate the characteristics of a real guitar rig.

Start by connecting your guitar to the instrument input of your audio interface and creating an audio track in Logic Pro. Record a short riff or chord progression, making sure the input signal is clean and does not clip. You can then add Logic Pro’s Amp Designer to the track’s Audio FX channel strip.
One major advantage of recording DI is that you can change your guitar tone after recording. If you initially choose a clean amplifier but later decide that the part needs a crunchy overdrive or a heavier distortion sound, you can alter the plugins without having to replay the entire performance. Recording a clean DI signal also gives you the option to re-amp the part through a real amplifier or another processing chain later.
For many home recording setups, this is one of the most flexible ways to record guitar. You can capture a performance quickly, experiment with different tones and mix everything using headphones without disturbing anyone else in the house.
4. Using Logic Pro’s Amp Designer
Amp Designer is Logic Pro’s built-in guitar amplifier and cabinet modelling plugin. It allows you to build a virtual guitar rig directly inside your project, with controls and tonal options inspired by traditional guitar amplification. For guitarists who do not own a suitable amplifier, it provides a convenient way to achieve a wide variety of tones using only a DI recording.
Amp Designer includes a selection of amplifier models, speaker cabinets and microphone options, alongside controls for gain, EQ and output level. Depending on the selected model, you can create clean tones, warm vintage sounds, classic crunch, aggressive rock distortion and heavier high-gain tones. You can also adjust the virtual microphone position to change the balance of brightness, body and attack.
The amplifier models are useful starting points rather than rigid presets. A clean amp with a little compression and a touch of overdrive can work well for funk, indie and psychedelic guitar parts. A mid-focused British-style crunch tone may suit classic rock, while a more heavily distorted model can provide the sustain and weight required for metal or hard rock.

The cabinet selection is equally important. A guitar cabinet rolls off high frequencies and shapes the mid-range in a way that makes an amplified guitar sound more natural. Without suitable cabinet processing, a heavily distorted DI signal can sound fizzy, harsh and excessively bright. Amp Designer handles much of this shaping within the plugin, giving your DI recording a more convincing amplifier-and-speaker character.
Take time to adjust the gain and tone controls rather than simply turning everything up. More gain does not always produce a better sound, and excessive distortion can make individual notes less distinct. For a riff that needs to cut through a dense mix, a slightly cleaner tone with a clear mid-range can sometimes work better than a heavily saturated sound.
Amp Designer is also useful for building several contrasting guitar tracks within one project. You could record a rhythm part with a relatively dry, crunchy tone, double-track it with a different amp model, then use a cleaner tone for a separate melodic line. Because each track has its own plugin settings, you can create a varied arrangement without owning several physical amplifiers.
5. Adding Pedals and Effects to a DI Guitar
Amp Designer provides the foundation for your virtual guitar rig, but Logic Pro also includes pedal-style effects and other processing tools that can make a DI recording sound more personal and convincing. These effects can be used before or after the amplifier model, and their position in the signal chain can change the result considerably.
Overdrive and distortion are useful for adding sustain, grit and harmonic complexity. Placing an overdrive before Amp Designer can push the virtual amplifier harder, much like using a physical overdrive pedal in front of a real amp. Placing distortion after the amp model produces a different result and can sound more processed, so it is worth experimenting with both approaches.
Logic Pro’s ChromaGlow plugin is particularly useful when you want to add analogue-style saturation and warmth. Its processing can introduce additional harmonics, giving a clean or DI guitar a fuller, more textured character. Used subtly, it can help a guitar sit more naturally in a mix; with more drive, it can produce a more obvious saturated effect. Try it after Amp Designer for additional colour, or experiment with its position in the chain if you want a more pronounced effect.

Phat FX is another useful creative tool. It combines several types of processing, including distortion, filtering, modulation and other sound-shaping effects. This makes it especially effective for experimental guitar parts, electronic textures, psychedelic passages and riffs that need movement or unusual tonal characteristics. You can use it sparingly to add character or build more extreme sounds by combining several modules.
Logic Pro also offers delay, reverb, chorus, flanger, phaser and tremolo effects. A chorus can add width and movement to a clean guitar, while a phaser or flanger can create sweeping, psychedelic textures. Delay is useful for adding rhythmic repeats to lead parts, and reverb can make a dry recording feel more spacious. Tremolo introduces rhythmic volume modulation that can work particularly well with vintage-inspired guitar tones.
For a more natural result, think about how you would arrange physical pedals around an amplifier. A common starting point is to place compression, overdrive or distortion before Amp Designer, then add modulation, delay and reverb afterwards. This is not a strict rule, and unusual signal chains can produce excellent results, but it provides a reliable foundation for experimentation.
6. Using Compression, EQ and Other Mixing Plugins
Once you have established the core guitar tone, you can use Logic Pro’s mixing plugins to make the track work within the wider arrangement. The aim is to retain the character of your guitar while ensuring that it occupies the right amount of space in the mix.
EQ is one of the most important tools for this process. Electric guitars often contain unnecessary low-frequency energy that competes with bass guitar and kick drum. A high-pass filter can remove some of this rumble, while a gentle reduction in the low-mid range can help clear up a muddy sound. If the guitar lacks presence, a small boost in the upper mid-range may help it cut through, although boosting too much can make distorted guitars sound harsh.
Compression is most useful when you need to control the dynamics of a clean or lightly overdriven performance. It can make quieter notes more audible and reduce the difference between soft and loud playing. For heavily distorted rhythm guitars, try listening before adding compression, as the distortion itself may already provide enough dynamic control. Excessive compression can reduce the natural attack of the pick and make the part sound flat.

You can also use Logic Pro’s saturation and distortion tools to add harmonics, particularly when a DI guitar or clean amp model sounds too sterile. The key is to compare the processed signal with the original and adjust the effect until it enhances the sound rather than masking the performance.
For stereo width, consider recording two separate performances of the same rhythm part and panning them left and right. This is generally more convincing than simply duplicating one recording, because the small differences between two performances create a wider, more natural stereo image. Keep lead guitars, important melodic parts and the overall arrangement in mind when deciding how much width you need.
Finally, use reverb and delay with the arrangement in mind. A long reverb tail might sound impressive when listening to the guitar in isolation, but it can obscure the rhythm and reduce clarity when the full band enters. Shorter reverbs and tempo-synchronised delays are often easier to control within a dense mix.
7. Recording Multiple Guitar Takes and Building a Full Track
If you are recording a complete song on your own, it helps to establish the arrangement before you begin tracking. Create a rough drum pattern or metronome guide, decide on the song structure and record a basic rhythm part. This gives you a reference for timing and makes it easier to add overdubs without losing your place.
Use Logic Pro’s cycle region to repeat a section while you practise or record several takes. You can also use take recording and comping to combine the strongest sections of different performances into one final guitar track. This is particularly useful when recording difficult riffs, intricate lead parts or sections that require precise timing.
When recording rhythm guitars, pay attention to consistency. Make sure the guitar is in tune, check your picking dynamics and listen for unwanted string noise. Muting unused strings can make a substantial difference to the clarity of a distorted recording. If you are double-tracking, perform the part again rather than copying the first take, as this usually produces a more natural and expansive result.
For lead guitar, you may want a slightly different tone from your rhythm parts. A little extra sustain, a more prominent mid-range, a delay or a touch of reverb can help the lead line stand out. However, avoid adding so much gain or ambience that the notes lose their definition.
Label your tracks clearly, organise them into sensible groups and save your project regularly. You might have separate tracks for left and right rhythm guitars, lead guitar, clean overdubs and experimental effects. If you have recorded DI, consider keeping an unprocessed copy of the performance so that you can revisit the tone later without needing to play the part again.
8. Common Guitar Recording Problems and How to Fix Them
If your guitar sounds thin, first check that you are using the instrument input on your interface. If you are recording DI, make sure that Amp Designer or another suitable amp and cabinet simulation is active. A raw DI signal is useful for processing, but it rarely resembles the finished sound of a miked guitar cabinet.
If your guitar sounds harsh or fizzy, reduce the gain and experiment with the cabinet model and virtual microphone position. You can also use EQ to tame excessive high-frequency energy. If the sound is muddy, check the low-mid frequencies and consider whether the bass guitar or other instruments are competing for the same space.
If the recording distorts unexpectedly, check the input gain on your interface and the levels entering your plugins. A plugin chain can overload even when the original recording is clean. Reduce the level at the stage where the clipping occurs rather than automatically lowering the final output.
If you hear latency while playing, reduce the I/O buffer size, disable unnecessary processing while recording and use Logic Pro’s low-latency options where appropriate. If your interface has direct monitoring, you can listen to the incoming signal without sending it through the full software monitoring path. Bear in mind that direct monitoring will not include Logic Pro’s amp modelling effects unless your interface has its own suitable processing.
9. Speed Up Your Logic Pro Guitar Recording Workflow with Editors Keys
Recording guitar often involves switching between tracks, starting and stopping takes, adjusting regions, navigating the timeline and editing performances. Learning Logic Pro’s keyboard shortcuts can make these tasks considerably quicker, particularly when you are recording several layers of guitar or working on a complete song without an engineer.
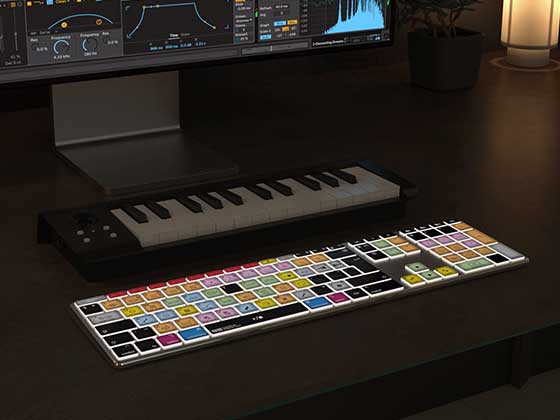
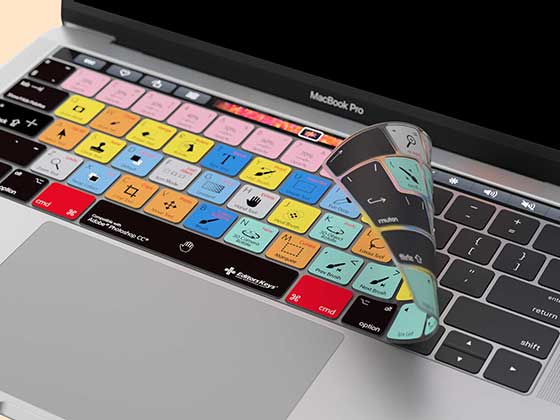
Editors Keys offers shortcut keyboards and silicone keyboard covers designed to make commonly used commands easier to find. The shortcuts are printed directly onto the keys or cover, helping you learn the commands as you work instead of repeatedly searching through menus. This can be particularly useful when you are concentrating on a performance and want to move quickly between recording, editing and arranging.
The Editors Keys AB10 Air Wireless Backlit Shortcut Keyboard is a useful option for a home studio where you want a wireless setup, backlit keys and shortcuts for Logic Pro. Its backlighting can make the labelled keys easier to see in a dim recording room, while its wireless design helps keep your desk free of unnecessary cables.
Alternatively, the Editors Keys AB10 Core Wired USB-C Backlit Shortcut Keyboard offers a wired connection for users who prefer a straightforward USB-C setup. It combines backlit keys with Logic Pro shortcut labels, making it easier to navigate editing commands while recording and mixing. Editors Keys also offers silicone keyboard covers for compatible keyboards, providing another way to keep shortcut commands visible without replacing your existing keyboard.
These products are designed to help you work more efficiently by making commands easier to locate and memorise. Over time, that can mean less time navigating menus and more time concentrating on your guitar tone, performance and arrangement. You can explore the range of Editors Keys Logic Pro shortcut keyboards and covers to find an option that suits your home studio and preferred workflow.
Final Thoughts: Getting the Best Guitar Sound in Logic Pro
The best way to record guitar in Logic Pro depends on the sound you want and the equipment available to you. Recording a real amplifier with a microphone captures the character of your physical rig, while recording DI gives you the flexibility to experiment with amplifier models, virtual pedals and effects after the performance has been recorded.
For a simple home recording setup, start with a clean DI signal, use Amp Designer to establish the core tone, then add overdrive, compression, EQ, delay or reverb where they improve the result. Take the time to experiment with different amplifier models, cabinet choices and effect combinations, and remember that a well-played performance and a balanced arrangement will usually matter more than an elaborate chain of plugins.
With Logic Pro’s built-in recording and mixing tools, you can create everything from clean, spacious guitar parts to dense, heavily distorted arrangements without leaving your home studio. Once you have a reliable recording process and a tone that works for your music, you can concentrate on what matters most: playing, experimenting and developing your own sound.