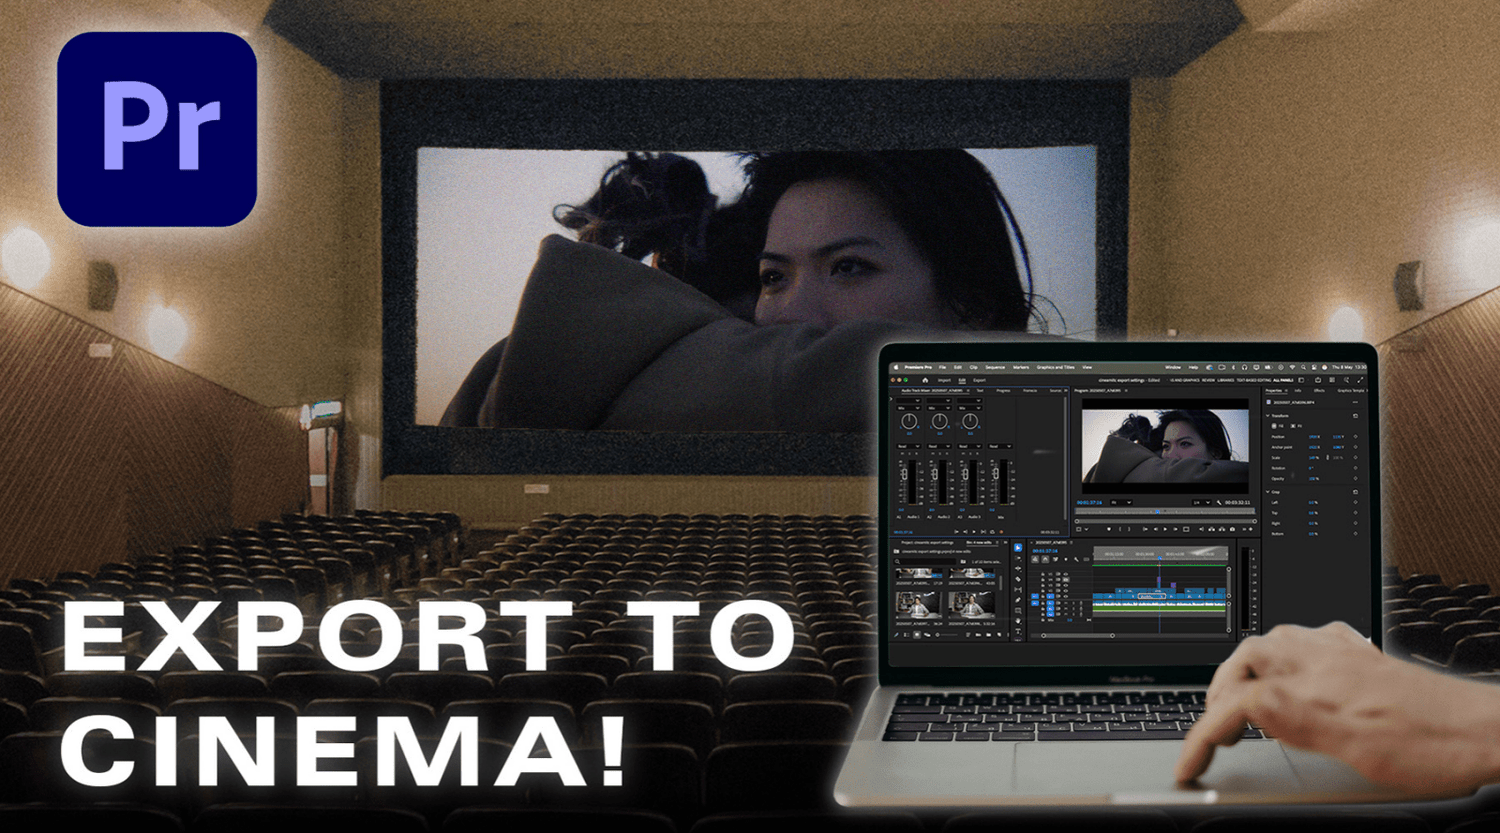
If you're preparing your short film, feature, or documentary for the big screen—whether for a cinema release, DCP delivery, or entry into a film festival—your export settings in Adobe Premiere Pro must meet professional standards. Unlike exports for YouTube or social media, delivering for cinematic viewing requires precision in resolution, frame rate, colour space, bit depth, and audio formatting.
In this Editors Keys guide, based on our official YouTube tutorial, we’ll walk you through exactly how to export your project in Premiere Pro to meet cinema and DCP mastering requirements.

Step-by-Step: Export Settings for Cinema and Film Festivals
1. Choose the Right Format
For DCP mastering or festival delivery, you’ll typically export your final film in either:
-
QuickTime (.mov)
-
MXF (Material eXchange Format)
These formats are widely accepted by DCP services and film festival curators for their quality and flexibility.
2. Set the Correct Codec
Select one of the following:
-
Apple ProRes 422 HQ – Ideal for high-quality masters.
-
Apple ProRes 4444 – Offers superior chroma sampling and supports alpha channels.
Both codecs preserve rich detail and dynamic range—critical for cinematic playback.
3. Resolution & Aspect Ratio
Ensure your project’s aspect ratio matches cinematic standards. One of the most common formats used in cinema is:
-
Aspect Ratio: 2.39:1
-
Resolution Example:
3840 x 1634
This provides the familiar widescreen black bars audiences expect in a theatre setting.
4. Frame Rate
Cinema playback expects a precise frame rate:
-
Use 24fps, not 23.976fps, for traditional cinematic delivery.
-
If you’ve shot in a PAL region (UK, Europe), you may also use 25fps where appropriate.
Stick with the original frame rate of your project—do not reinterpret frame rates during export, as this can cause sync and playback issues.
5. Colour Space and Bit Depth
-
Use Rec. 709 for standard colour mastering, unless your film is graded in a wider gamut like DCI-P3 (in which case consult your DCP provider).
-
Enable Render at Maximum Bit Depth to ensure colour fidelity and gradient smoothness.
-
Tick Use Maximum Render Quality to enhance scaling precision and sharpness.
6. Audio Settings
Depending on your audio mix:
-
Sample Rate:
48kHzor96kHz -
Bit Depth:
24-bit -
Channels: Choose Stereo for simple projects or 5.1 Discrete for surround-sound mixes.
Make sure your audio matches the final mix output from your DAW or sound editor.
7. File Size and Storage Considerations
Exporting at these settings will generate a very large file, much larger than typical YouTube exports. Ensure you have:
-
A fast SSD or RAID drive
-
Ample storage (multiple GBs)
ProRes 4444 exports, in particular, can be massive—so prepare in advance.
Summary of Recommended Settings
| Setting | Value |
|---|---|
| Format | QuickTime / MXF |
| Codec | ProRes 422 HQ / ProRes 4444 |
| Resolution | 3840 x 1634 (2.39:1) |
| Frame Rate | 24fps (not 23.976) |
| Colour Space | Rec. 709 |
| Audio | 48kHz or 96kHz, 24-bit Stereo / 5.1 |
| Render Options | Max Depth + Max Quality enabled |

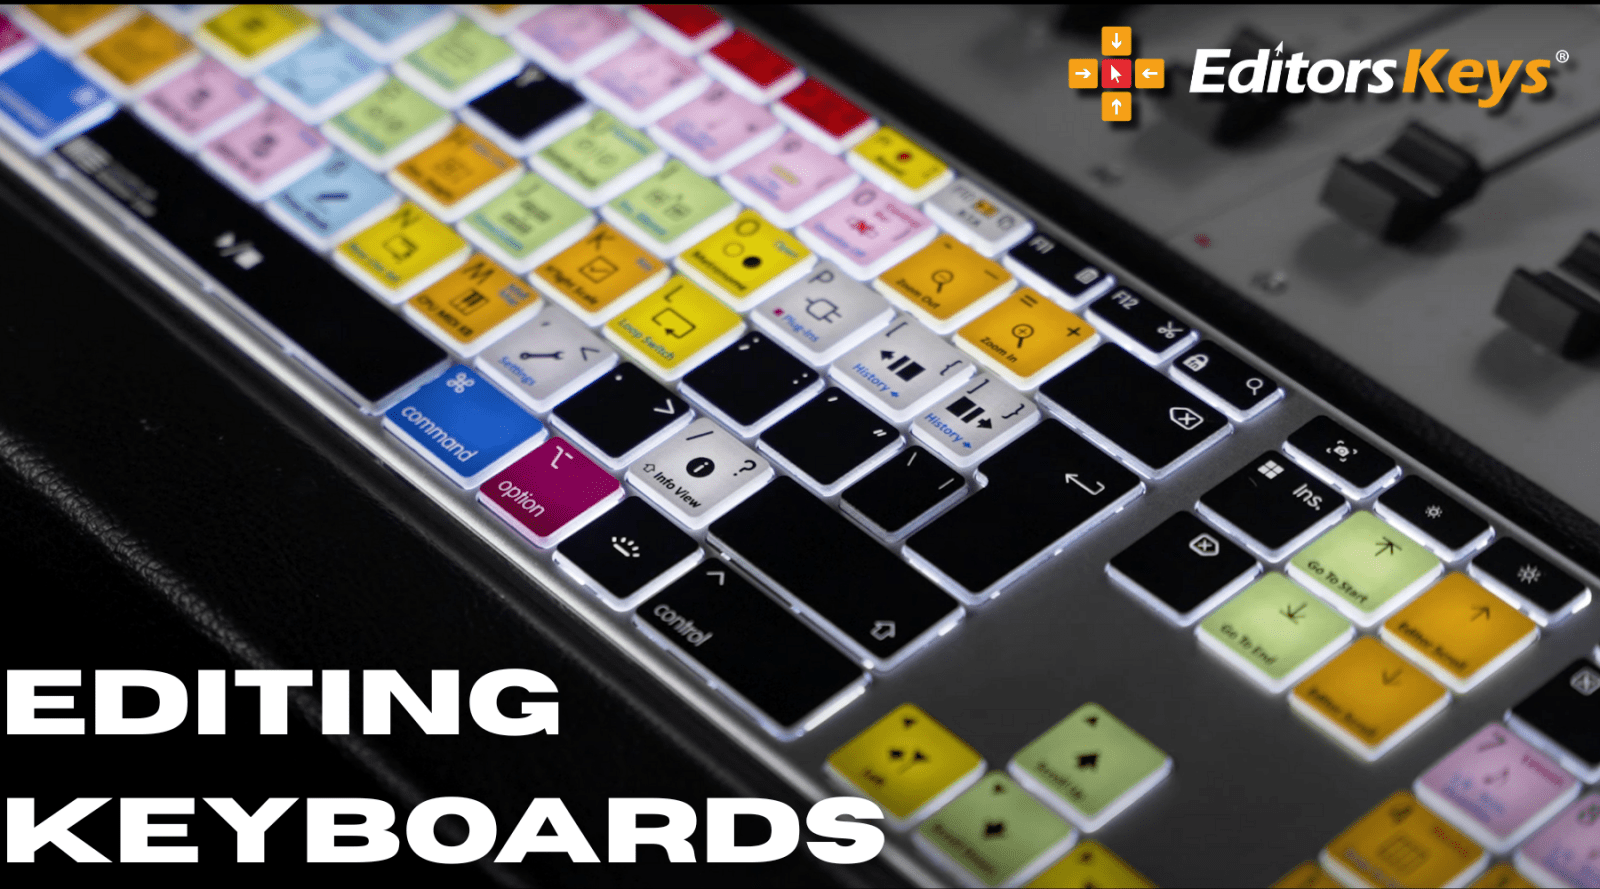
Speed Up the Process with Editors Keys Shortcuts & Tools
Editing and exporting at a professional level can be time-consuming—but Editors Keys products are here to help.
Premiere Pro Shortcut Keyboards
-
Save up to 40% editing time using our wireless and backlit Adobe Premiere Pro keyboards.
-
All major shortcuts printed on the keys—ideal for fast exports, timeline navigation, and more.
Keyboard Covers
-
Designed for MacBook and Apple keyboards, our covers help you edit faster and protect your gear.
Cinematic LUTs
-
Our LUT packs give your footage a polished, professional-grade look.
-
Perfect for prepping your film for cinema projection or festival screening.
Explore LUTs, keyboards, and accessories here.

Final Note
Cinema-level exports require attention to detail—but with the right settings and tools, you can confidently deliver your work for the big screen. Whether you're submitting to Cannes, Sundance, or a local indie festival, follow these settings to ensure professional quality every time.
Need help mastering your next export?
Check out our YouTube channel or reach out—we’re here to help your post-production workflow run smoother than ever.